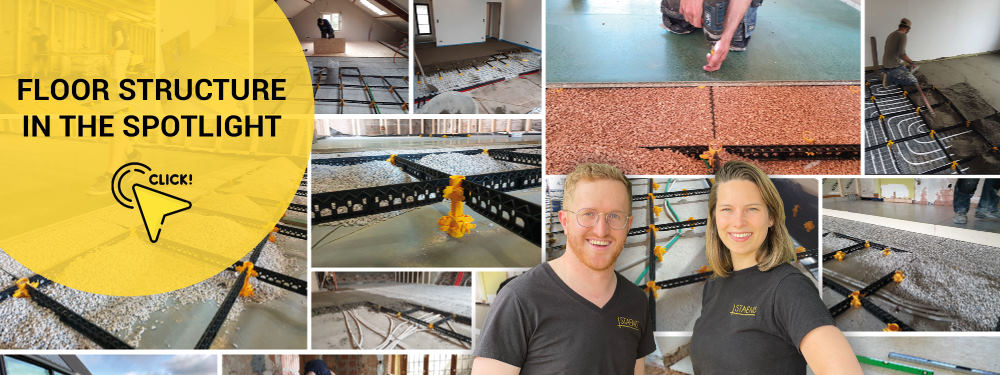
All screed floor constructions - Overview of cross-sections

Would you like to install your screed yourself? Then it is important to have a good foundation. Your screed must be perfectly level in order to properly install your floor finish. There are different types of screed, such as cement-based screed and gypsum-based screed. The composition of the screed usually consists of sand, cement, and water.
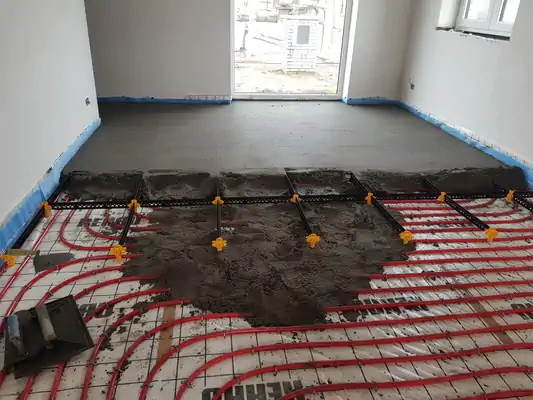
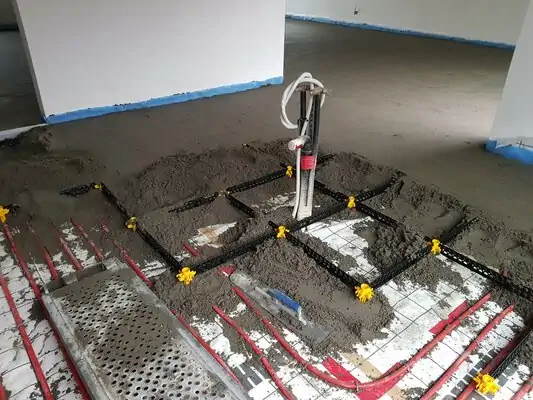
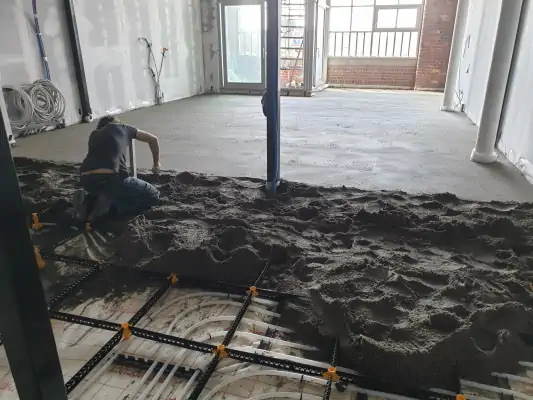
Nowadays, you can easily lay screed yourself, even if you have no experience, using the StaenisGrid system. This system makes it easy to maintain the correct height of the screed and ensures that you don't have to worry about the end result.
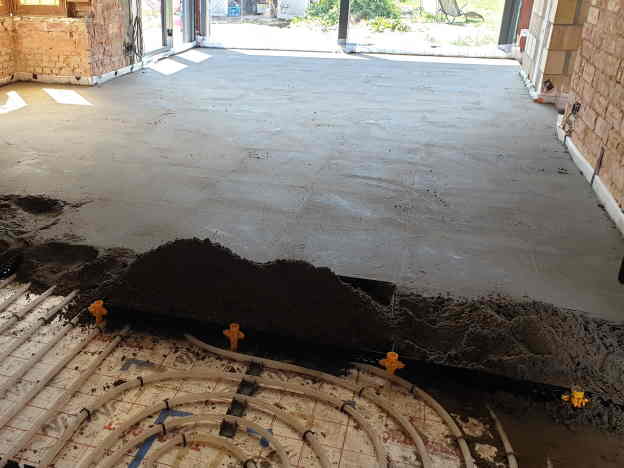
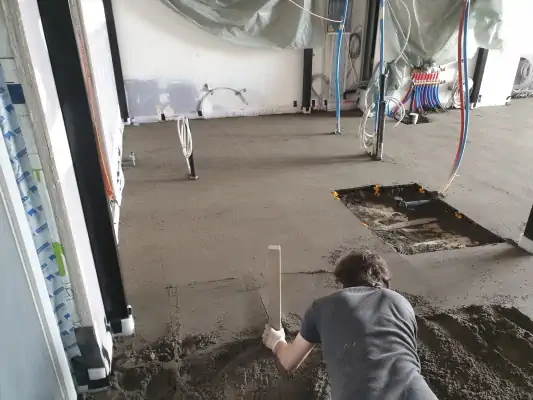
Once the StaenisGrid is correctly set up, you do not need to take the height into account while screeding the screed. This eliminates the most difficult task, allowing you to fully focus on supplying, compacting, and polishing the screed.
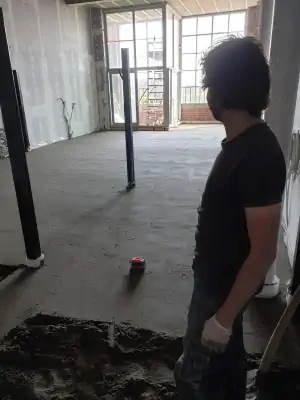
If the screed works are not fully completed in one day, you can always continue screeding at a later time, without any time pressure.
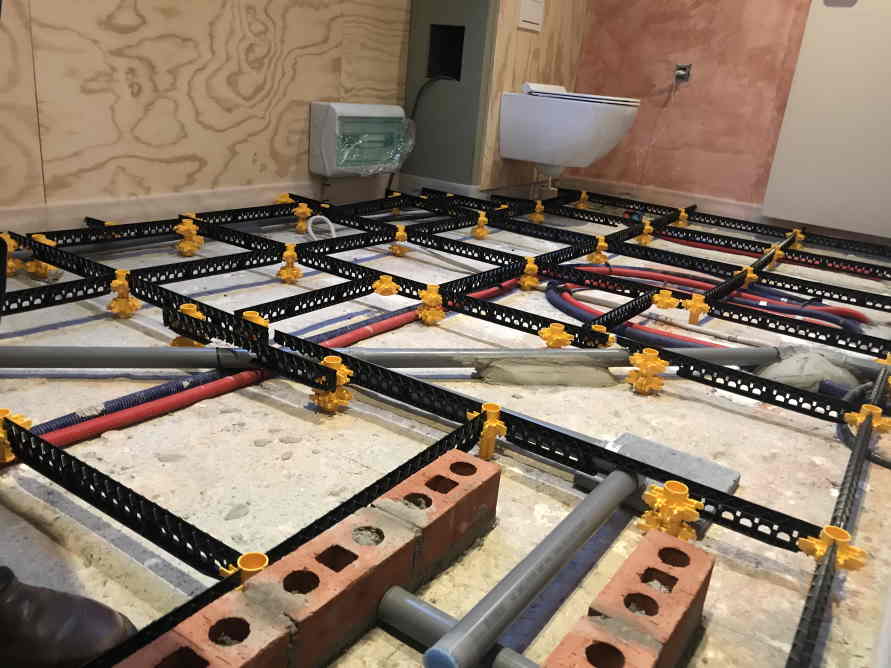
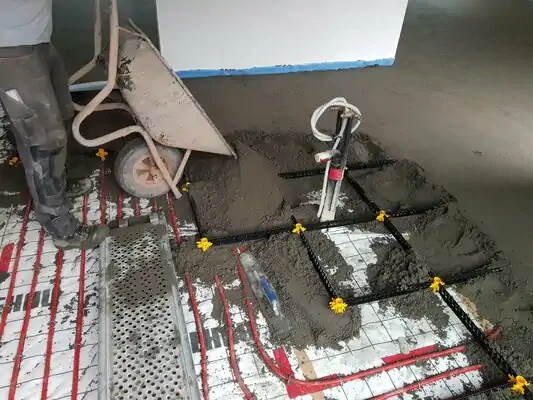
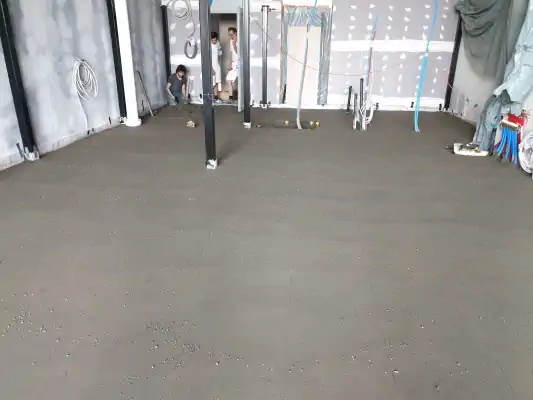
The risk of cracking, subsiding, detachment, etc. of the floor is eliminated by dividing the floor structure into very small sections of 0.25 m². The grid ensures that you do not have to worry and will achieve a correct, high-quality end result.
For large surfaces, you can save on a decoupling mat (€30/m²) with the Staenis grid. View the technical advantages for this.
When using the StaenisGrid, you no longer need to install expansion joints, except at the opening of a door. Perimeter insulation is still required around the screed. In addition, you must apply a waterproof membrane before placing the screed.
Applications
Small spaces: You will always save money in rooms smaller than 40m² by installing your screed yourself with the Staenisrooster.
Large spaces: The StaenisGrid with screed protects your tiles. You often no longer need to install expansion joints, and a decoupling mat becomes unnecessary.
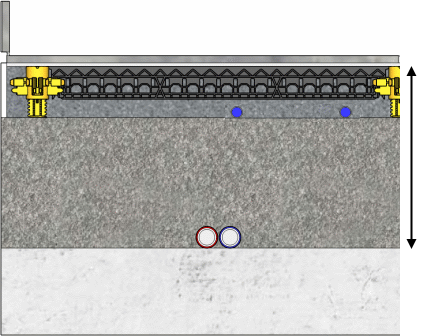
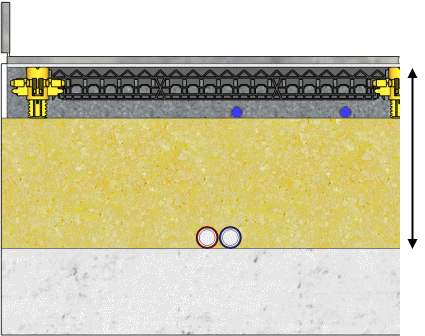
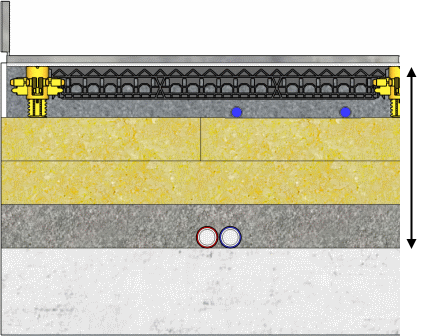
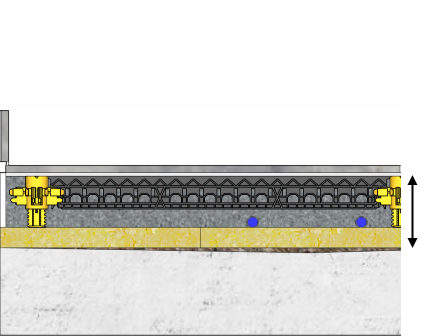
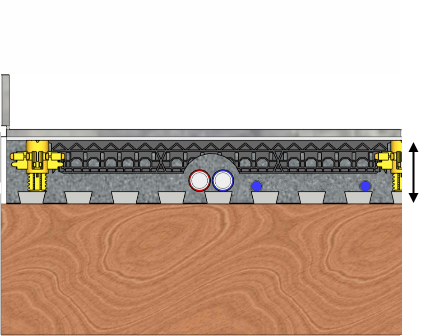
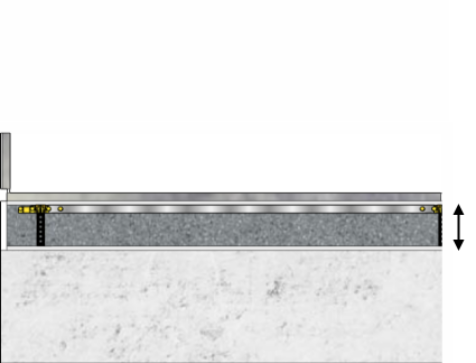
Possible screed floor constructions

Blogs (guides)
Easily lay screed yourself, even without experience
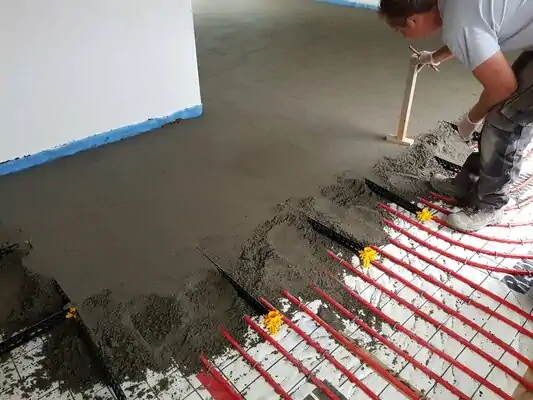
With the StaenisGrid, laying screed yourself becomes much easier. While screeding, you can easily follow the height reference points of the grid, ensuring your screed is laid perfectly flat. Once the StaenisGrid is properly set, you don't have to worry about the height while leveling the screed. This allows you to fully focus on supplying, compacting, and polishing the screed. The compartment structure distributes the stresses in the screed, ensuring you always achieve a high-quality end result. You also don't have to screed a large area all at once. If the screeding isn't finished in one day, you can simply continue whenever it suits you. Choose your floor build-up above and view a tailored guide for laying screed.
Laying screed yourself with the Staenis grid = saving
By installing your screed yourself with the StaenisGrid, you are guaranteed a professional result and can save significantly. You save especially on small surfaces, as you are not charged a flat rate by a screeder. For larger surfaces, you can also save on a decoupling mat, an average saving of 30 euros/m². Furthermore, with the StaenisGrid, you do not need an iron reinforcement mesh to lay your screed. Moreover, when working with the StaenisGrid, an expansion joint is automatically created every half meter in your floor. Therefore, it is not necessary to install a real expansion joint in the screed or in the tiles.
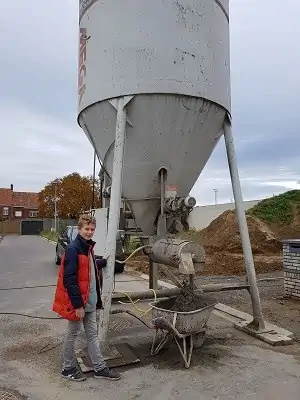
Making screed yourself: adding water
Adding water to the sand-cement mixture is a crucial step to obtain a good screed. It is important not to add too much water at once, as this can lead to a screed that is too wet and weak. Add the water gradually while continuing to mix the mixture well. Make sure the mixture forms a good slurry that is neither too wet nor too dry.
Screed drying time
The drying time of screed depends on various factors such as the thickness of the screed, the humidity, and the ambient temperature. In general, it takes about 1 week per centimeter of thickness before the screed is dry enough to install a floor finish. It is important to allow the screed to dry properly before proceeding with the installation of tiles or other floor finishes. Screed that is too moist can lead to problems such as tiles coming loose, mold formation, or other moisture issues.rel=0&enablejsapi=1&origin=https%3A%2F%2Fwww.staenis.com" allow
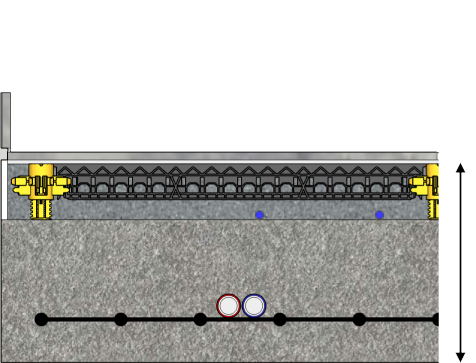
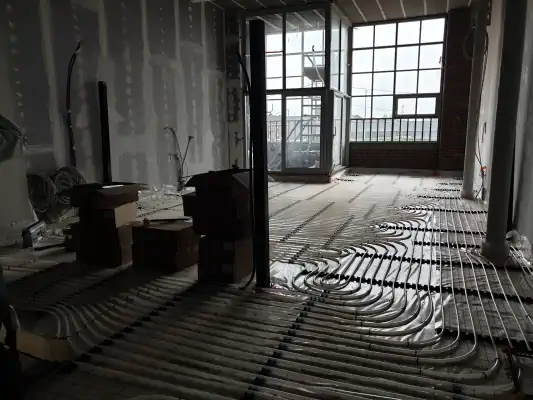
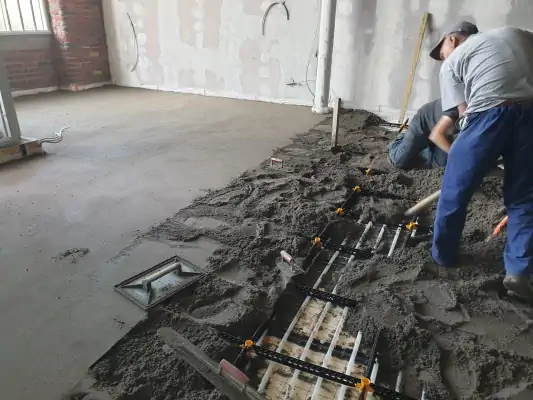
Screed and underfloor heating
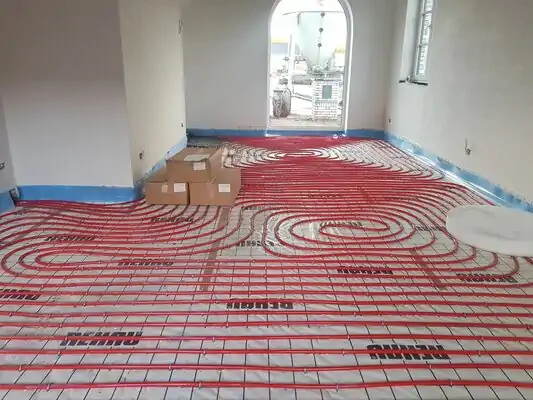
When installing underfloor heating in combination with screed, there are a few additional points to consider. Make sure that the underfloor heating elements are properly fixed and cannot shift during the placement of the screed. It is also important to make the screed sufficiently thick on top of the underfloor heating, so that the heat is well distributed and the underfloor heating works efficiently.
Conclusion
Making and installing screed is an important part of floor construction. By using the correct proportions of sand, cement, and water, and taking into account the drying time and any underfloor heating, you can ensure that your screed forms a solid and even base for your floor finish. The StaenisGrid system makes laying screed easier and more accessible, even for people without experience.
Installation video
Laying screed yourself
Expansion joint and height difference
Calculator and prices