Tegels
Install your own tiles?
I am planning to lay tiles myself soon in my kitchen, bathroom, or toilet, but I don't know how to get started yet.
We are happy to help you get started with the 13-step plan below, drawn up by Belgian tiling champion 2017, Tom Verstaen
Video: bonding ceramic tiles to screeds
1) Start with a good base
- A screed floor (possibly self-installed and reinforced with the Staenis grid)
-
Existing tiling
- Sweep and make the top layer dust-free by vacuuming.
- Thoroughly degrease the existing tiled floor

2) Prime the substrate
-
Apply a transparent porosity-controlling primer to a screed floor.
- This will make the tile adhesive remain workable for a longer period once applied to the screed floor.
-
Apply a transparent adhesion-improving primer to an existing tiled floor
- This ensures the bonding bridge between the existing tilework and the tile adhesive.
-
Do not apply primer in an outdoor application (terrace)
- Due to the primer, the substrate will become partially waterproof, which may cause problems later on.
3) Determine where the first tile will be placed
- It is very important to determine in advance where the first tile will be placed and in which direction it will be laid.
- Check here how large the tiles are at the walls. Keep these cut tiles larger than 50%, as this looks better visually.
4) Prepare the tile adhesive
- For this, you use a tub and a mixer.
- Pour the correct amount of water, measured with a measuring cup, as indicated on the tile adhesive bag, into the tub.
- For most applications, you will need an S1 tile adhesive. This is of good quality and ensures easy installation. Always consult the manufacturer's technical data sheet.
- Mix the mixture for a few minutes, wait a few minutes, and mix the mixture a second time.

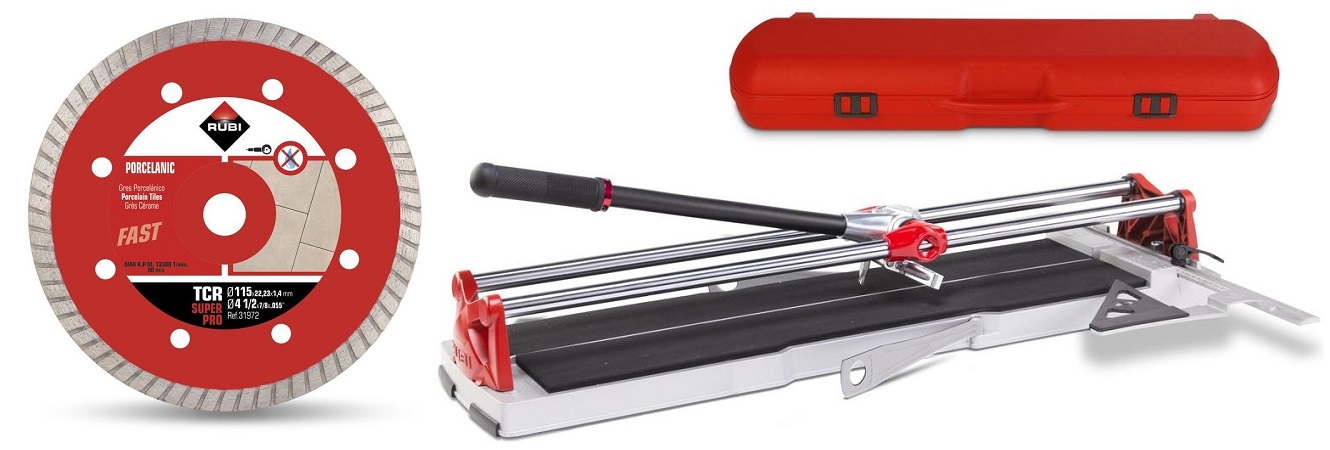
5) Cutting a tile
- Use a tile cutter to cut one straight line.
- Use a grinder with a specific diamond saw blade to adjust the tile in different directions.
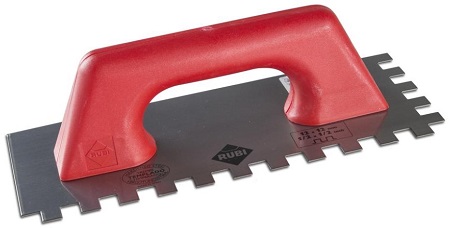
6) Gluing the subfloor
A 12 mm notched trowel provides an adhesive height of 3 mm and a consumption of 6 kg/m².
- Take a scoop of tile adhesive with a trowel
- Rub and scrape the adhesive over the screed with the flat side of the notched trowel; this greatly improves adhesion.
- Add more tile adhesive to the substrate.
- Hold the notched trowel at a 45-degree angle and make straight adhesive ridges.
7) Gluing the tile in place
- Take a scoop of tile adhesive with a trowel
- Rub and scrape the glue over the tile with the flat side of the glue trowel; this greatly improves the adhesion.
- Optionally, also apply adhesive ridges to the tile, parallel to those on the substrate. This allows you to further increase the height.
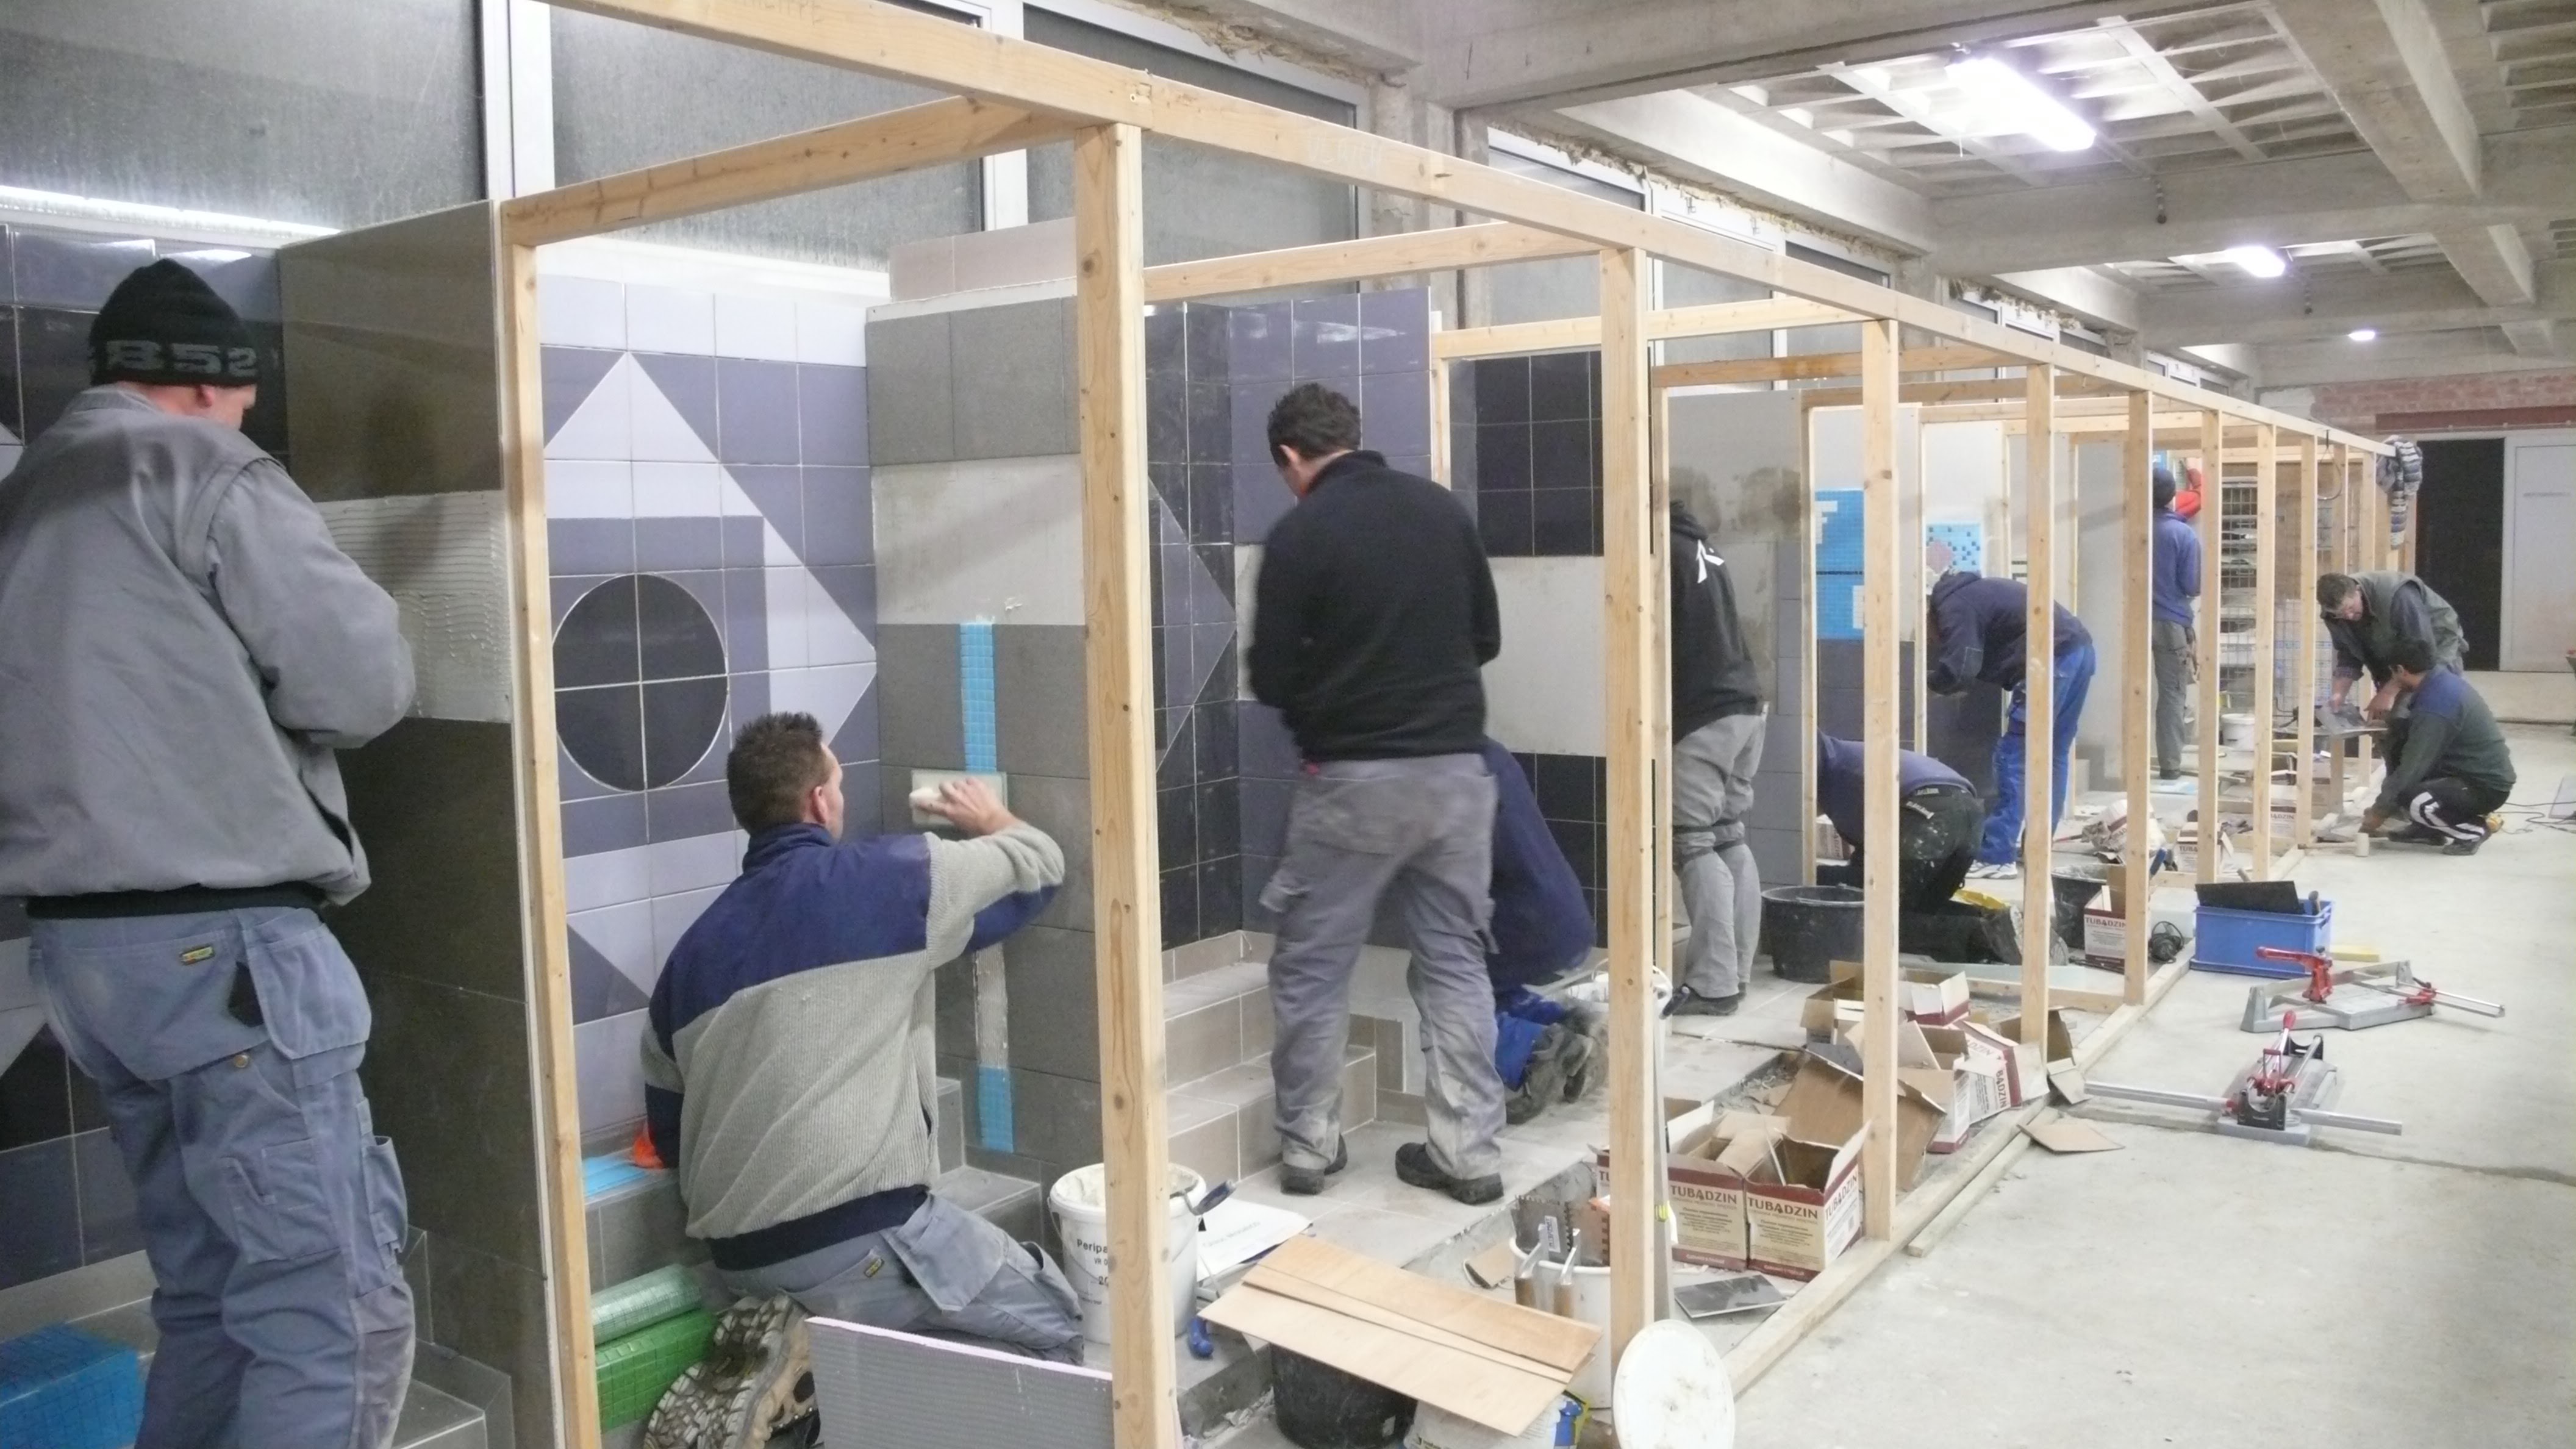
8) Laying tiles
- Place the levelling or leveling clips under the previous tiles.
- Place the tile with one edge against the other tile and let it drop from approximately 10 cm height. This removes most of the air between the substrate and the tile and ensures fuller adhesion.
- First, manually press the tile down until it is at the same height as the previous tiles. Follow the flatness of the substrate while doing this.
- Place a 3 mm tile spacer between the two tiles. By relying on the tile spacer instead of the thickness of the clips, you ensure that the tiles can be placed much more neatly. This is because the tile spacers always remain clean and do not cause varying joint widths, whereas clips do.

9) Installing a levelling or leveling system
- Place the levelling or leveling wedges through the clips, with the high side of the wedge against the last placed tile.
- First, try working without the tensioning pliers. The pliers are only used to make the last 1 mm perfectly level. You eliminate the initial height difference between the tiles by pressing the tile itself down.
- When finishing the tiling, it is best to place clips back under the last tiles, so that you can still use the leveling or levelling system the next day.
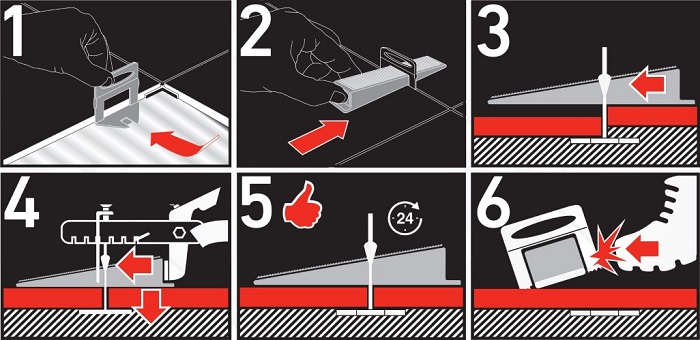
10) Remove clips and wedges
- Pry or tap the clips loose sideways.
- Try to completely break off the plastic from the clips. If this does not work, you can cut or scrape it off with a tool of your choice.
11) Grouting
- Make sure the joints are clean over the entire surface.
- Make the entire surface dust-free by mopping with water without soap.
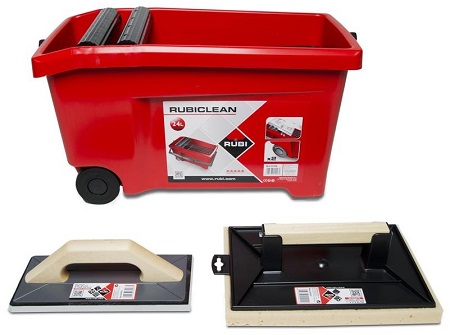
- Push the grout into the joints using a grout float.
- Clean this with a sponge
- First, try grouting small areas. After that, you can always make and apply more grout.
12) Installing skirting boards
- Use tile adhesive for this or, if necessary, silicone.
- Push the skirting board against the wall and use another tile to push it at a right angle, using the flatness of the floor.
- Place 2 tile spacers under the skirting and position the skirting nicely over the underlying tile.
- Fill the raised joint with grout, the top with acrylic silicone, and the bottom with sanitary silicone.
13) Finishing
- Remove the remaining layer of dust from the tiles with water without using soaps. Repeat this until the tiles are clean.
- Only use soap in the water to clean after 1 week.