How to lay screed yourself
By Staenis | 02/05/2021
How to install screed yourself?
Would you like to install your own floor? Then it is important to have a good foundation. Your screed must be perfectly level in order to properly install your floor finish. Nowadays, you can easily lay screed yourself, even if you have no experience. Discover how to get started and get to know a handy DIY system.
Before you start: check which type of screed you need
Before you can start laying your screed or subfloor, you need the right screed for your job. Traditional screed usually consists of sand, cement, and water. But be careful, other compositions are possible. In addition to traditional screed (or cement-bound screed), there is also screed based on gypsum (anhydrite liquid screed) and leveling screed with an insulating effect (insulation screed). Which screed you should use depends on how your floor is constructed and the requirements the screed must meet. Find the most suitable floor structure for your new floor.
Make screed yourself, buy ready-made screed, or have it delivered
Do you know which screed you need? Then you can make your own screed, purchase it, or have it delivered. Making screed yourself is feasible if you need a smaller quantity. If you want to make things easier for yourself, buy ready-made screed in bags from a building supplier or DIY store. But if you need to screed a large area, it’s best to have a screed silo with ready-made screed delivered to your site. With a screed silo, you decide when to carry out the work. Because fresh screed is prepared per wheelbarrow each time, there are no leftovers and you are not under time pressure. Traditional screed, after all, has a fairly short processing time of about three hours. Read more about purchasing and having screed delivered and learn in this article how you can make your own screed.

Laying screed yourself in the traditional way: risk of damage
With your screed at hand, you can lay your screed yourself. You can lay your screed yourself in the traditional way, just like a professional screeder does. This is how it goes: you prepare the subfloor, mix your screed, and pour it over the floor. Then you level the screed with two battens and let your screed dry and harden properly. But if you do not have the necessary knowledge and experience, the chances of achieving a good result are slim. Laying screed is specialist work and the screed layer must be perfectly even and completely level. If you do not lay your screed according to the rules of the trade, your screed may eventually crack, subside, and come loose from the floor. Read more here about the risks. But there is another way!
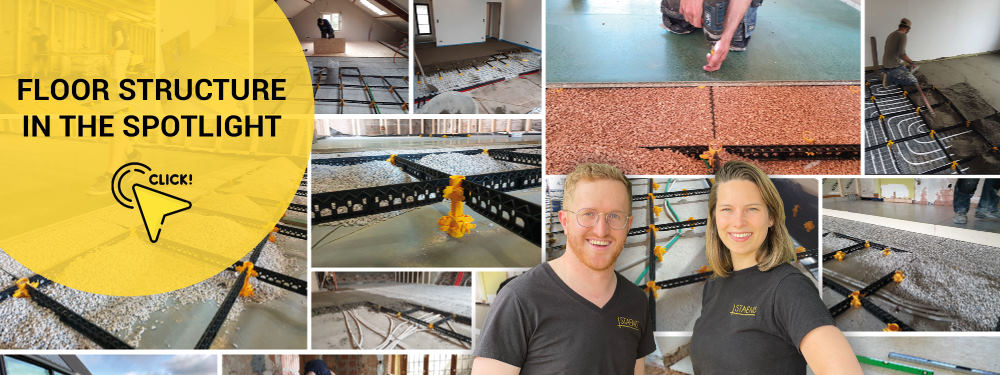
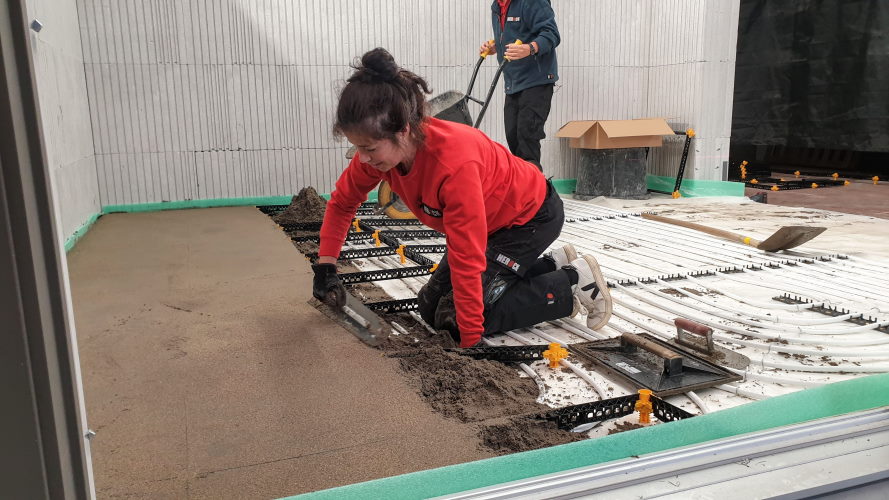
Laying screed with the StaenisGrid = preventing damage
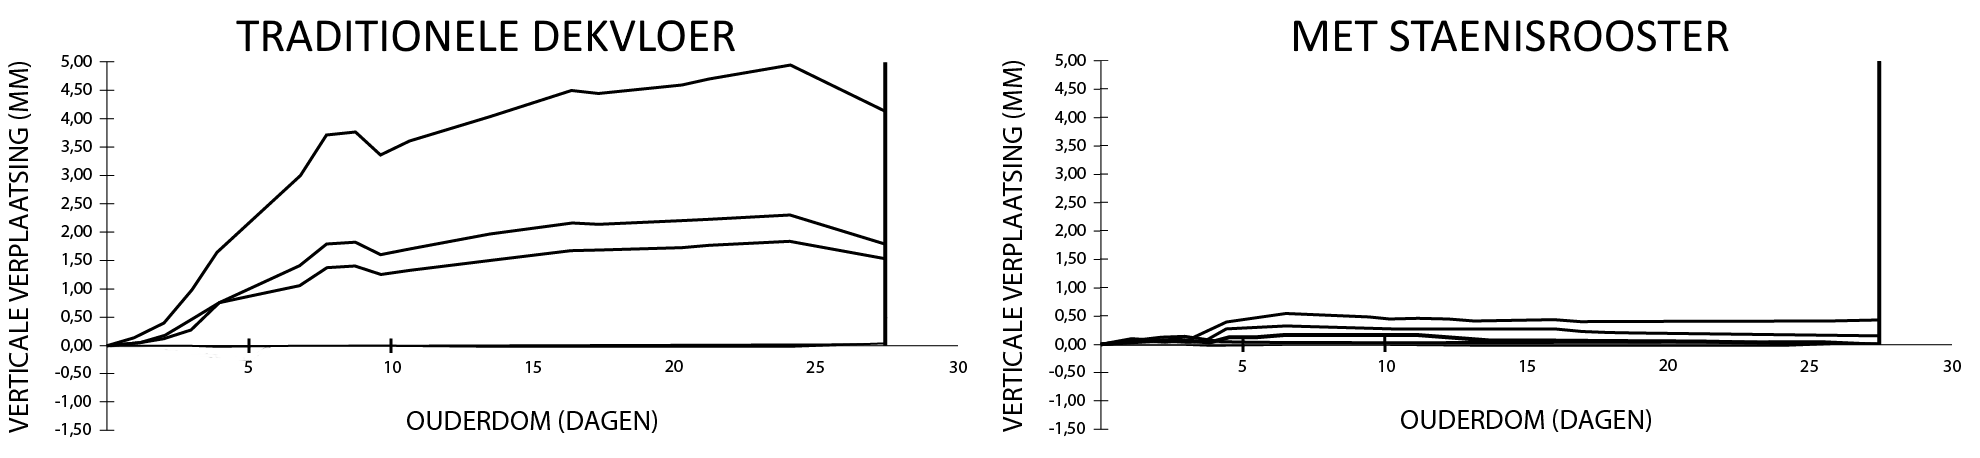
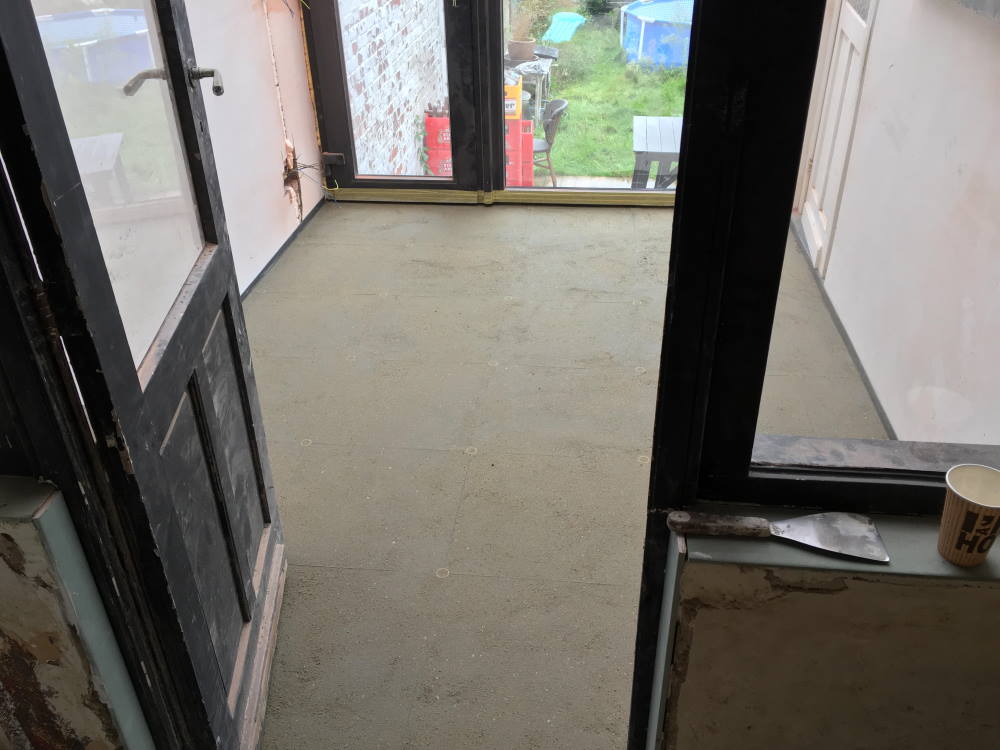
There is an easy way to quickly and simply lay your own screed, without risk of damage. The StaenisGrid consists of slats and height-adjustable legs, which you easily click together and adjust in height with a screwdriver. The screed grid divides the floor structure into small sections of 0.25 m². As a result, there is no risk of cracking, sagging, or detachment of the floor. Impressive: a traditional screed floor with reinforcement mesh or fibers will eventually become up to 5 mm uneven at the corners. But with the Staenis screed grid, your screed floor remains perfectly level. Can it work for your project too? Absolutely! A screed with StaenisGrid, possibly with underfloor heating, can be installed on a concrete slab, a concrete slab with insulation screed, a concrete slab with sprayed PUR, and so on. Discover all the benefits of the Staenis DIY system and get tailored advice for your project.
How to lay screed with the chape grid?
How to lay your screed yourself using the StaenisGrid? First, measure the space. Then choose the suitable floor build-up for your project with the handy floor build-up tool. You will immediately discover which filler(s) you need: screed, insulation screed, dry fillers, or drainage mortar. With the quantity calculator, you can quickly calculate online how much filler you need, as well as how many Staenis slats, legs, and possibly extension legs. Next, purchase your StaenisGrid, fillers, and installation tools online via the webshop. Then it's time for the real work! You easily level the legs of the StaenisGrid. After that, you fill the grid with the filler. While compacting and leveling your screed, you follow the height reference points of the StaenisGrid. In a nutshell: Place, fill, level, done!

Laying screed yourself is now easier than ever thanks to the handy StaenisGrid. Find your ideal floor build-up here and immediately view a clear step-by-step plan for your project. Order your StaenisGrid, the necessary fillers, and the installation tools online via this webshop.)
Customer enquiries

Discover whether the Staenis system is suitable for vaults, how to apply an insulating screed, and request a quote for 40m². More info!