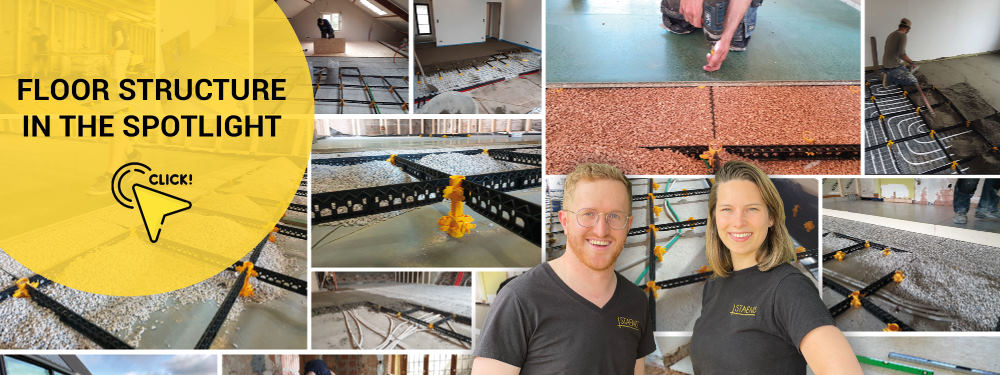
Subfloors
origin, claims, legislation
Origin
More insulation in the floor structure, tiles that are larger and more densely pressed, but still the same screed. This naturally leads to cases of damage/problems, which the BBRI and Ghent University have mapped out through the research project (TETRA/IWT project) and compiled in the Pocket for insulated interior floors. Staenis carried out exactly the same tests and solved all problems with screed floors, so that thick insulation layers and the new larger tile formats are no longer an issue.
Current claims/issues
Cracks and detached joints
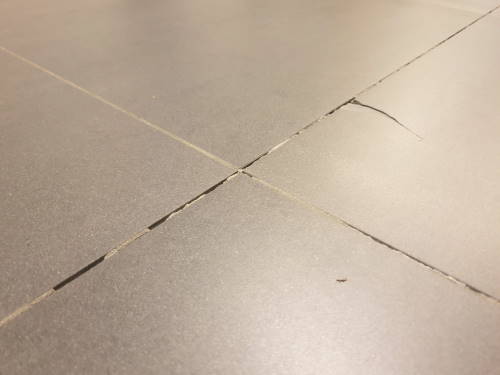
This damage occurs due to large shrinkage stresses of the screed in combination with the heating up and cooling down of the floor structure caused by weather conditions and underfloor heating.
Expansion joints
Expansion joints must always be respected with a normally reinforced screed, which is less aesthetically pleasing. If these are not installed, the screed will divide itself.
Subsidence
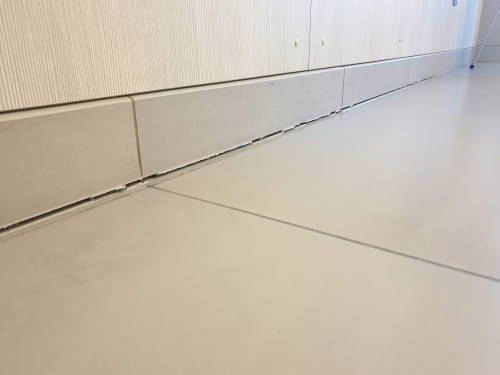
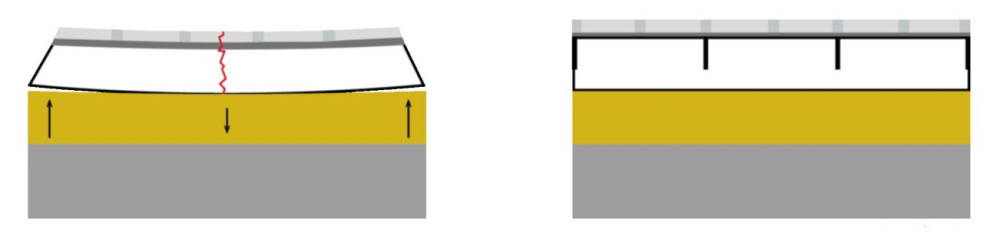
This type of damage occurs due to the deformation of the normally reinforced screed and pushes a depression into the insulation layer. This is called warping/cupping/doming of the screed.
Legislation
WTCB legislation TV 237
Technical Information Sheets (TV) are publications of the BBRI, which serve as a guide for the execution of works in various fields of construction. This Technical Information Sheet No. 237 provides general guidelines for the installation of ceramic indoor floor tiling.
Crossed tiles or tiles + 60 cm on underfloor heating

On underfloor heating, tile sizes up to a maximum of 3,600 cm² (for example, 60 x 60 cm) are allowed without the use of preventive systems, as long as the general installation rules with straight joints are respected. Staggered installations (tile patterns) are best avoided on heated floors and terraces.
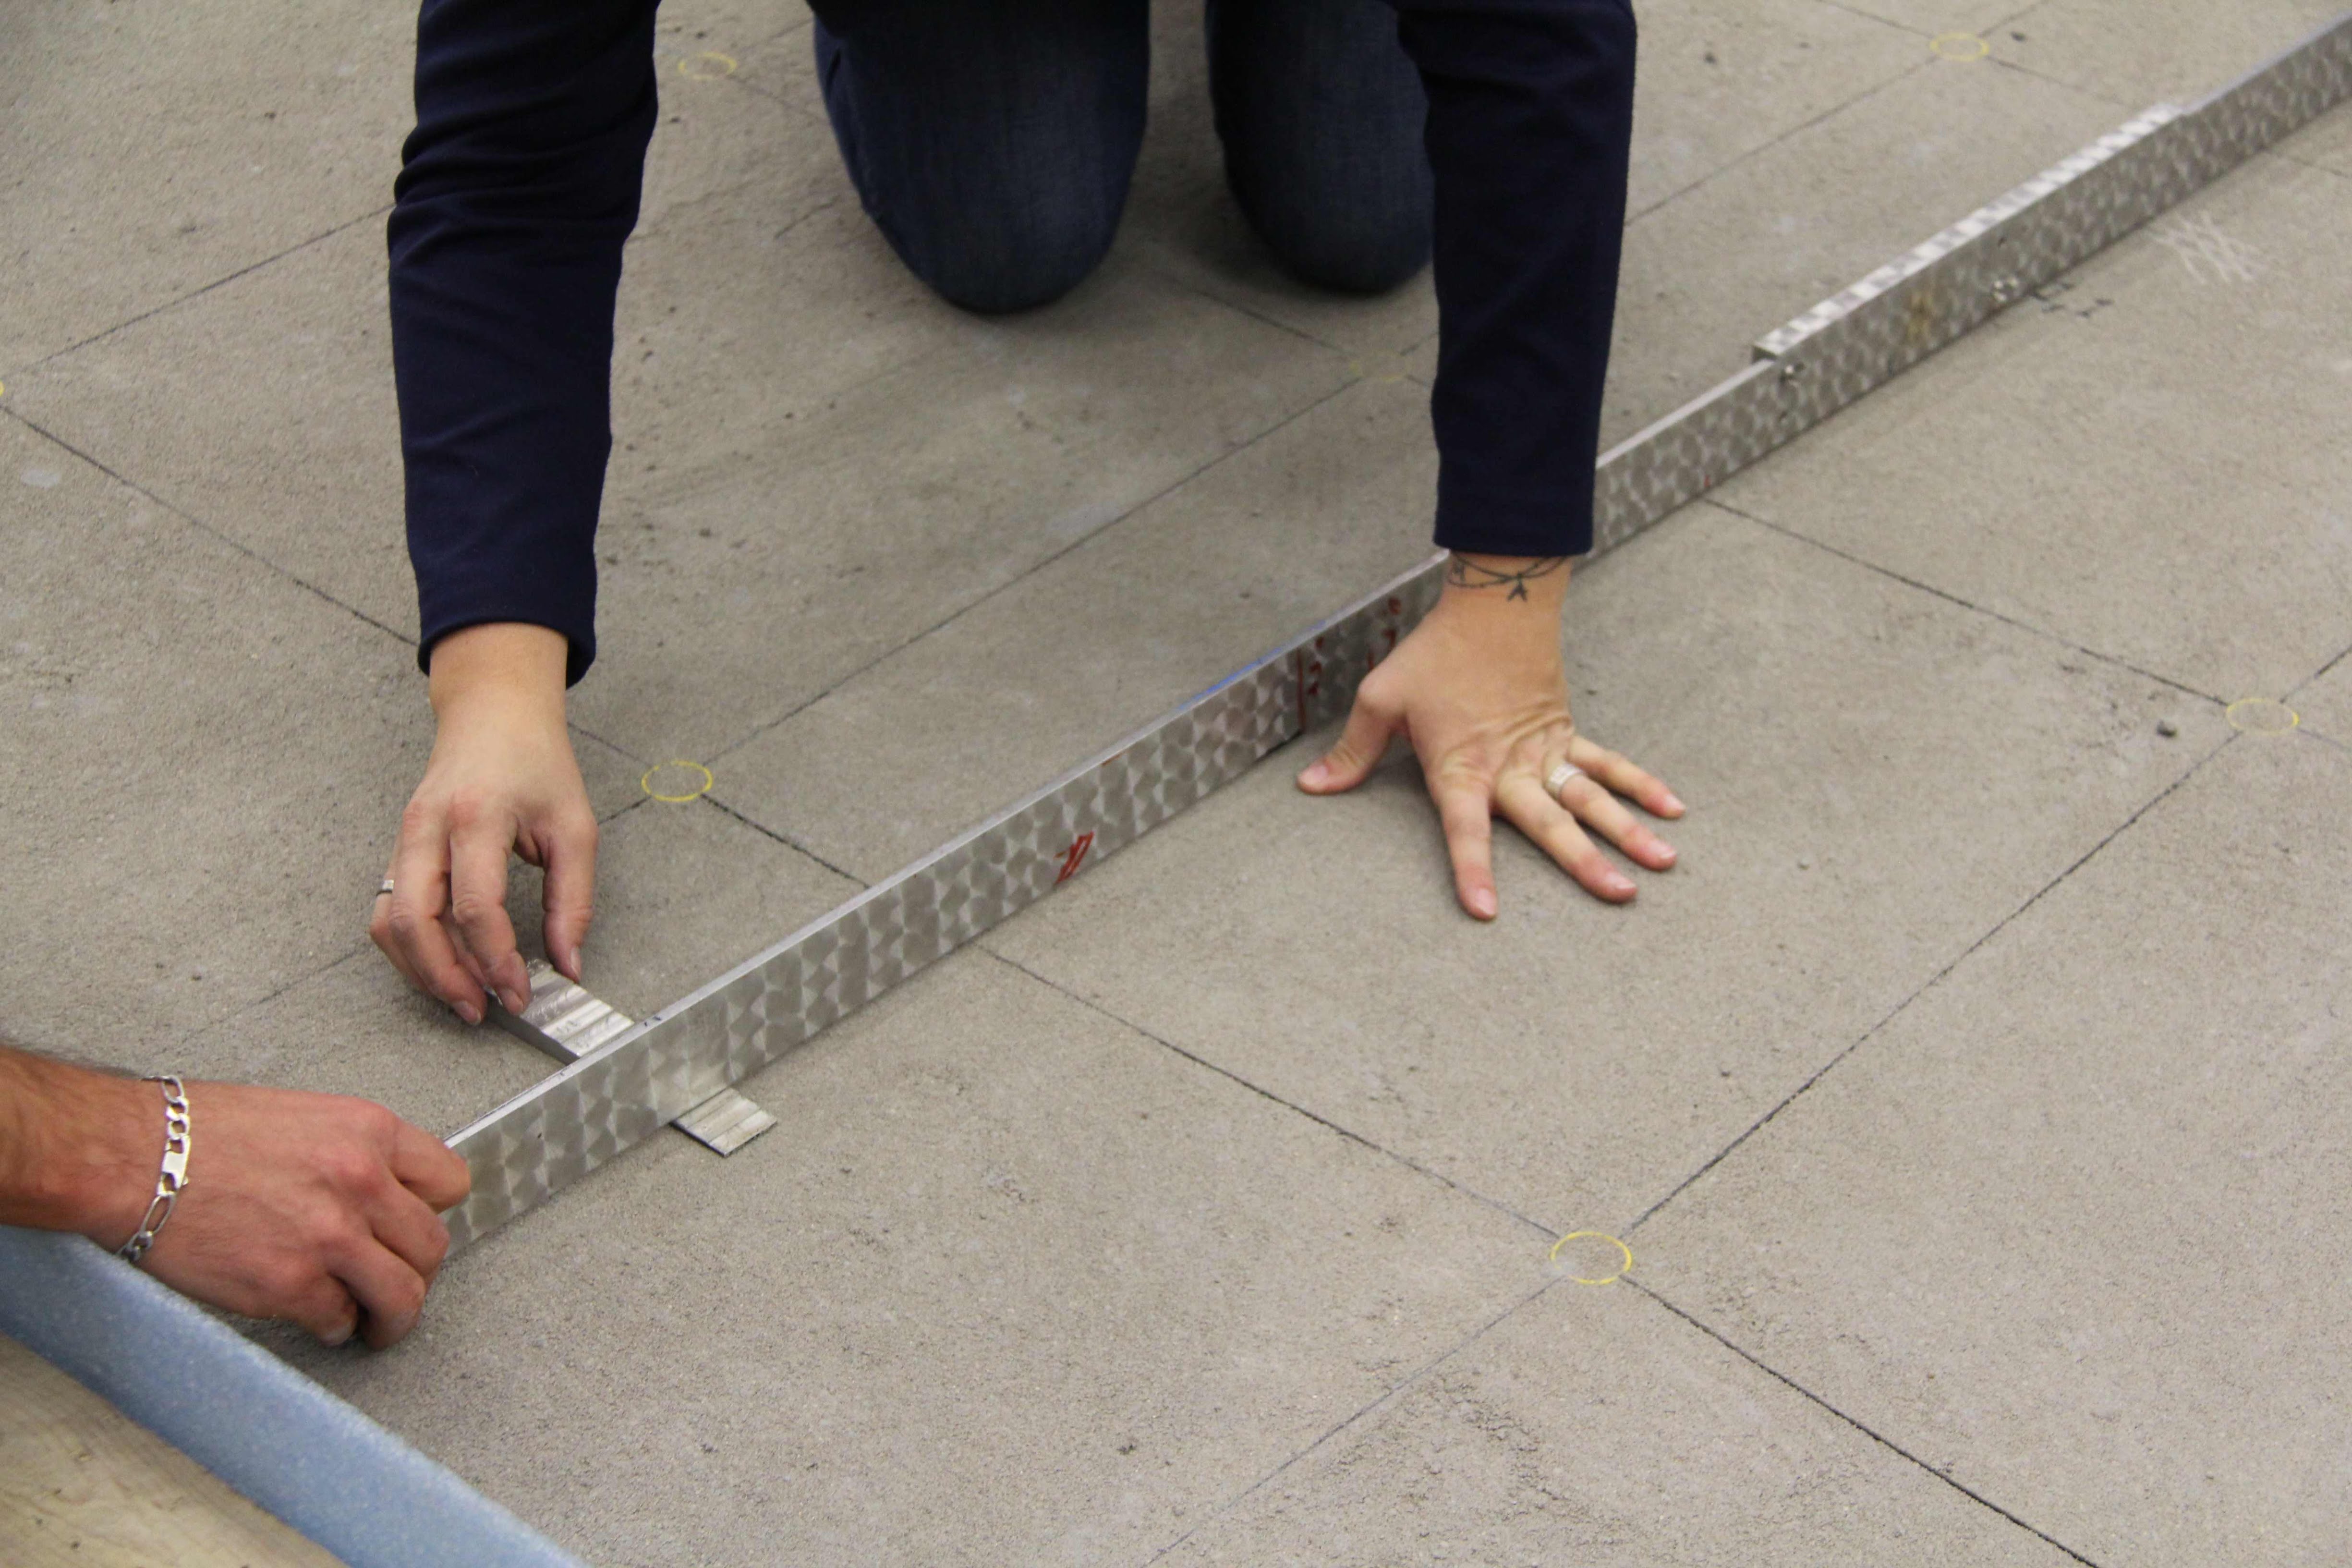
Dekvloervelden
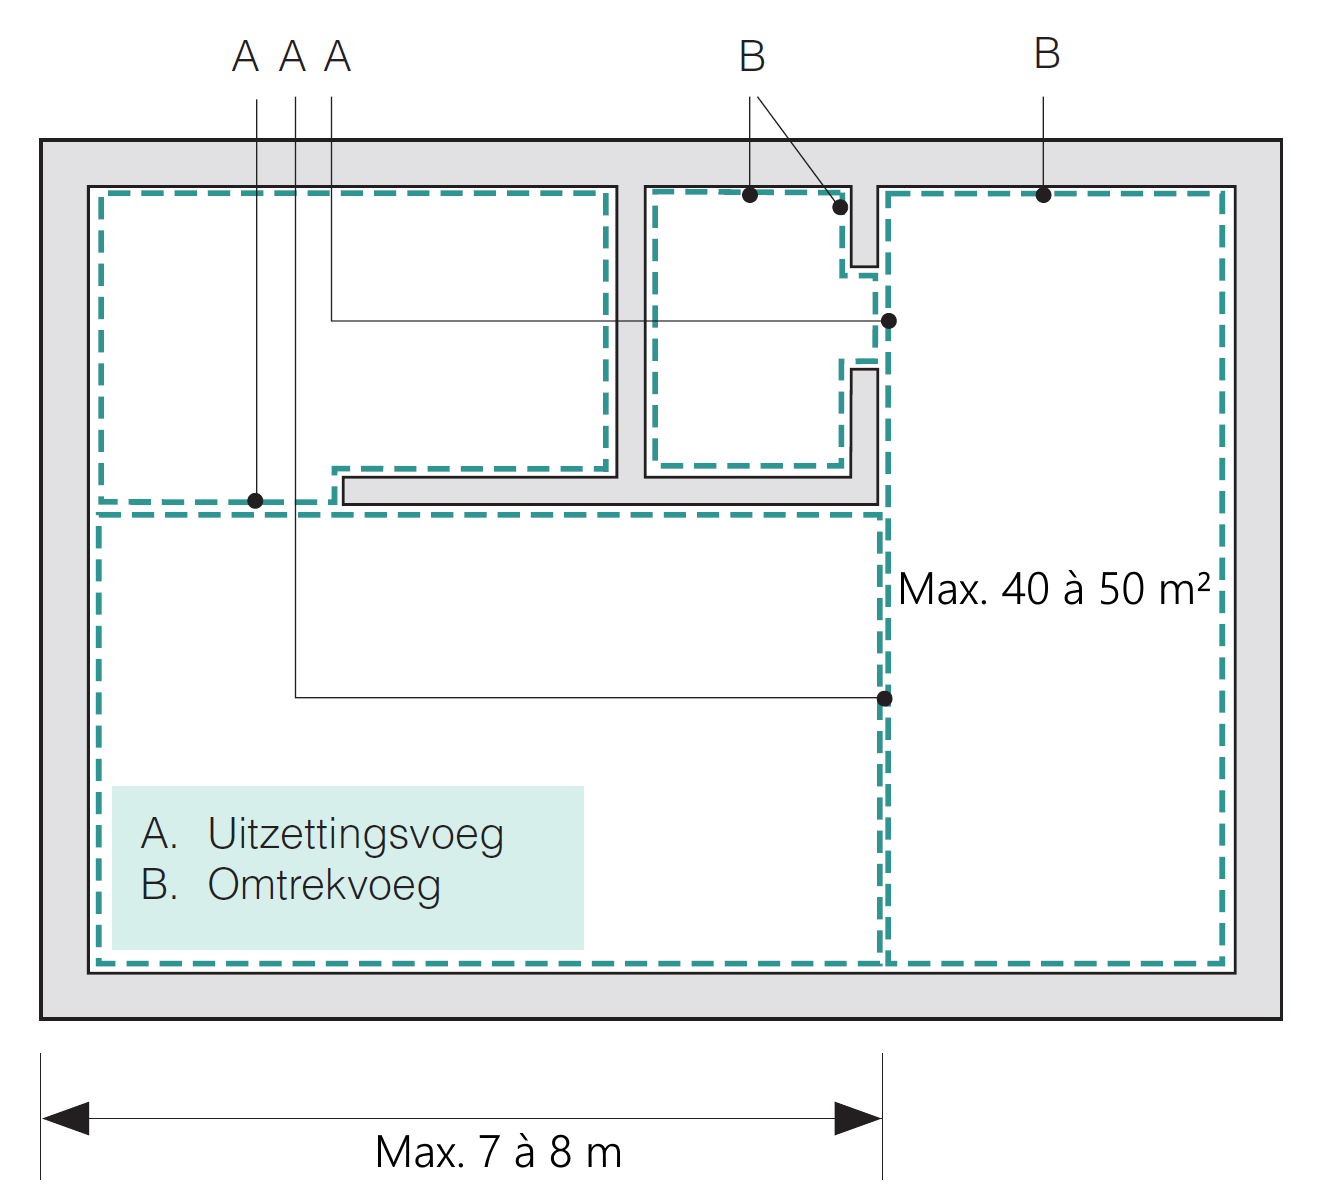
To minimize the thermal movements of the screed, the length of the screed sections should be limited to (5 to) 8 m and the surface area to 40 to 50 m². When positioning the expansion joints, one should always aim for rectangular sections with a length-to-width ratio of no more than two.
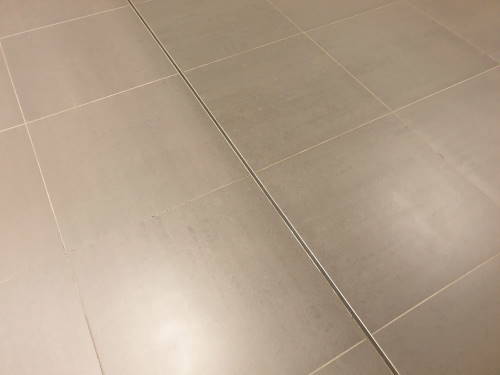
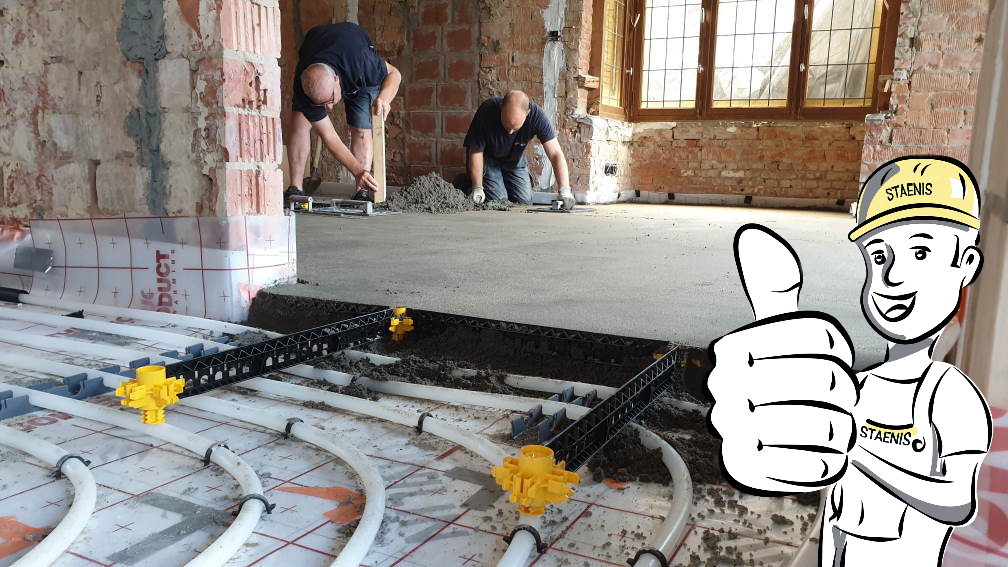
Solution = StaenisGrid
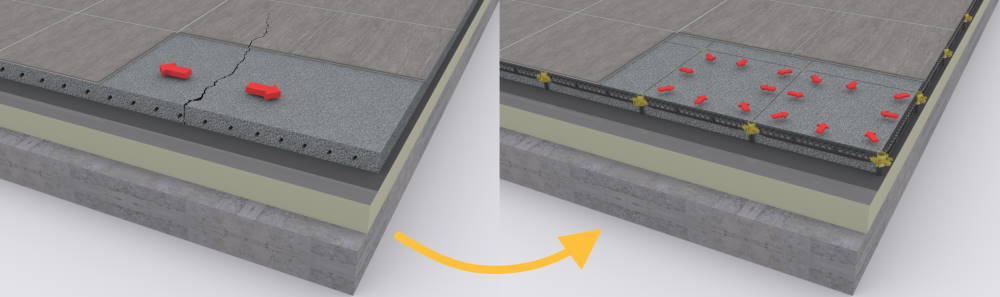
Compartmentalization of the screed = stress-free screed
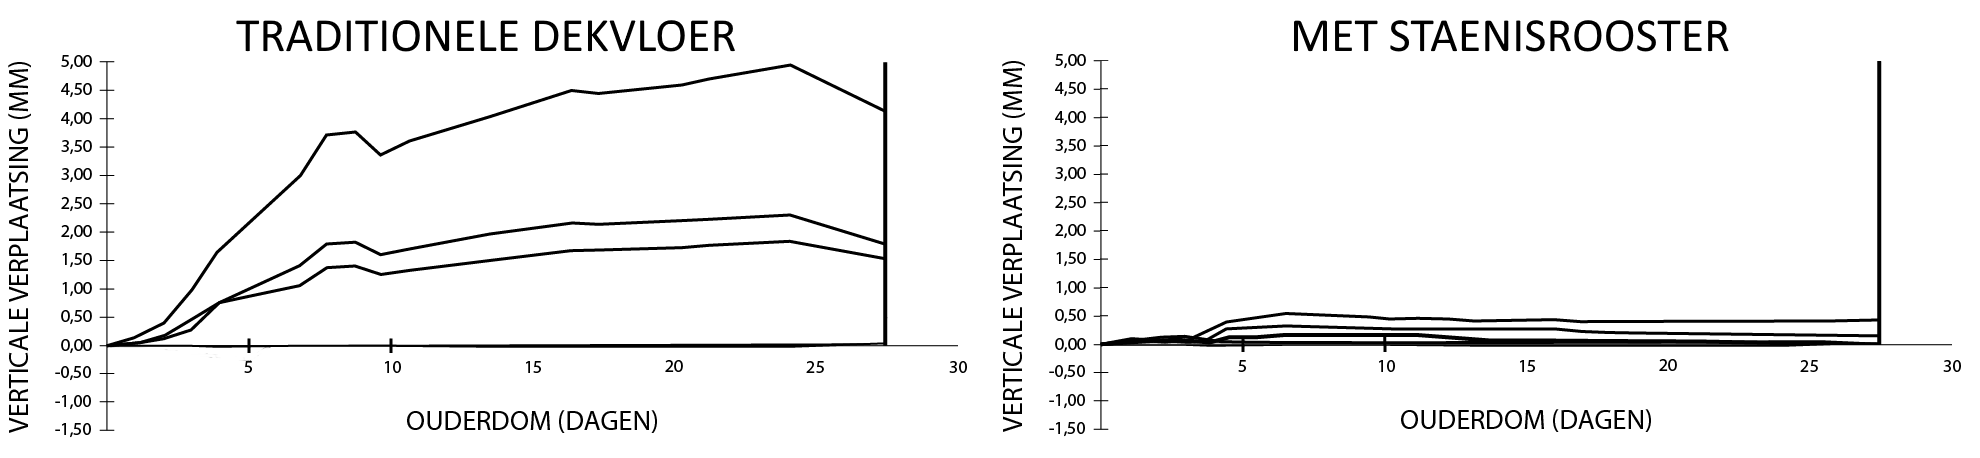
In the tables above, you can read the vertical displacement in relation to the number of days after the screed has been laid (with 250 kg cement/m³). Here you can see that a traditional screed floor with reinforcement mesh or fibers can become up to 5 mm uneven at the corners, while with the StaenisGrid all values are 10 times lower and thus no warping/cupping/bulging of the screed occurs. As a result, floor coverings can be installed more quickly, easily, and without risk.
Replaces the steel reinforcement mesh = saving an average of 3 euros/m²
Basic information about screed: It is important to know that a standard screed (a mixture of sand, cement, and water) tends to shrink on average 0.7 mm per meter during drying after installation. For a screed floor 8 cm thick, for example, the top 2 cm will dry the fastest. As a result, the screed in the top 2 cm will want to shrink and may crack or show a dish-shaped effect, which manifests itself in the sides and corners of the screed lifting. Often, the tiles are installed at this point. Over time, the screed continues to dry throughout its entire thickness, through the joints and sides of the floor. This will also cause shrinkage in the lower part of the screed, putting the tiles and screed under enormous stress and greatly increasing the risk of cracked tiles, loose floor coverings, etc.
The StaenisGrid divides the screed in such a way that the stresses are greatly reduced. No or very few remaining stresses = no shrinkage damage and no subsidence after a few years.
A standard reinforcement mesh or fibers are designed to reinforce the screed without an insulation layer. Now, with the advent of thick insulation layers and new tile formats, these are causing quite a few problems.
Replaces a decoupling mat = saves an average of 30 euros/m²
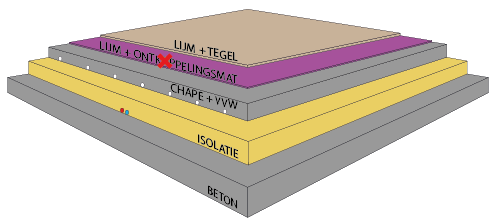
The StaenisGrid divides the screed into areas of 0.5 x 0.5 m. This distributes the dish-shaped effect and minimizes it in each compartment. As a result, the screed continues to rest on the substrate and the tiles (floor finish) experience no stress, making a decoupling mat (+adhesive) costing €30/m² unnecessary. For the surface area in the living room and large spaces, this can quickly save you €1,500.00.
No expansion joints required in the screed = saving an average of 3 euros/LM
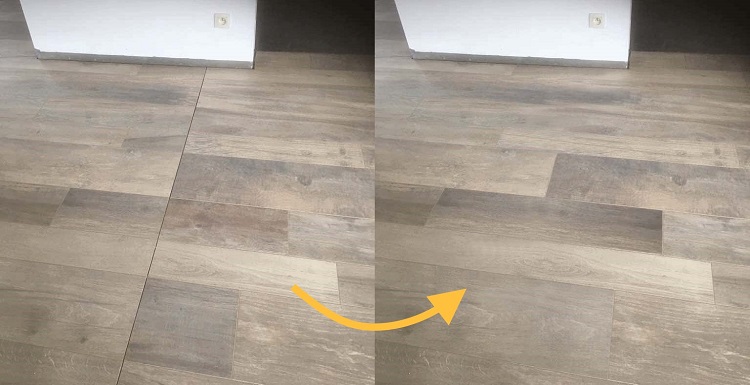
A traditional screed is always divided by an expansion joint every 6 to 8 meters on average, depending on the type of floor covering and whether or not underfloor heating is present. Because with the StaenisGrid there is an expansion joint every half meter, it is unnecessary to place a real expansion joint, either in the screed or in the tiles. This results in a beautiful and aesthetic end result. However, keep in mind that an expansion joint still needs to be placed at openings smaller than 110 cm.
Much faster start-up of underfloor heating possible = faster construction process

The waiting time to start the underfloor heating protocol with a traditional screed is 28 days. After one or more cycles of the underfloor heating, you can start installing the floor covering. With the StaenisGrid, you can start the underfloor heating start-up protocol after just 7 days and always install the floor covering after 28 days, regardless of the thickness of the screed.
Calculate the quantities and visit our webshop.
All products/items related to floor constructions can be found on this webshop.
- Such as screed, stabilized sand, and drainage mortar supplied in a silo
- (tileable) insulation screed supplied in bags
- Recycled aerated concrete granules supplied in bags.
- As well as the installation materials to level these, such as the StaenisGrid, float, and screed iron.