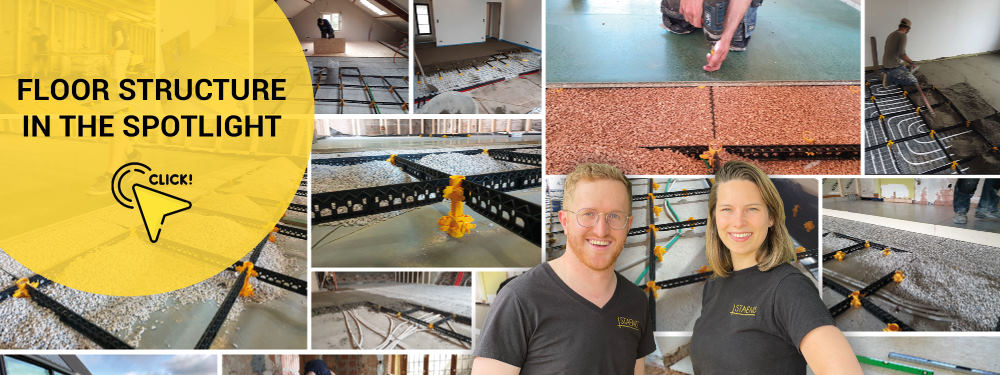
Install a High-Quality Terrace Yourself | info and prices
Discover your perfect terrace solution!
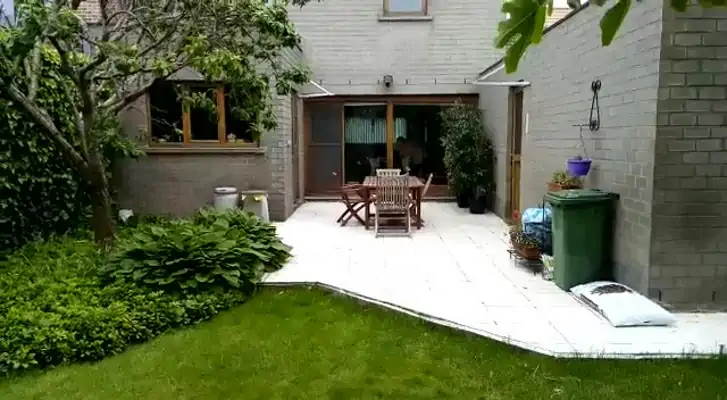
Are you planning to install a terrace yourself? Make sure that moisture and temperature fluctuations do not get a chance to shorten the lifespan of your terrace, and opt for a high-quality floor structure.
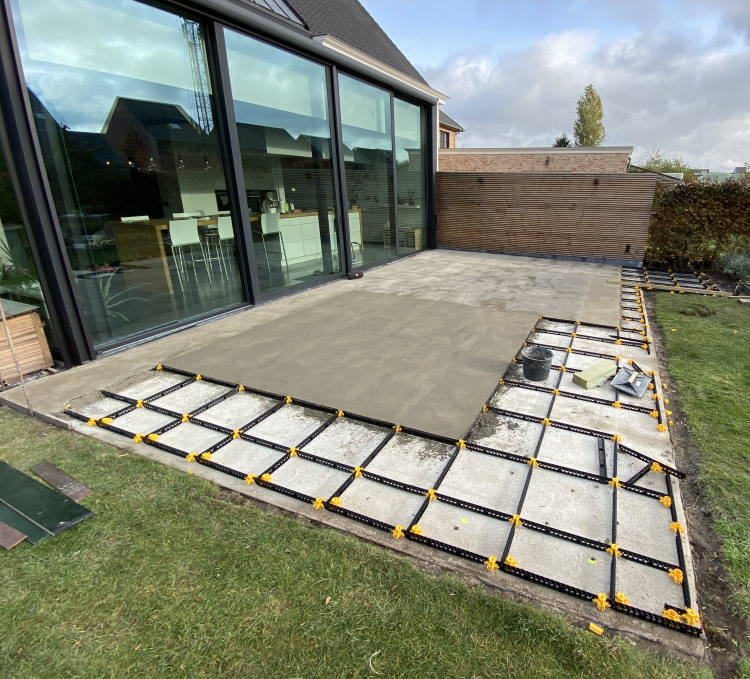
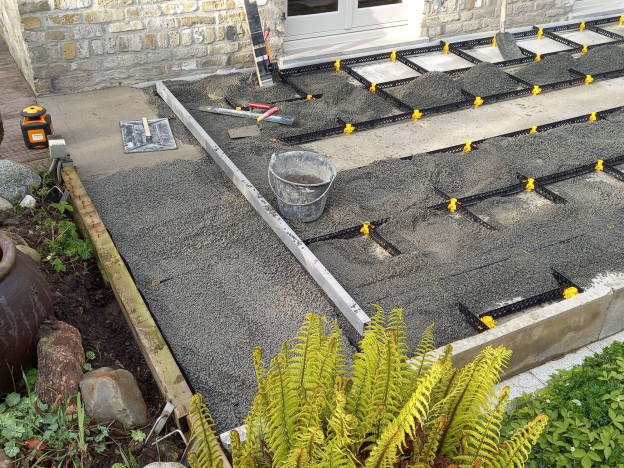
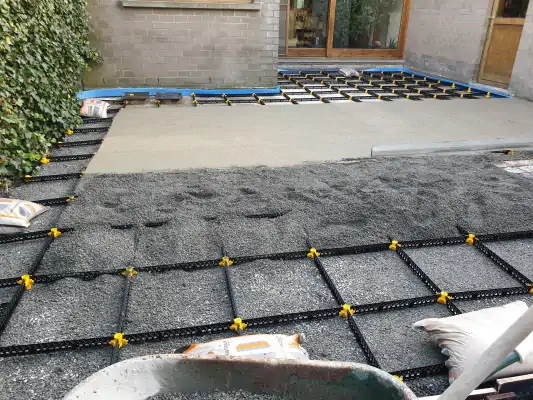
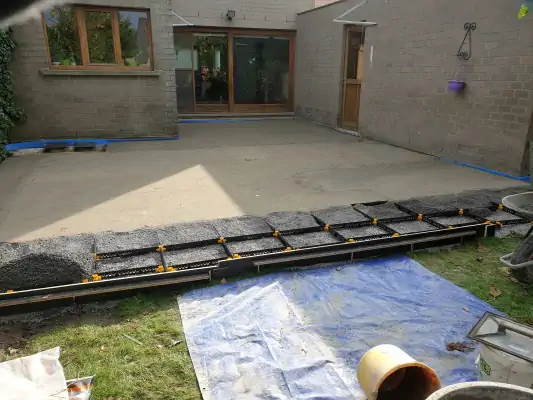
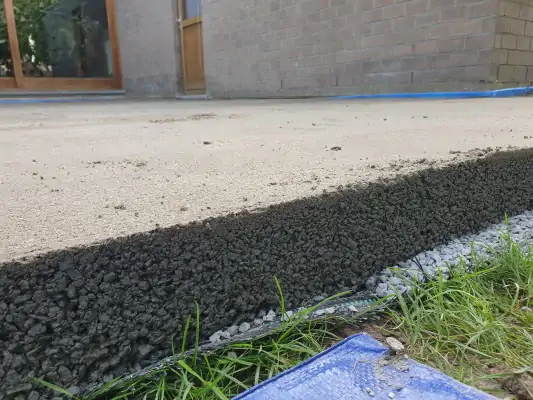
The StaenisGrid, in combination with screed or drainage mortar, is the top recommendation for a durable and high-quality terrace. Depending on the situation, a screed may suffice, or a draining floor screed may be necessary. This ensures you have a terrace that is resistant to moisture, frost, and heat.
Some advantages of the Staenis grid:
- Easy to install at an angle
- Reinforced terrace screed
- Use of a screed silo for efficient work
- No expansion joint required when work is spread over several days
- Suitable for various substrates and finishes
Moreover, you save significantly by combining drainage mortar and the StaenisGrid, which replaces the traditional drainage mat, reinforcement mesh, and decoupling mat + adhesive.
Finally, the drying time of a drainage mortar screed is only 14 days, compared to 28 days for traditional screed. Choose the StaenisGrid and quickly enjoy your beautiful new terrace!
Applications
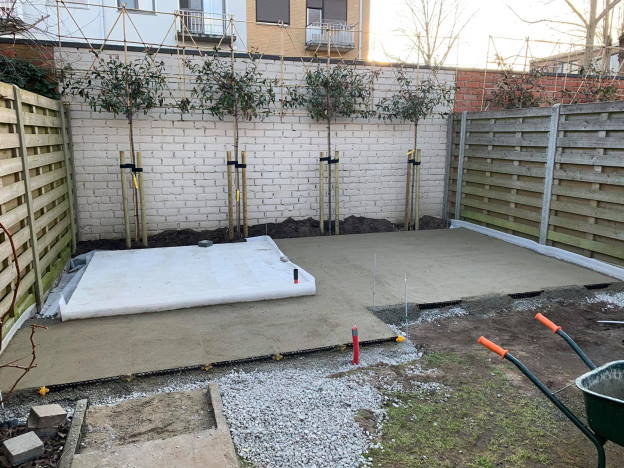
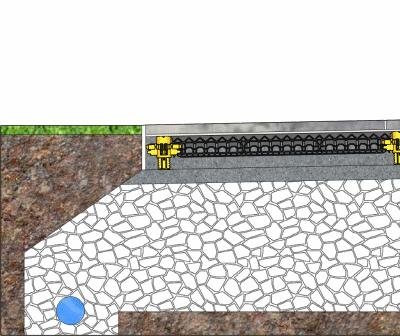
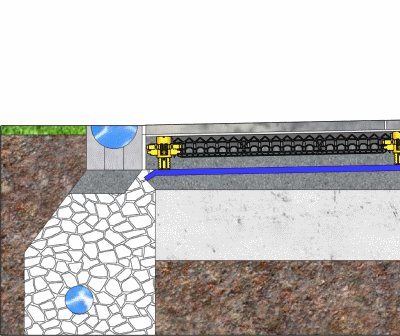
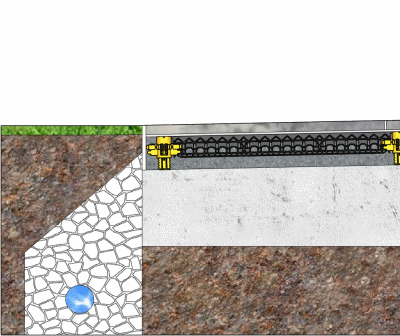
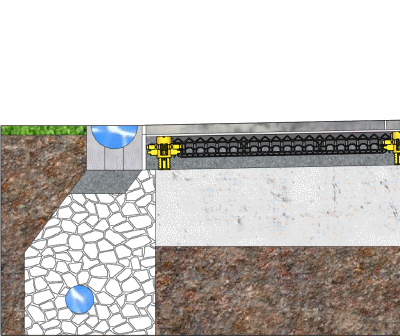
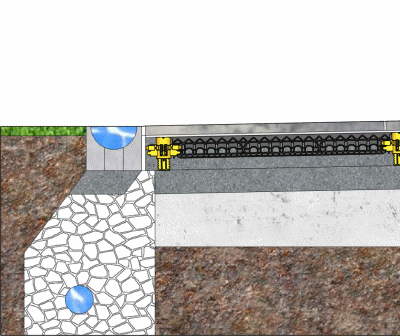
Terrace on natural ground: If your substrate is permeable, you can use screed in the StaenisGrid to perfectly install your terrace with a slope.
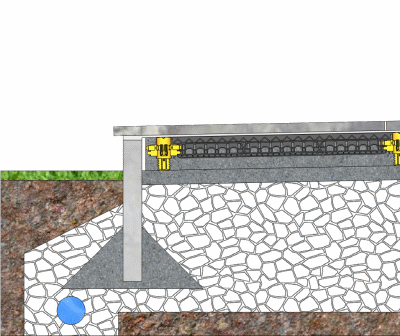
Terrace with concrete slab: Is there already a concrete slab and do you want to avoid moisture damage to your tiling? Then use drainage mortar as infill in the Staenisrooster.
Possible terrace floor structures
Choose terrace 1, 2, 3 & 4 on open ground when the groundwater is low.
Choose terrace 7, 8, 9, or 10 with a sloping concrete slab if the groundwater is always high.

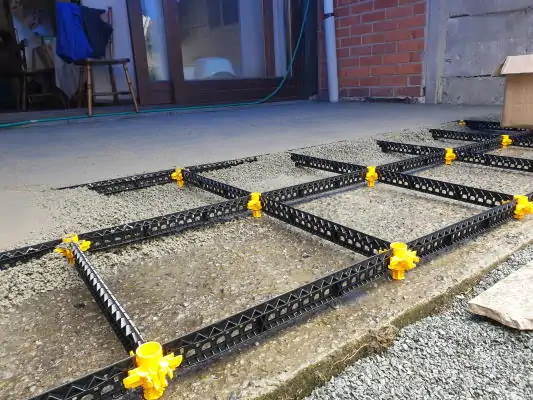
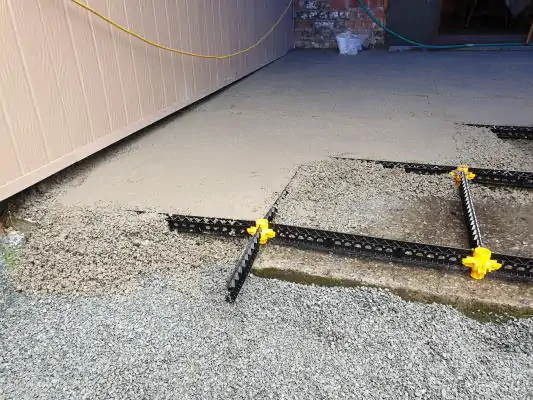
Why choose the StaenisGrid?
The StaenisGrid is an innovative system that provides a stable and well-reinforced terrace screed. Combined with screed or drainage mortar, the StaenisGrid offers numerous advantages over traditional terrace constructions:
- Simple installation on a slope: The StaenisGrid can be easily installed on a slope, ensuring proper drainage and preventing water accumulation.
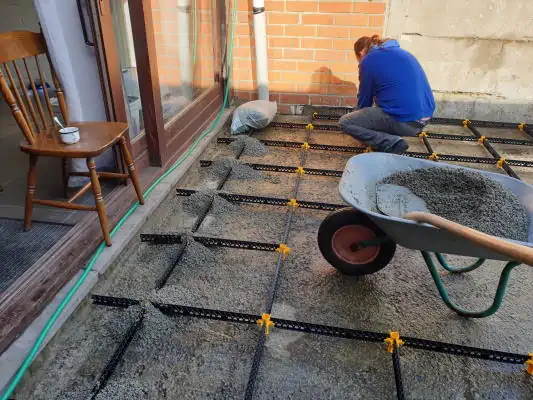
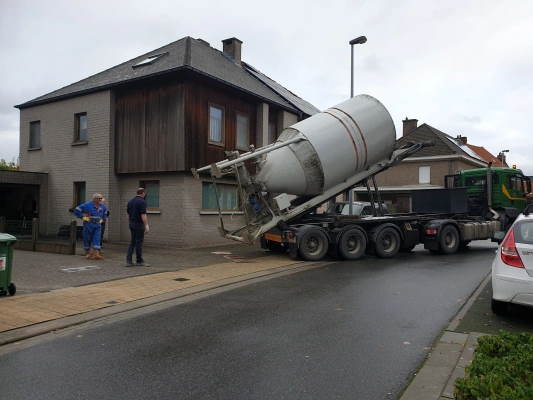
- Efficient use of a screed silo: With a screed silo, you can prepare mortar wheelbarrow by wheelbarrow at your own pace, resulting in less waste and only the tons of mortar you use being charged.
- No expansion joint needed when working over multiple days: This allows you to carry out the work at your own pace without worrying about expansion joints.
- Suitable for various substrates and finishes: The StaenisGrid can be applied to different substrates such as solid ground and concrete, and the floor structure can be finished with various types of floor coverings.
- Faster drying time for drainage mortar screed: A drainage mortar screed only needs 14 days of drying time before tiling, while traditional screed still requires 28 days.
Which materials are used?
The combination of the StaenisGrid and drainage mortar replaces traditional materials such as the drainage mat, reinforcement mesh, and decoupling mat + adhesive. This results in significant cost savings and a simpler installation process.
In some situations, a screed is sufficient, but for other situations, a draining screed is mandatory. By choosing the right material, you ensure that your terrace is resistant to moisture, frost, and heat, and you significantly extend the lifespan of your terrace.
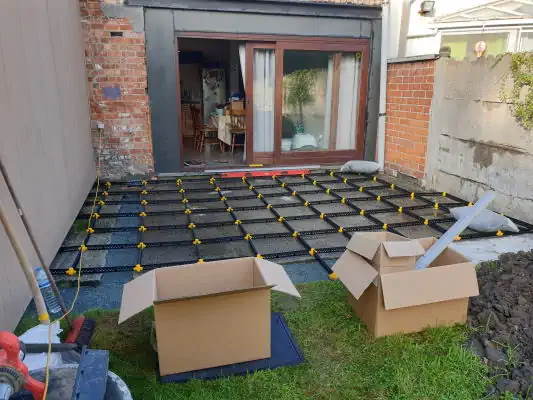
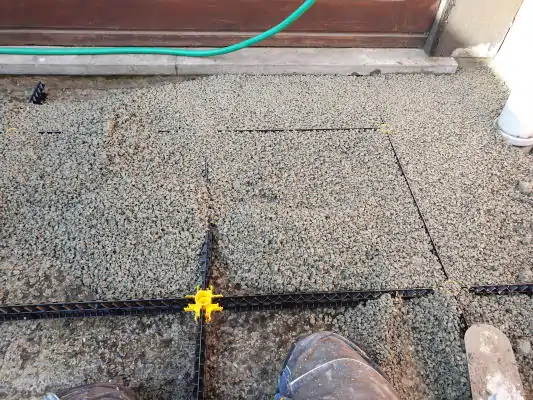
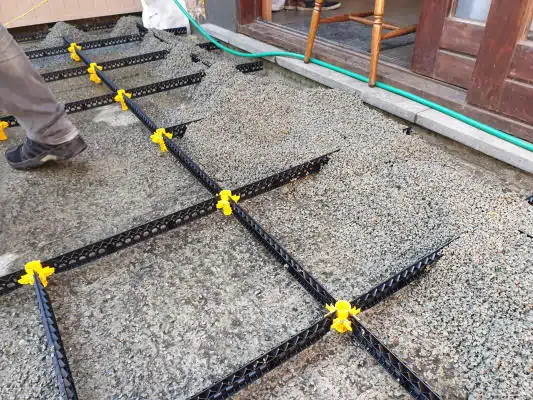
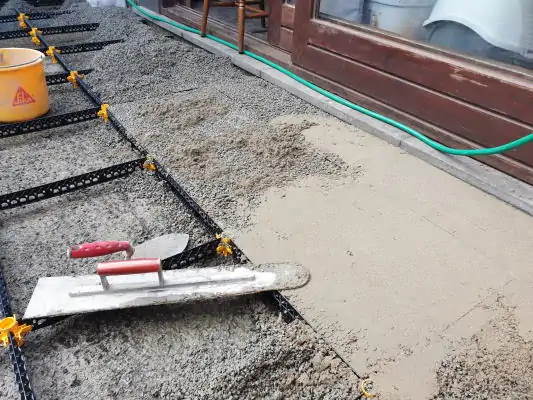
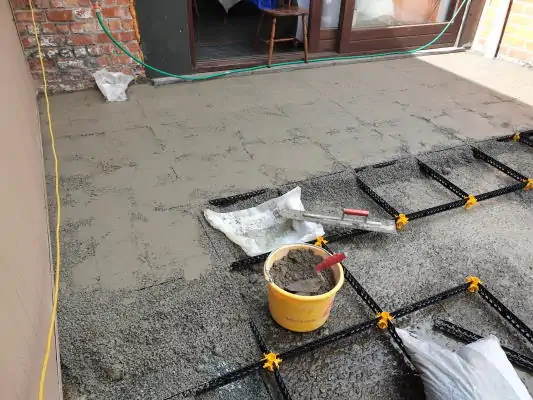
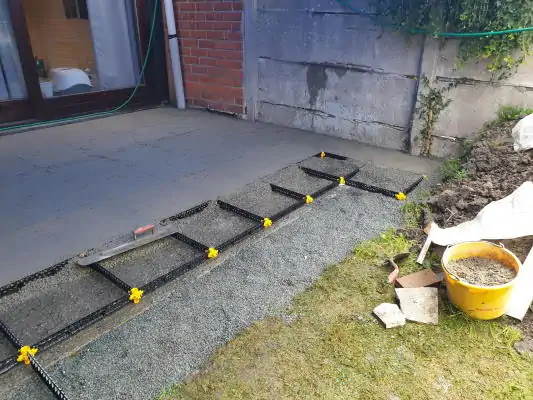
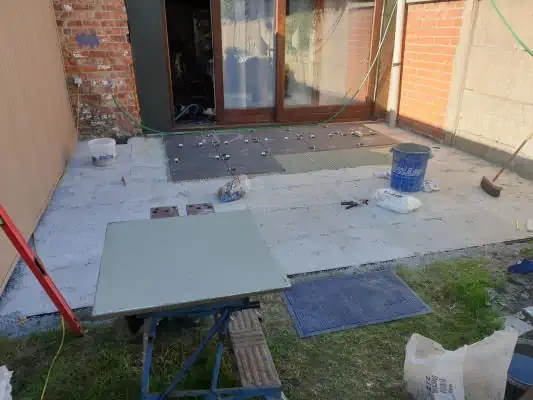
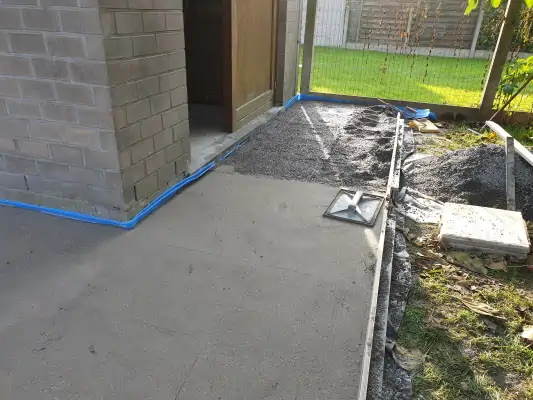
Step-by-step plan for installing a terrace with Staenisrooster
Follow these steps to build your terrace with the StaenisGrid:
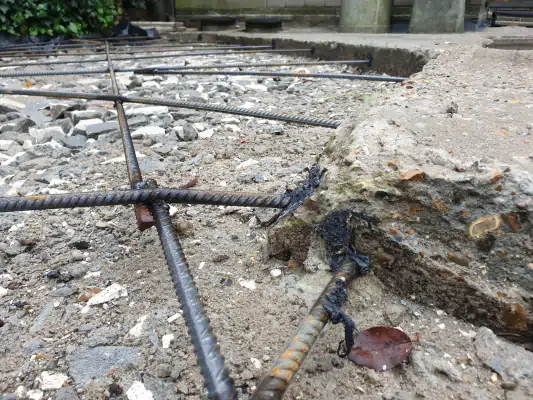
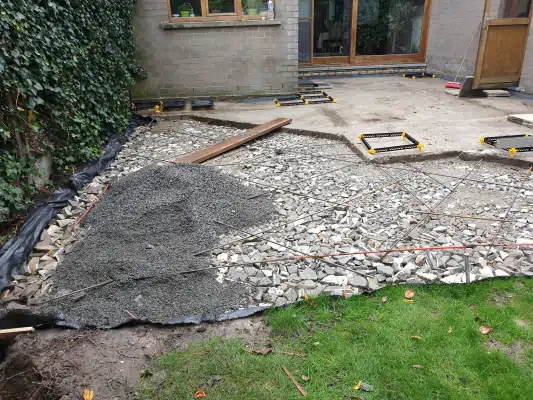
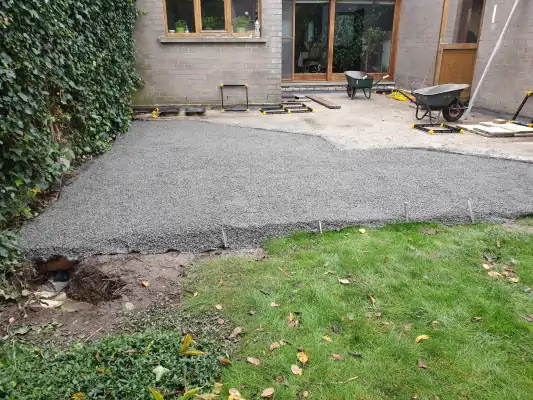
- Prepare the surface: Ensure that the surface is stable, level, and free of debris and obstacles. If necessary, carry out excavation and leveling work to create a suitable base for your terrace.
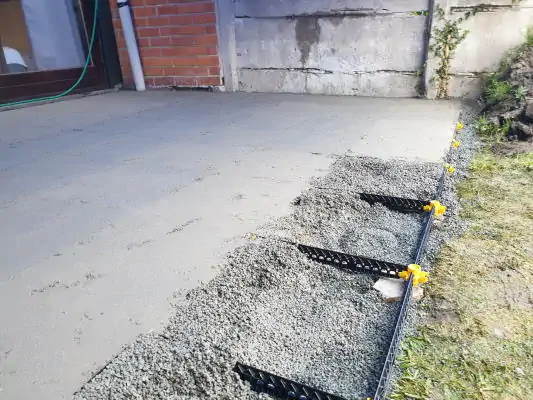
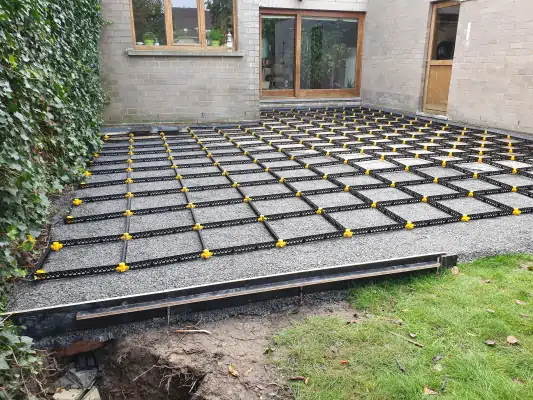
- Placing the StaenisGrid: Place the StaenisGrid at the desired height and ensure that the grid is installed at the correct slope for optimal drainage.
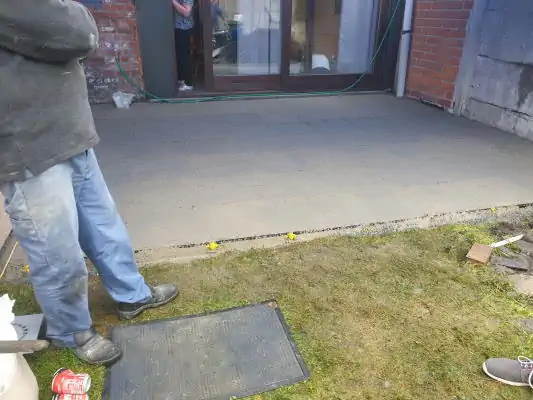
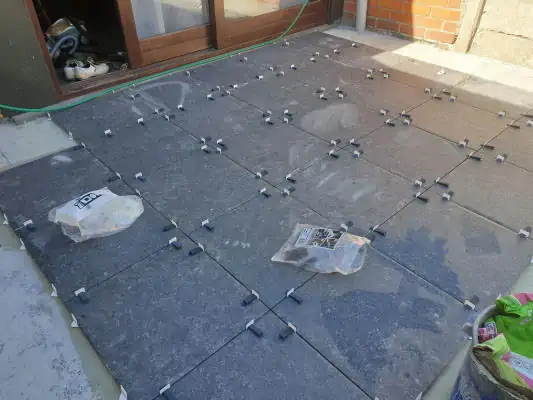
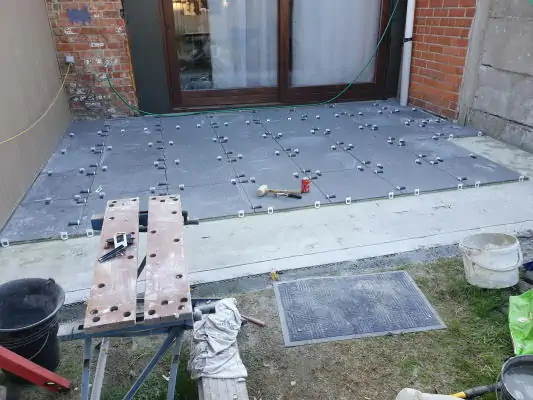
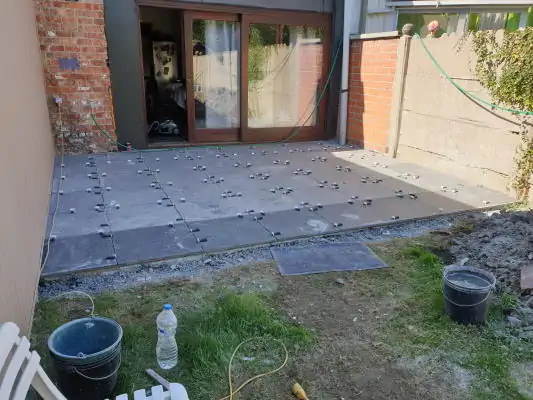
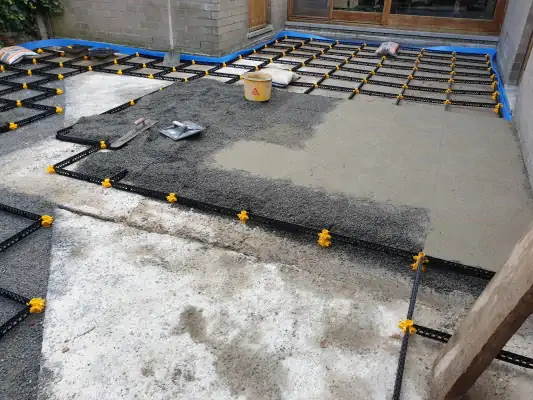
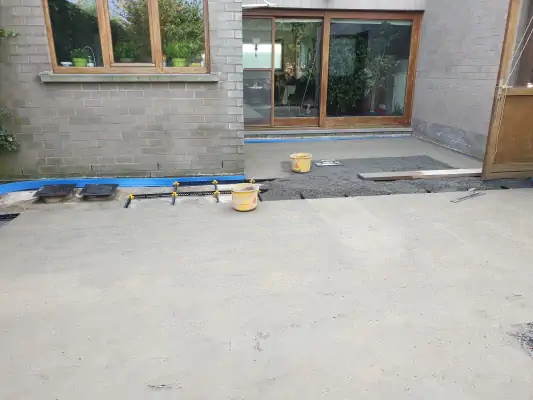
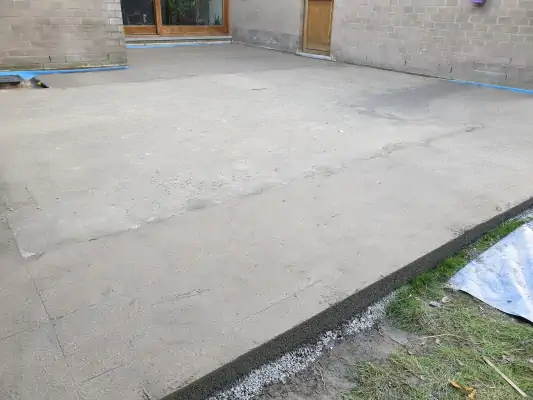
- Apply screed or drainage mortar: Apply the chosen mortar to the StaenisGrid, ensuring that the mortar is evenly distributed over the entire surface.
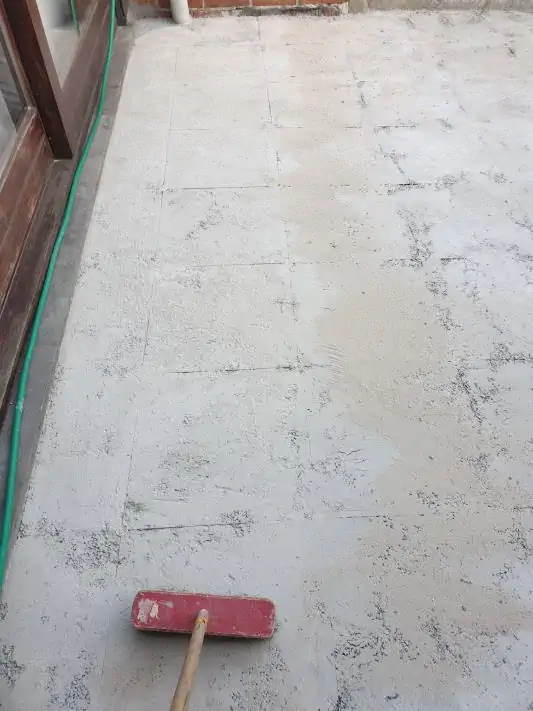
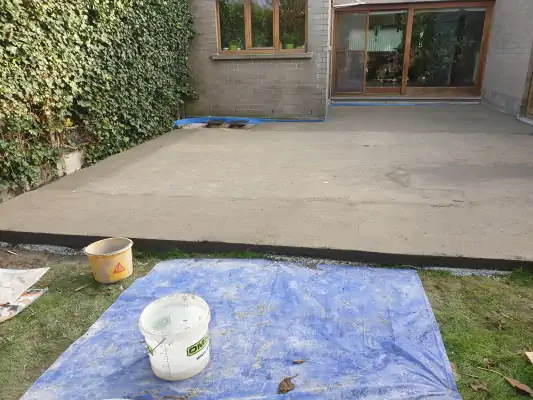
- Respect drying time: Allow the mortar to dry sufficiently before proceeding with the next steps. For a drainage mortar screed, this is 14 days, and for screed, 28 days.
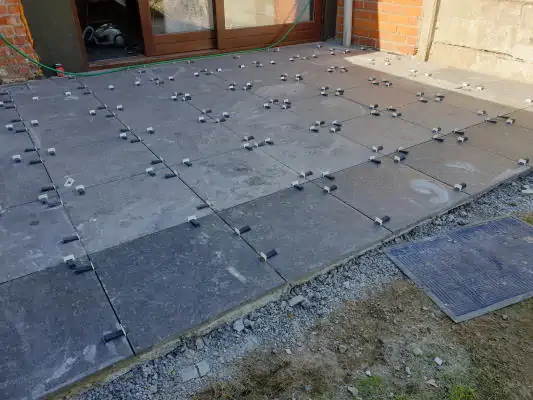
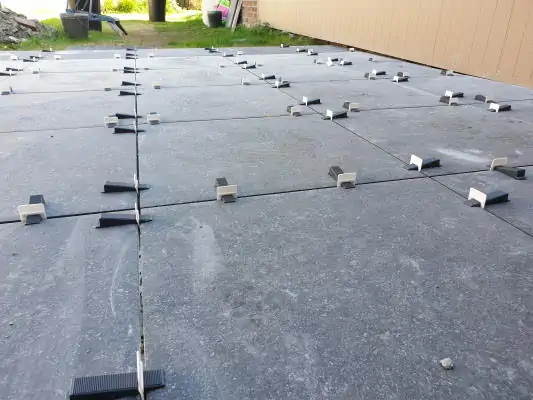
- Install floor finish: Choose the desired floor finish, such as tiles, and install it on the dried screed. Ensure that the finish is properly adhered to the underlying structure.
- Finishing and maintenance: Finish the edges of your terrace with suitable materials and ensure that your terrace is well maintained to extend its lifespan.
Tips for maintaining your terrace
To ensure that your terrace lasts as long as possible, proper maintenance is essential. Here are some maintenance tips:
- Regular cleaning: Keep your terrace free of dirt, leaves, and other debris that can lead to moisture and mold problems.
- Inspect for damage: Regularly check for cracks, loose tiles, or other signs of damage, and repair them if necessary.
- Check the grouting: Check the joints between the tiles and repair them if necessary to prevent water infiltration.
- Use suitable cleaning products: Use cleaning products that are specifically designed for the type of floor finish on your terrace to prevent damage.
With the StaenisGrid and the right materials, you can create a durable and high-quality terrace that will last for years. By following the steps in this guide and performing regular maintenance, you will be able to fully enjoy your beautiful outdoor space.
Conclusion
Laying a terrace does not have to be a difficult task. By choosing the StaenisGrid and the right materials, such as screed or drainage mortar, you ensure a strong and durable foundation for your terrace. Moreover, you save on costs by replacing traditional materials such as drainage mat, reinforcement mesh, and decoupling mat + adhesive. Follow our maintenance tips to ensure that your terrace remains in top condition for years and that you can fully enjoy it.
Installation video
Placement of drainage mortar for terrace
Calculator and prices
Customer enquiries

Discover the best subfloor for your terrace with Staenis! Choose drainage mortar for optimal drainage and prevent moisture damage.