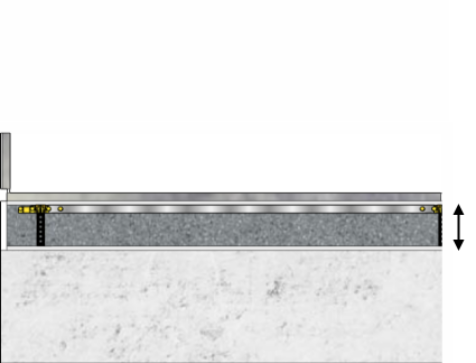
Staenis Compound levelling grid
With the EgalineGrid, you can easily level and reinforce uneven surfaces with a thickness between 1 mm and 5 cm.
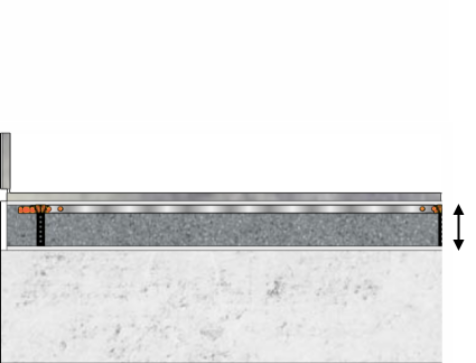
For heights between 1 mm and 2 cm, we recommend using levelling compound in the Staenis levelling grid.
For heights between 1 cm and 5 cm, it is more cost-effective to install a bonded screed floor.
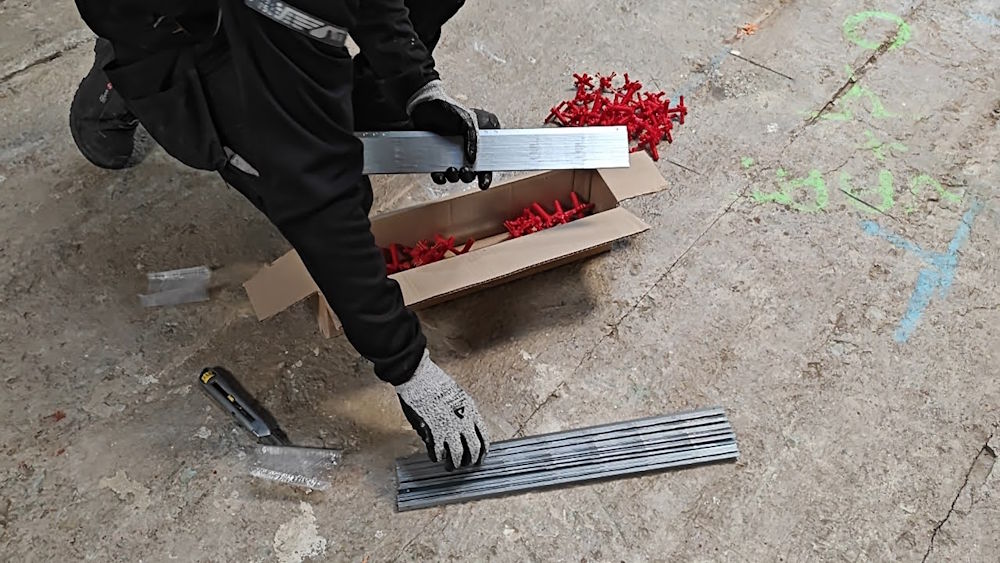
The levelling grid in detail, packaged and ready for use.
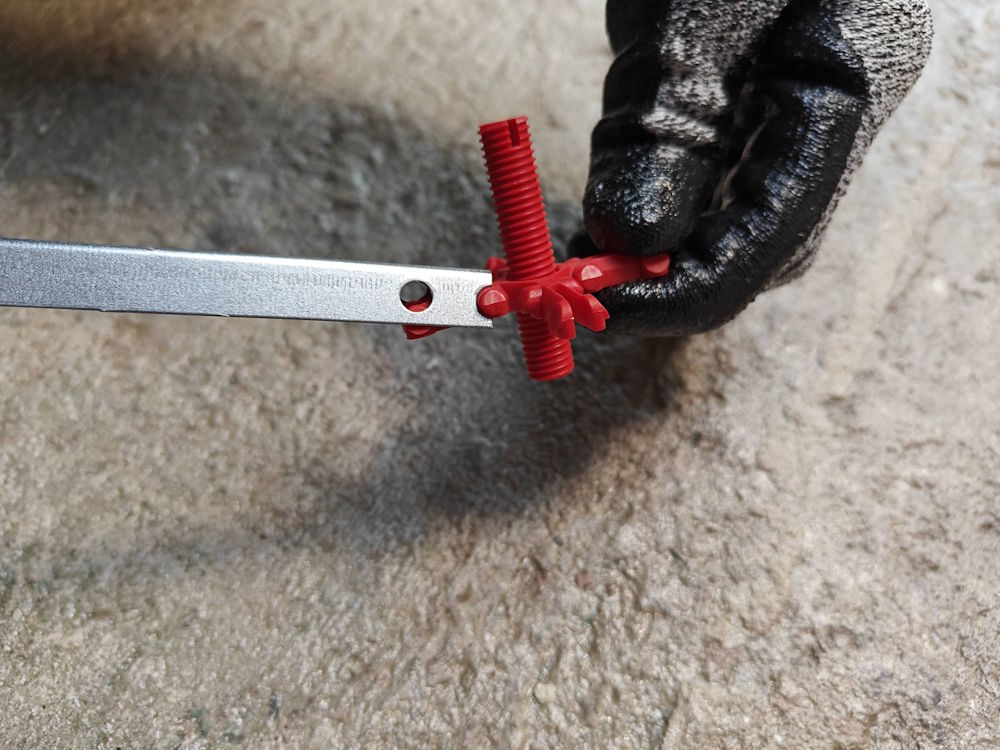
Click the legs into the slats of the levelling grid using a levering motion from bottom to top.
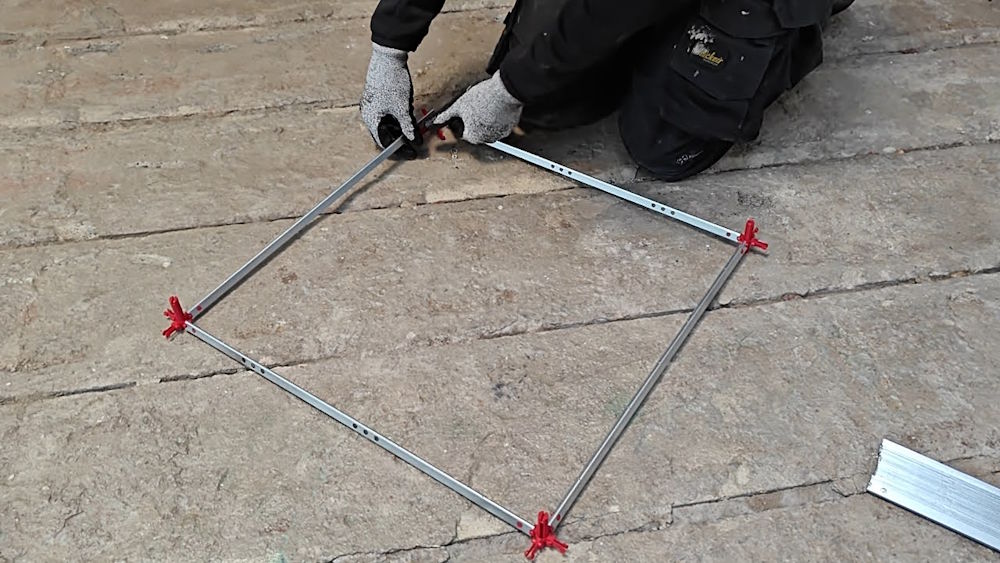
Make corner connections for a stable grid.
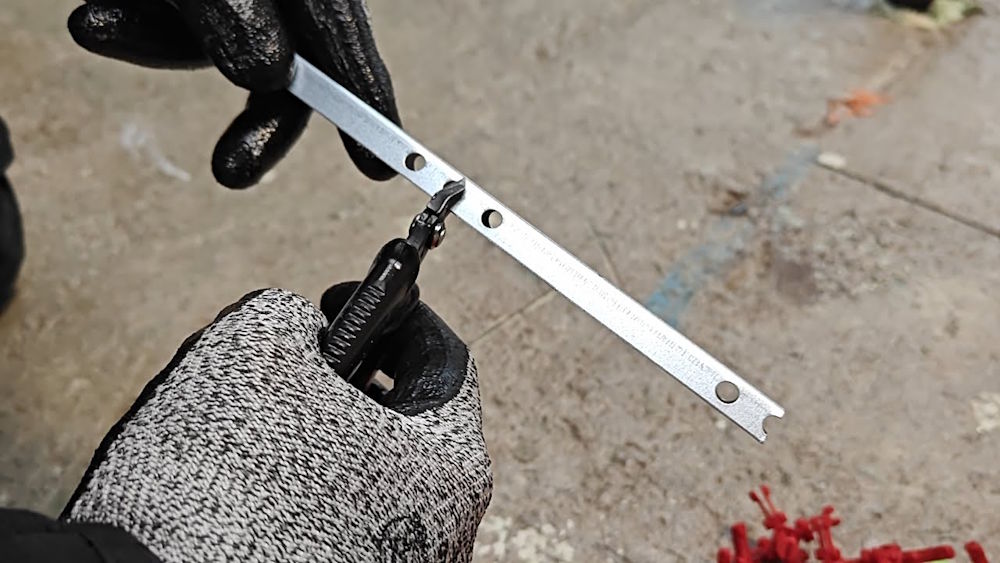
To connect to walls/obstacles, the slats can be shortened with cutting pliers at the designated spots. Always cut in the middle of the three holes.
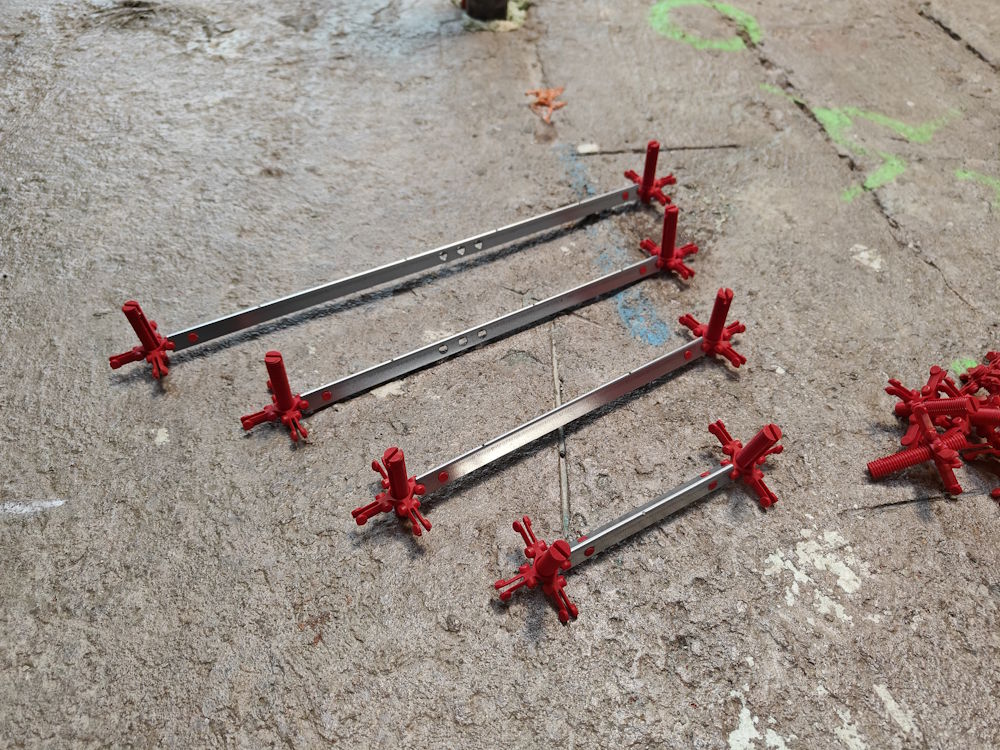
Different lengths of slats for various applications.
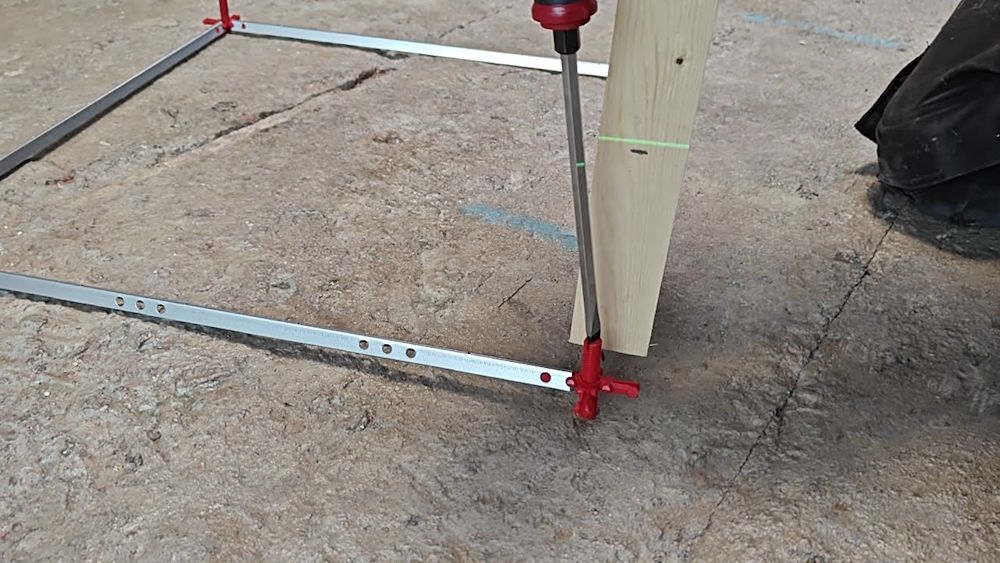
Adjust the height with a screwdriver for precise finishing.
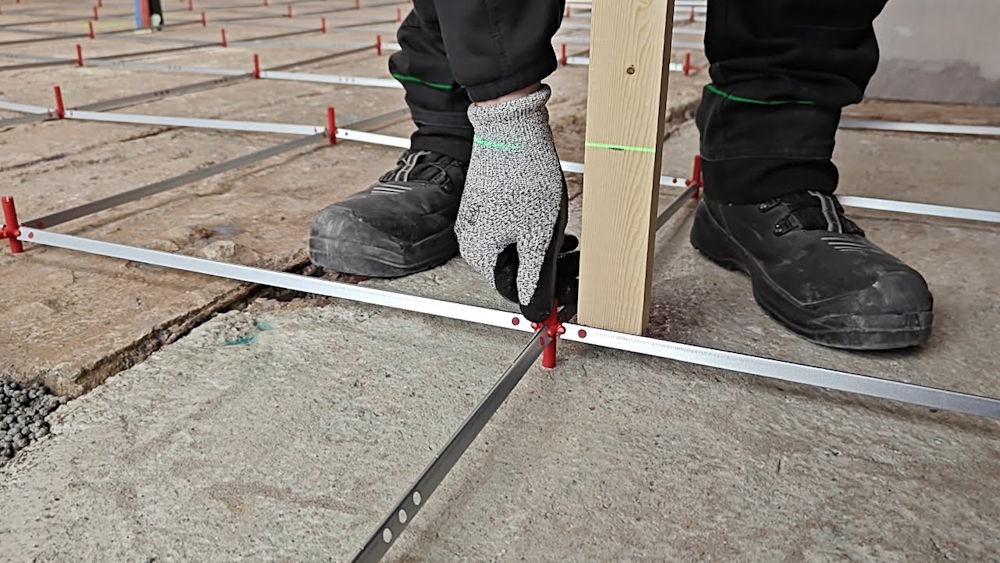
Manual height adjustment possible for quick adjustments.
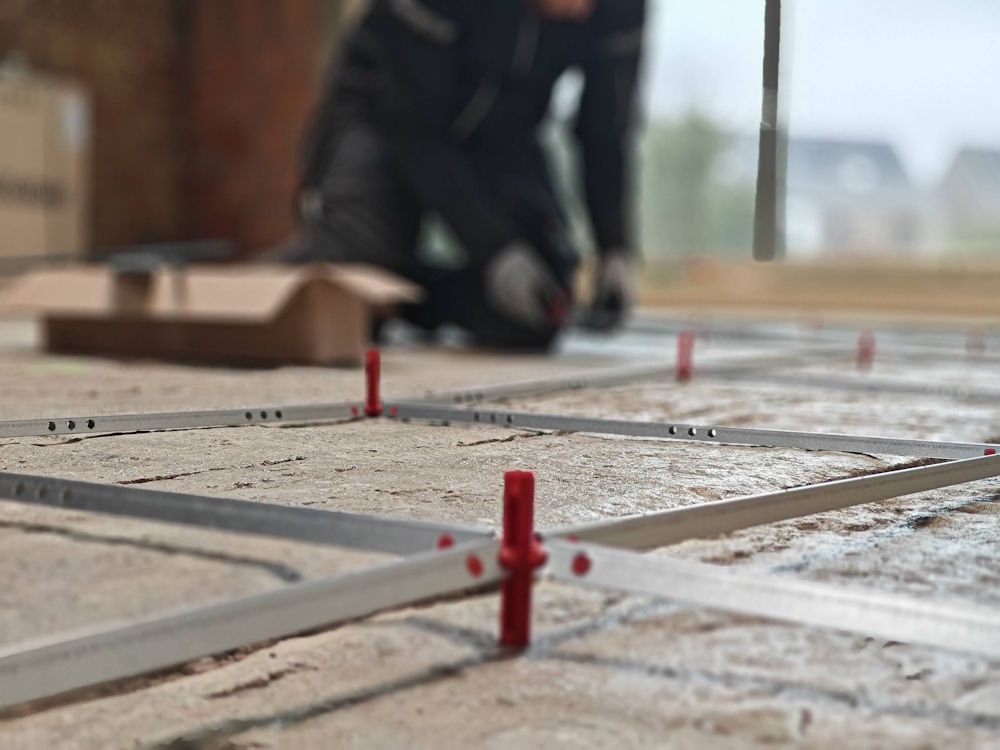
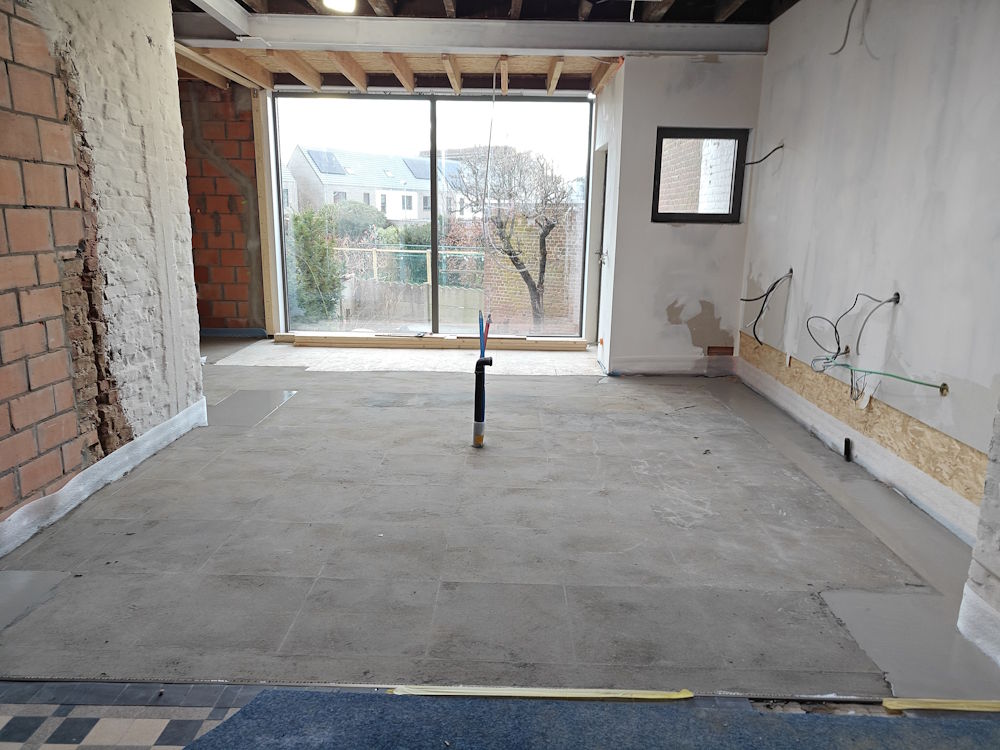
Overview of the complete grid placed on the substrate.
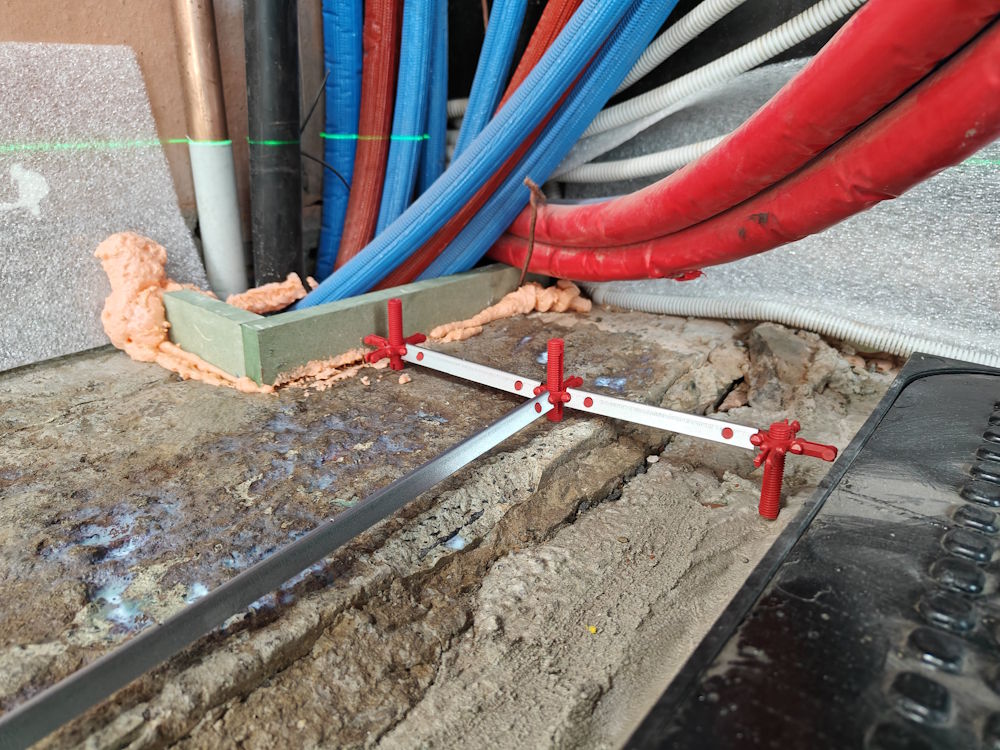
Placement in hard-to-reach places is easy with the grid.

A complete mesh ready for the application of levelling compound or screed.

Firmly attach the legs with glue for extra stability.
The grid after adjusting the height.

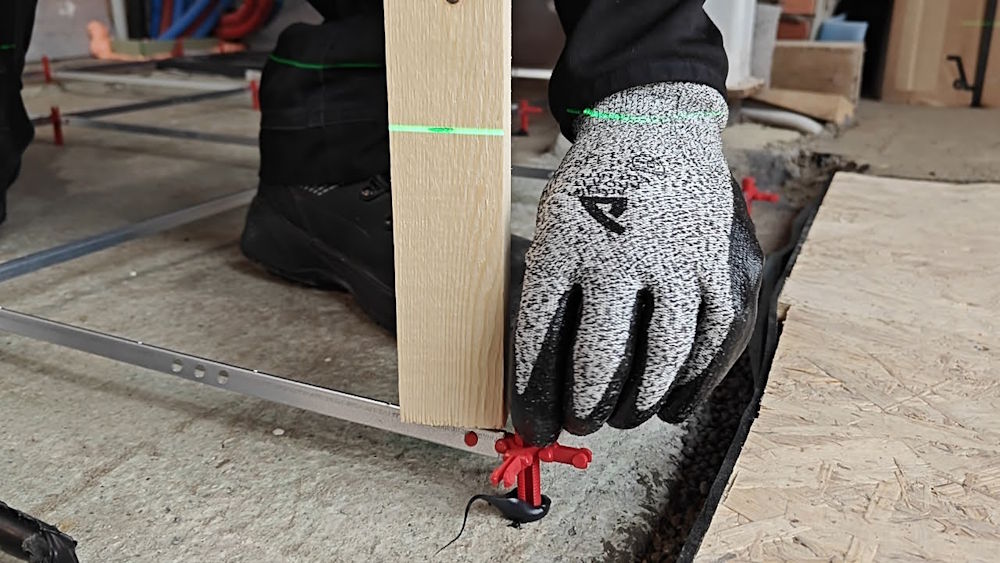
Once the grid is set to the correct height, use diagonal pliers to cut off the remaining adjustment screw so that it is flush with the slat.
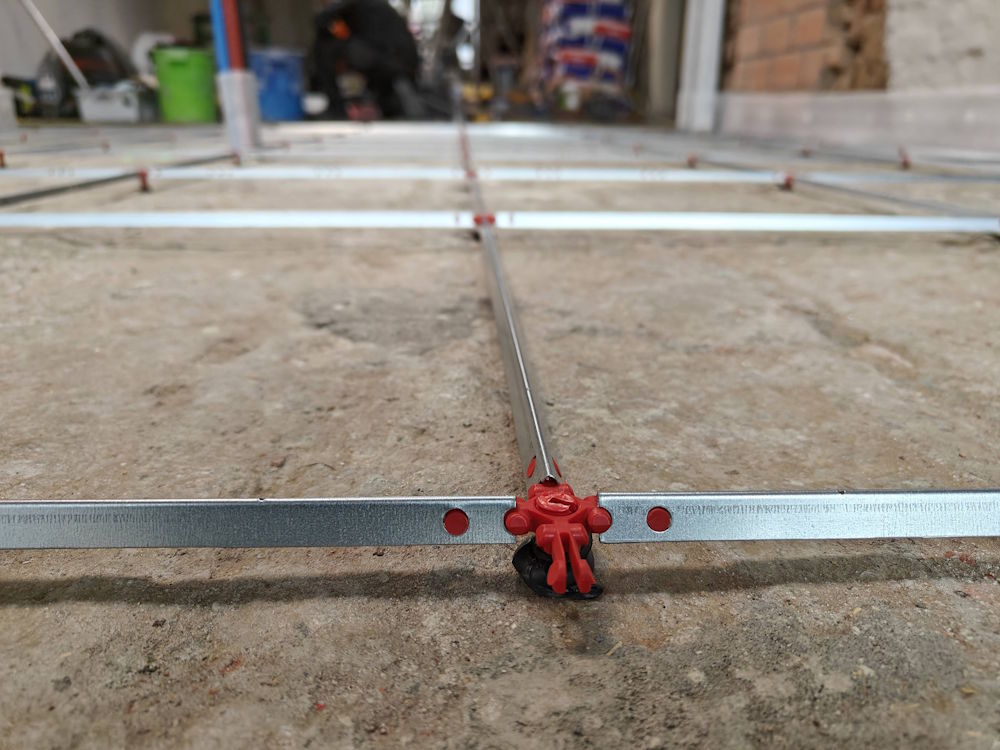
The grid is now completely ready for the application of levelling compound or screed.

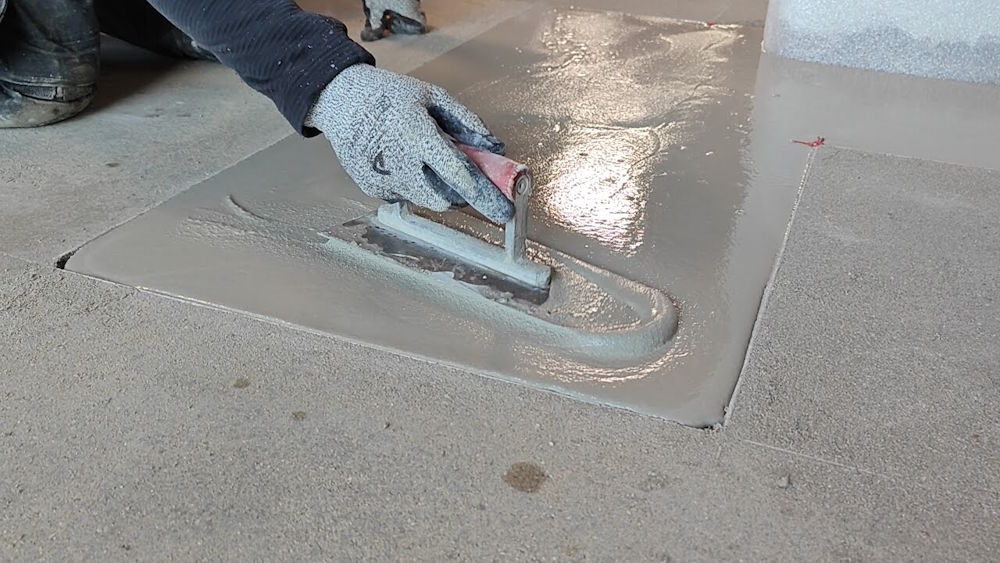
Required tools (large trowel and float) for a perfect installation of the screed with the levelling mesh.
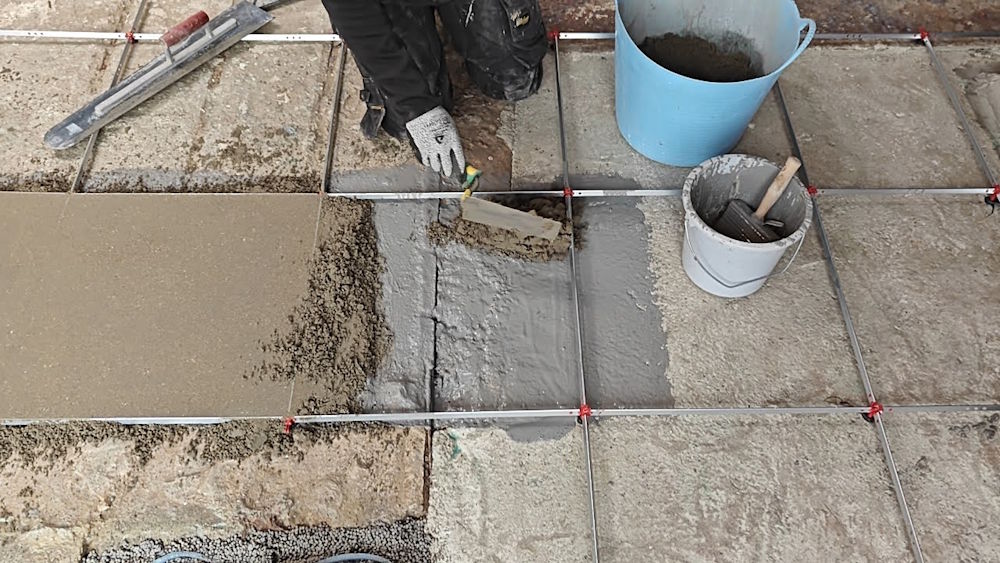
The grid is suitable for both bonded screed and levelling compound.
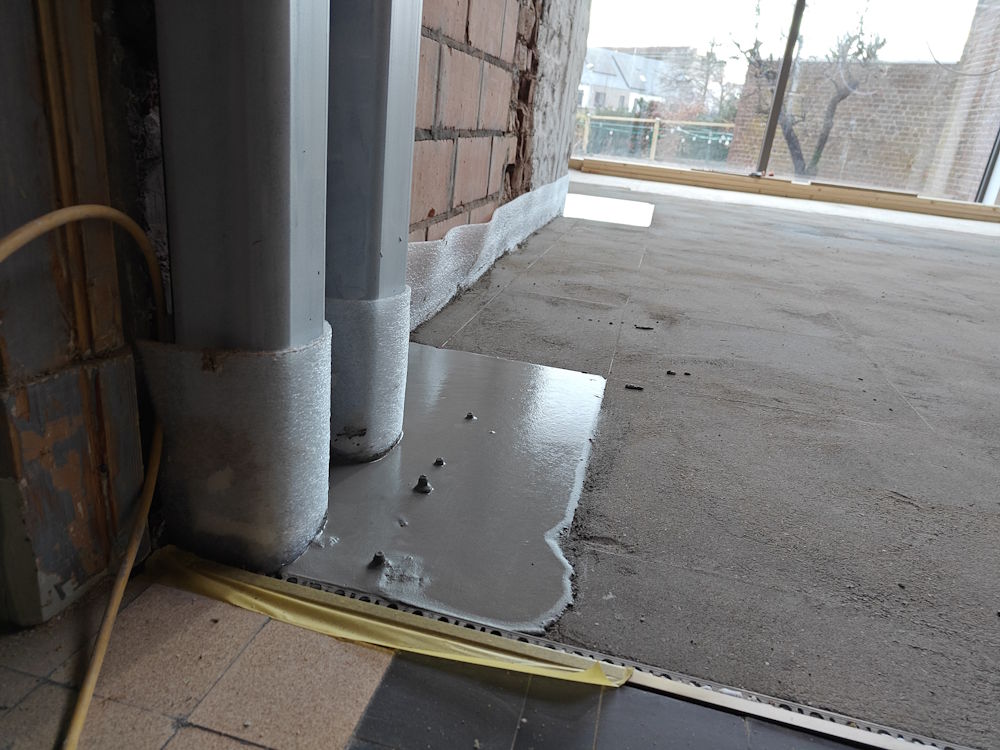
Apply levelling compound evenly around a girder for a smooth finish.
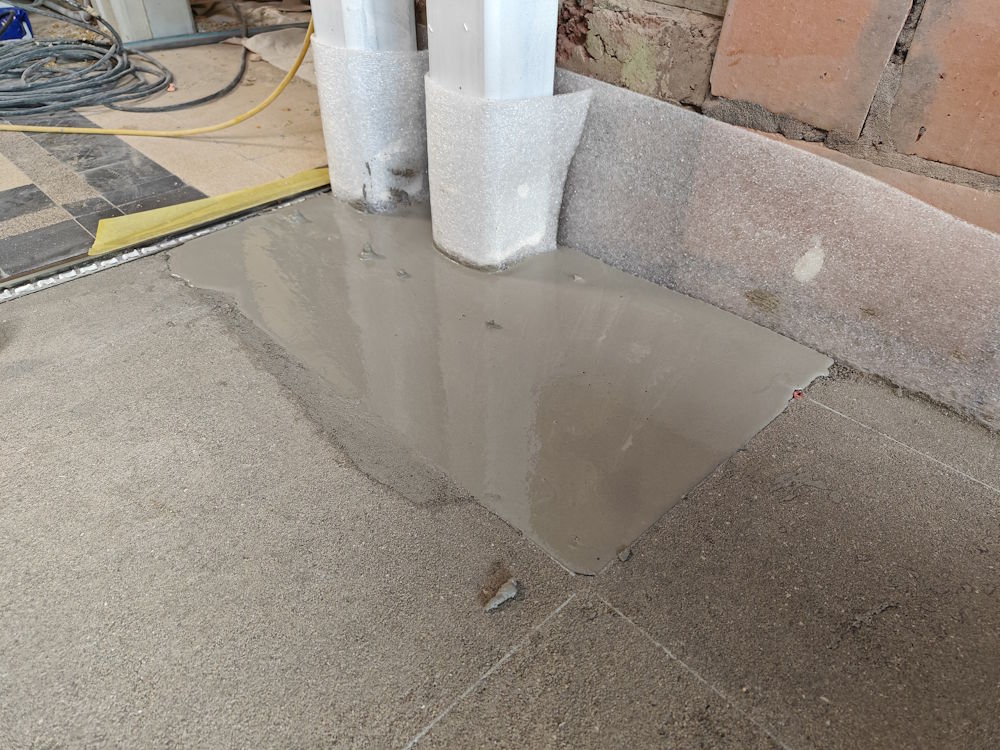
In places where less than 1 to 2 cm needs to be raised, you can use levelling compound. Levelling compound can also be used in hard-to-reach areas or at connections to walls.
A finished screed floor thanks to the use of the Staenis levelling grid.
Possible self-levelling floor build-ups
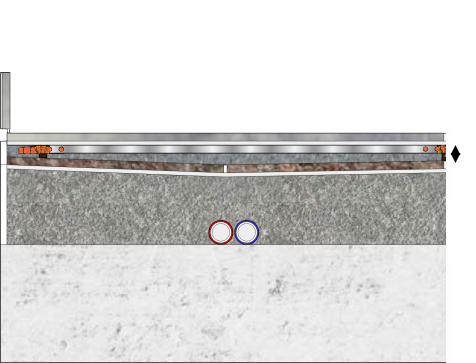
Bonded screed as an alternative to self-levelling compound