Tiling insulation screed
Tiling-ready insulation screed floor build-up 4, 5 & 6 - Choose a different floor structure
+4.5 cm - upper floor, ground floor, basement, ... - with wooden joisting as a subfloor - tiles
The tileable insulation screed can be tiled directly after 3 to 4 days of drying time, provided a primer and a layer of leveling compound or tile adhesive are applied, whereas a screed requires 28 days.
Information
This lightweight floor structure is ideal for spaces with limited floor build-up height. The StaenisGrid makes it possible in this situation to insulate your floor structure, level it, and tile it quickly.
The tileable insulation screed can, with primer and a thin leveling compound or tile adhesive layer, be directly covered with tiles after 3 to 4 days of drying time, whereas for a screed this is 28 days.
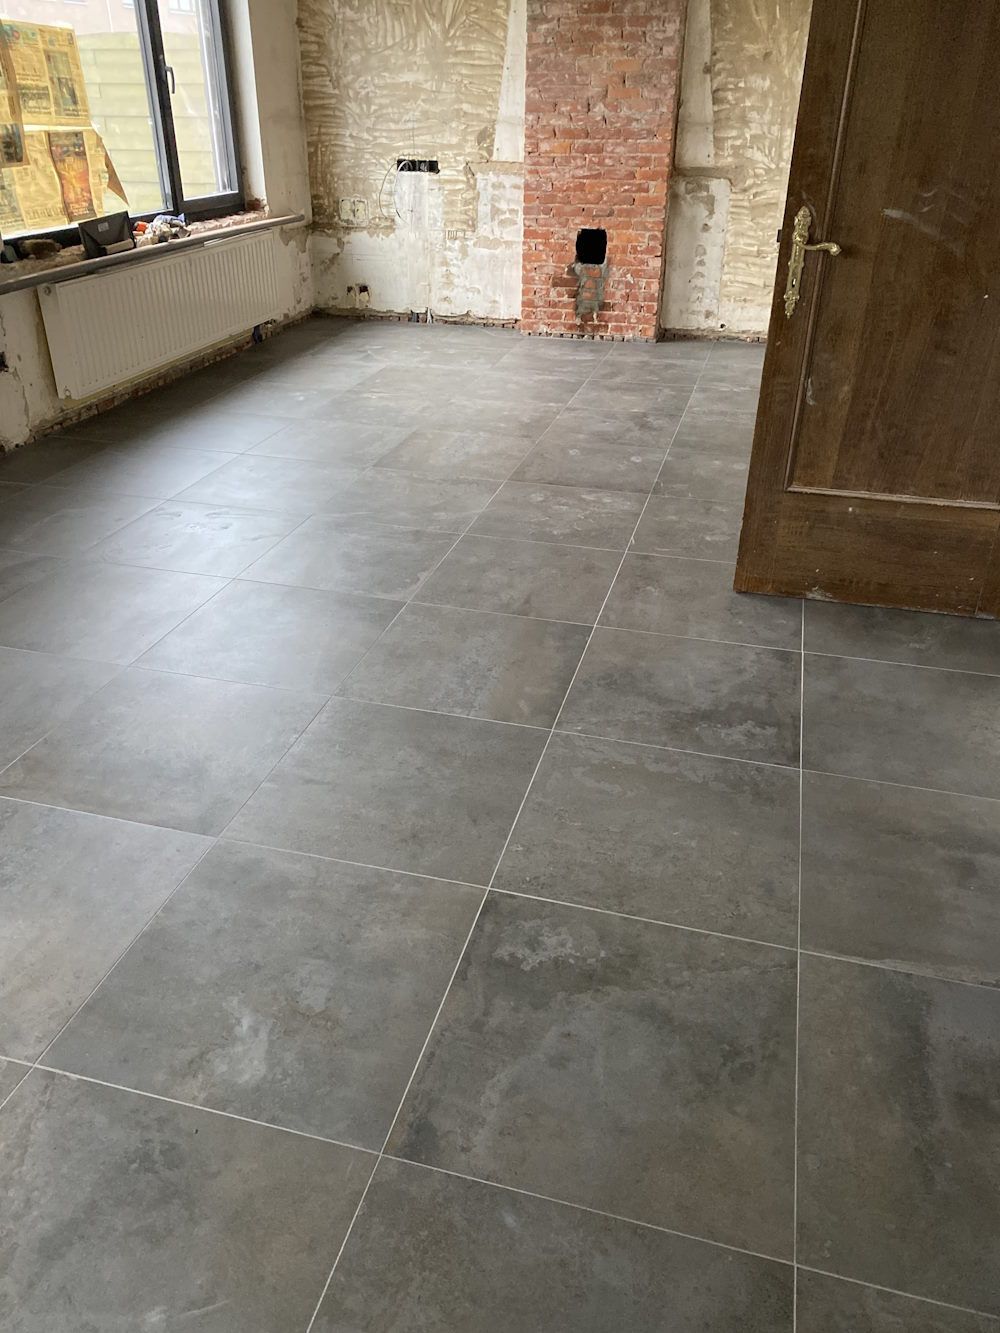
A floor structure with tileable insulation screed is 7 times lighter than a traditional screed and very pleasant to install. The tiles will also feel warmer due to the insulating effect of the screed.
Advantages
- Achieve a perfect end result without experience
- Directly tileable after 3 days, provided that a cement slurry layer is applied.
- Lightweight (7 times lighter than a sand-cement screed) and sound-insulating floor
- No expansion joints needed
- Possibility to insulate your (very) low floor construction over the entire thickness.
- Spreading screed work over several days (no stress during placement)
Floor construction manual
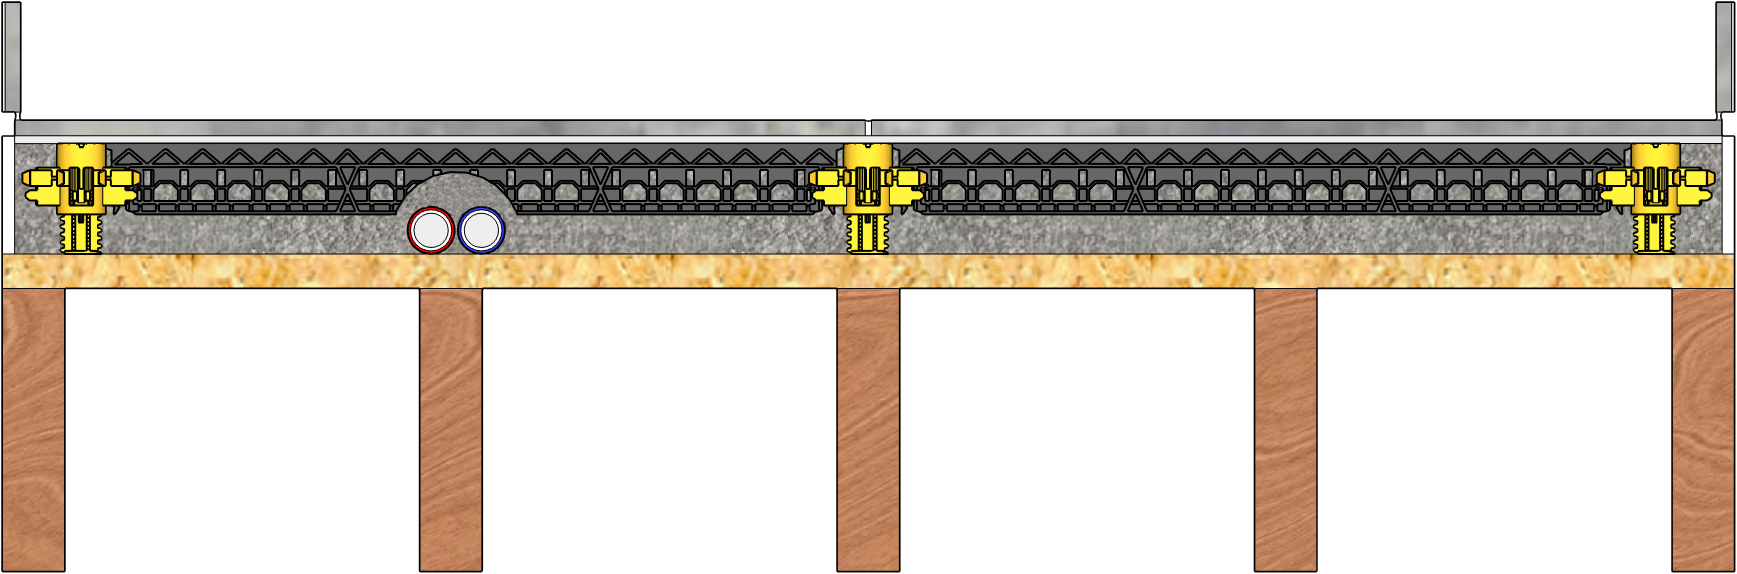
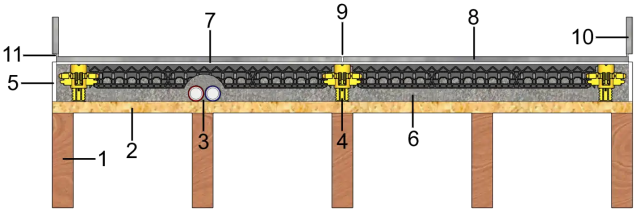
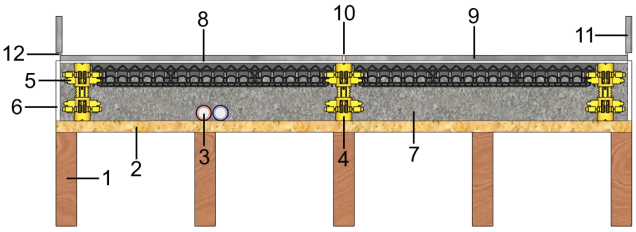
Side view of floor structure
View this floor structure in real life via Sack Zelfbouw
Legend
- Timber framework
- Wooden board
- Pipes (heating, electricity, drainage, etc.)
- Staenis grid (thickness from 4.5 to 9 cm)
- Edge insulation 8 mm thick
- Tileable insulation screed with leveling layer
- Double bonding with S1 Flex Tile Adhesive
- Tiles (min. 1 cm thick and min. size 30x30 cm)
- Water-repellent, colored joint mortar
- Skirting board
- Flexible silicone
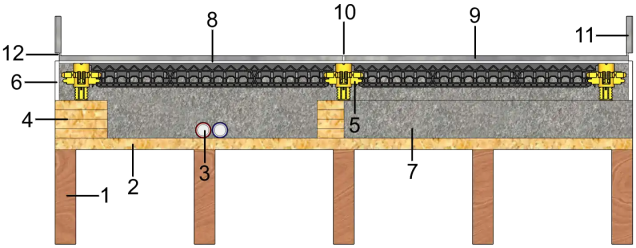
Side view of floor structure with extension legs
Legend
- Timber framework
- Wooden board
- Pipes (heating, electricity, drainage, etc.)
- Staenisverlengpoot (+4 hoogte)
- Staenis grid (thickness from 4.5 to 9 cm)
- Edge insulation 8 mm thick
- Tileable insulation screed with leveling layer
- Double bonding with S1 Flex Tile Adhesive
- Tiles (min. 1 cm thick and min. size 30x30 cm)
- Water-repellent, colored joint mortar
- Skirting board
- Flexible silicone
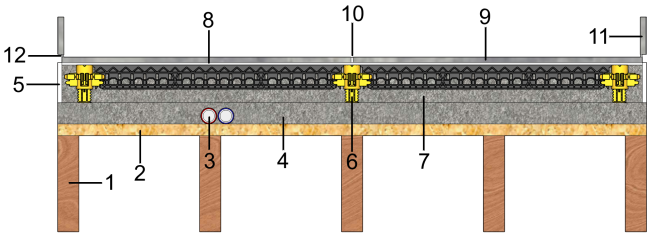
Side view of floor build-up with wooden blocks
Legend
- Timber framework
- Wooden board
- Pipes (heating, electricity, drainage, etc.)
- Wooden blocks 9 x 9 cm
- Staenis grid (thickness from 4.5 to 9 cm)
- Edge insulation 8 mm thick
- Tileable insulation screed with leveling layer
- Double bonding with S1 Flex Tile Adhesive
- Tiles (min. 1 cm thick and min. size 30x30 cm)
- Water-repellent, colored joint mortar
- Skirting board
- Flexible silicone
Side view of floor construction with leveling layer
Legend
- Timber framework
- Wooden board
- Pipes (heating, electricity, drainage, etc.)
- Tiling insulation screed
- Edge insulation 8 mm thick
- Staenis grid (thickness from 4.5 to 9 cm)
- Tileable insulation screed with leveling layer
- Double bonding with S1 Flex Tile Adhesive
- Tiles (min. 1 cm thick and min. size 30x30 cm)
- Water-repellent, colored joint mortar
- Skirting board
- Flexible silicone
Tiled insulation screed compatible with WARP underfloor heating system Speetile 10
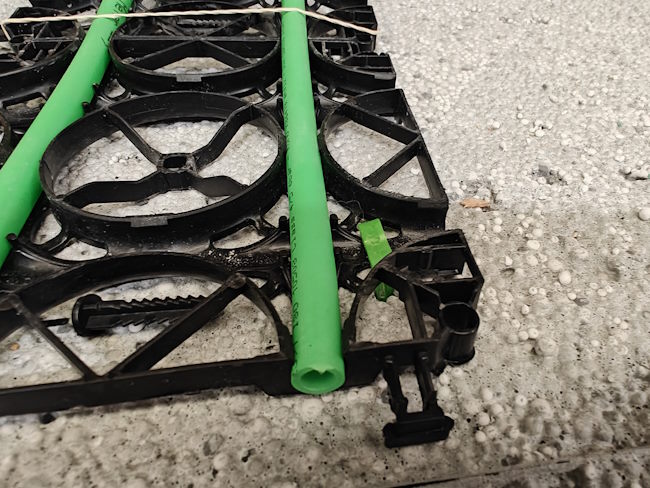
SpeeTile is suitable for underfloor heating and cooling. This 'wet construction' system is the thinnest water-based system for underfloor heating and cooling. The SpeeTile system is also suitable as primary heating.
1. Apply our primer for absorbent substrates to the tileable insulation screed.
2. Install the Warp Speetile 10 system. Attach the plastic system to the tileable insulation screed with the supplied black U plugs.
3. Pour the fast-drying SpeeTop filler over the plastic system and check with a laser and meter that everything is at the correct height.
More information available via WarpInstallation video
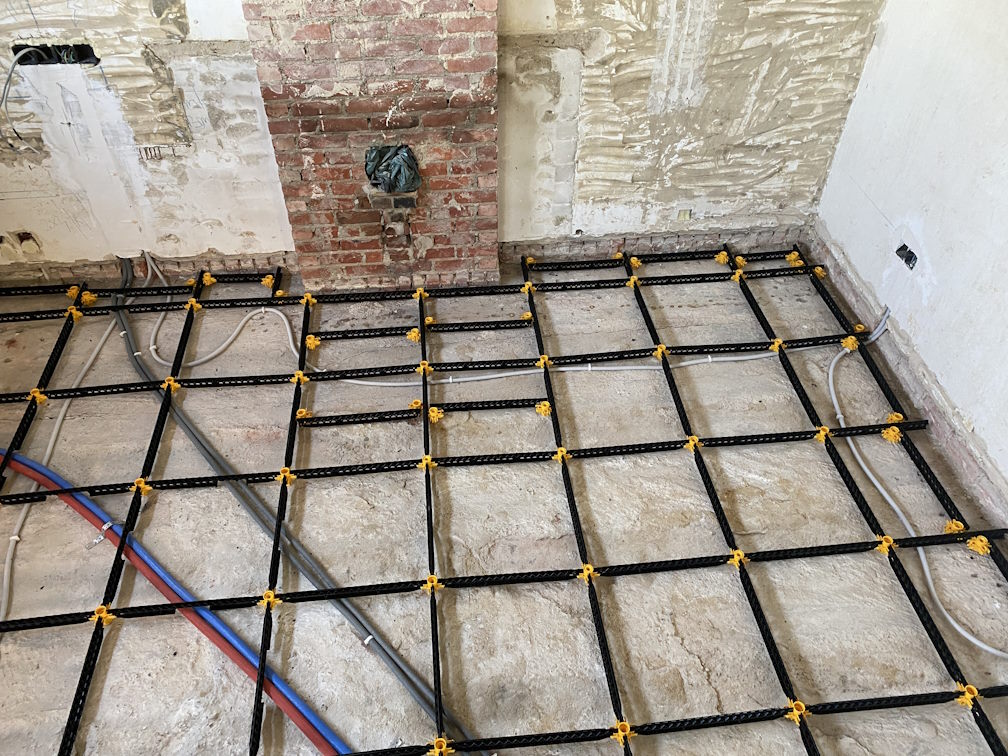
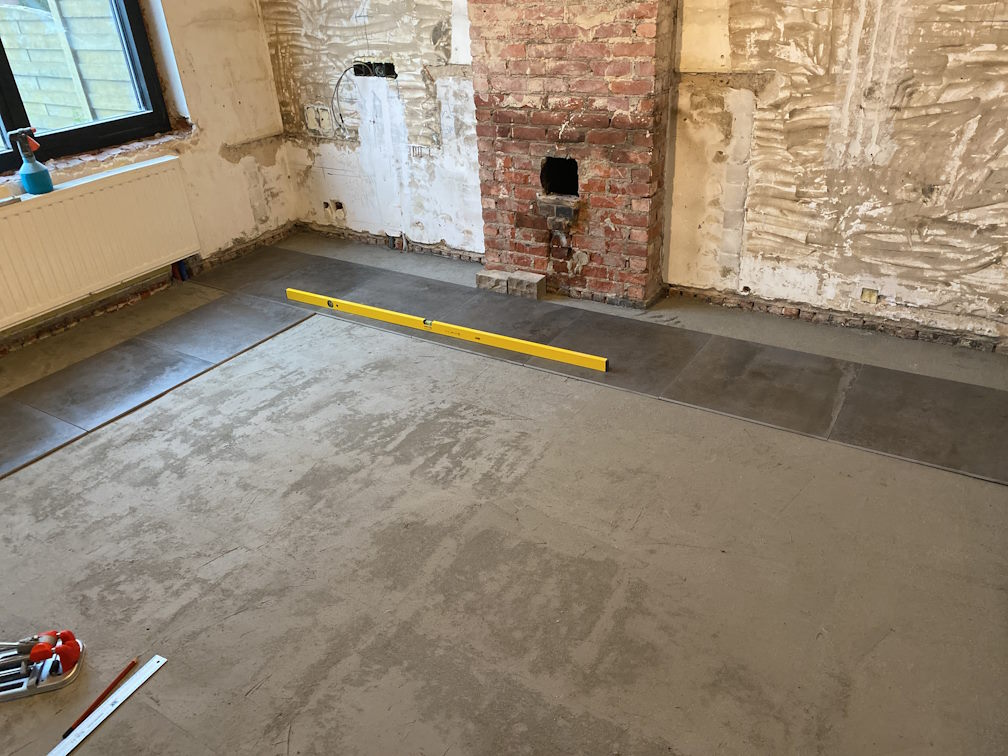
Placement of StaenisGrid
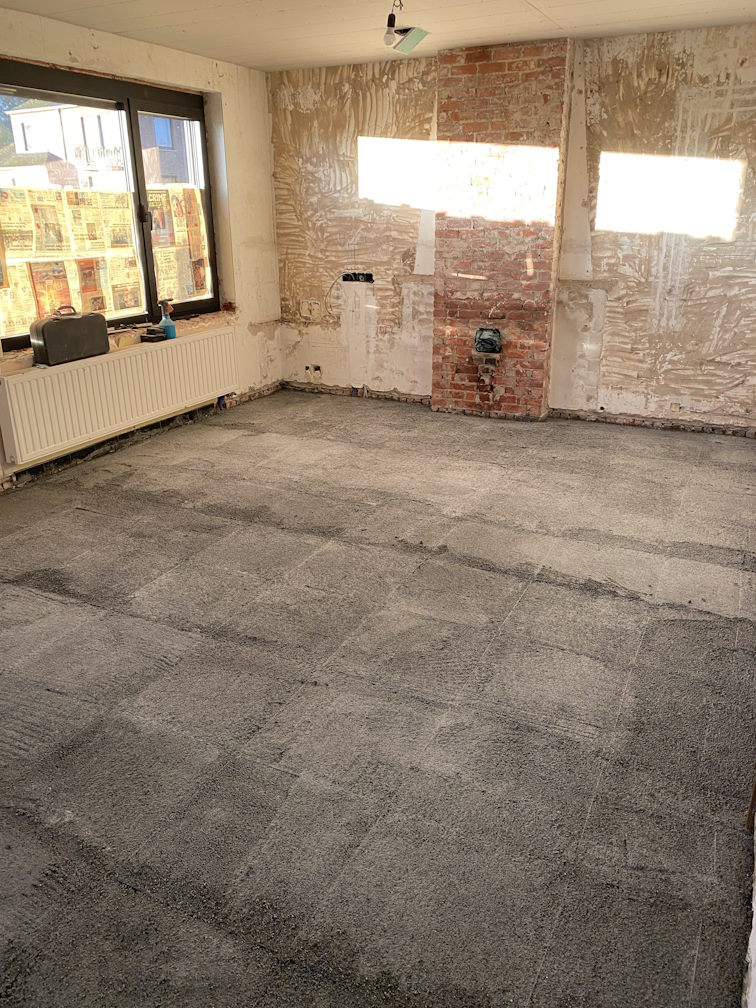
Placement of tileable insulation screed
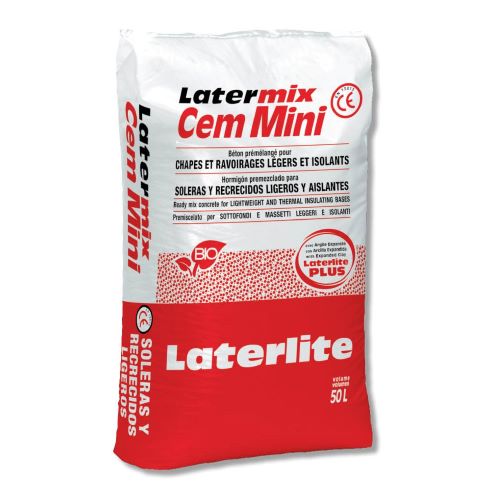
We deliver tileable insulation screed in bags to your home
The insulation screed is pre-mixed with new EPS beads, combined with cement, water, and specific patented additives.
The EPS beads have a specially small diameter of 2mm-6mm, in order to achieve an even flatter result with the StaenisGrid.
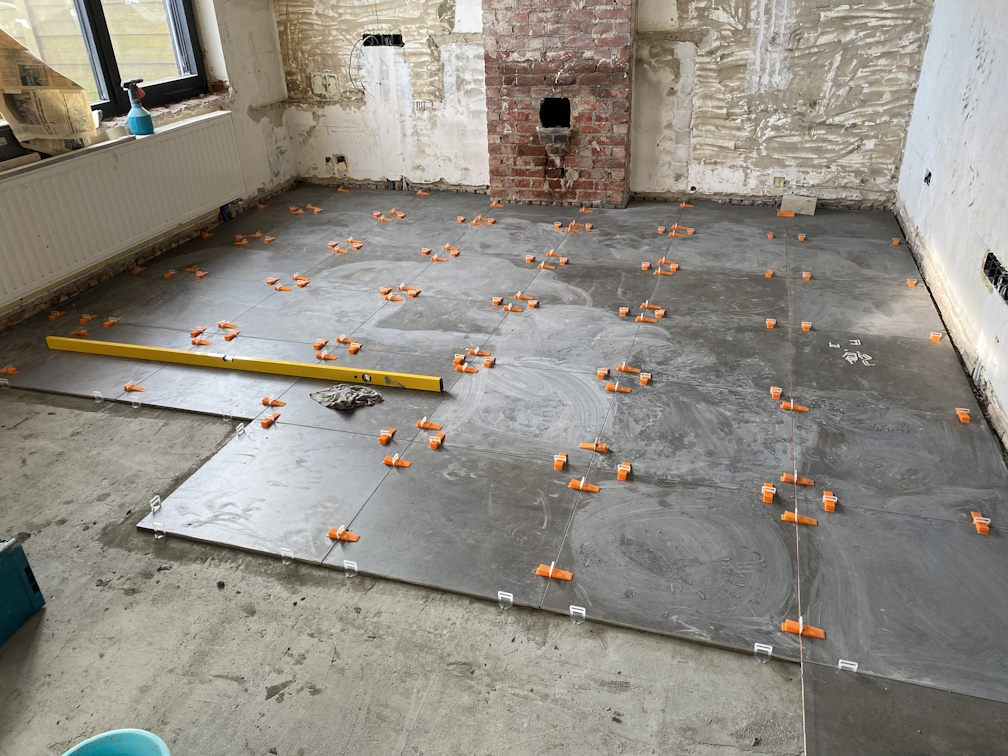
Tiled insulation screed can only be installed in combination with the StaenisGrid. The StaenisGrid is moisture-resistant, absorbs all shrinkage, and ensures perfectly level installation and reinforcement.
We deliver self-leveling compound and the appropriate primer to your home
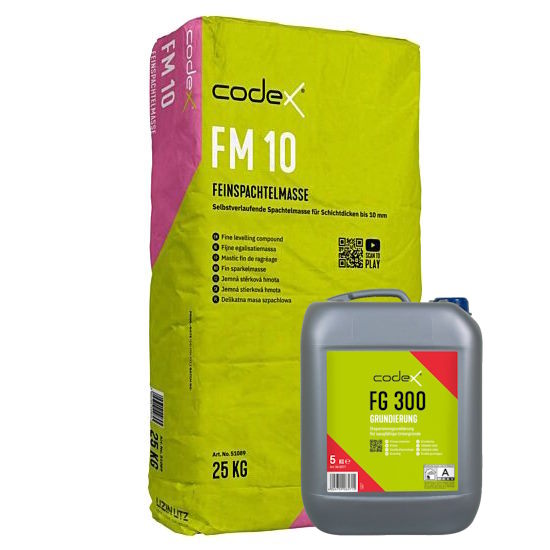
This cement levelling compound, which can handle layer thicknesses up to 10 mm, is ideal for levelling, evening out, and smoothing tileable insulation screed and screed subfloors.
This layer of leveling compound ensures that the rough surface of the insulation screed is nicely smoothed out, making it much easier to tile.
Fast-drying dispersion primer for the pretreatment of tileable insulation screed/insulation mortar, screed, or concrete. Reinforces the top layer and ensures that the tile adhesive/levelling compound adheres better and dries less quickly on the absorbent substrate.
Tip: The consumption for tileable insulation screed/insulation mortar is much higher than for screed. You can solve this by adding water to the primer, depending on the number of m².
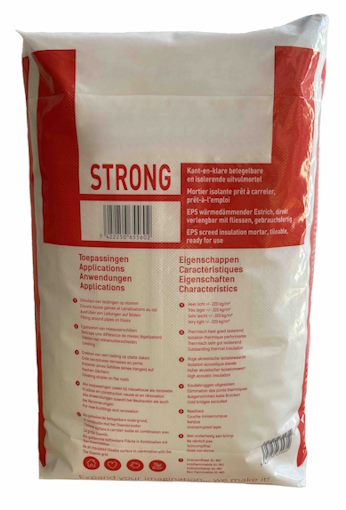
We deliver strong lightweight screed to your home
Cem Mini: tileable insulation screed, which is no less than five times stronger than our current Strong version. This improved strength makes it possible to install floating floor coverings, such as laminate, directly without the need for a leveling compound or OSB layer. Of course, it also remains possible to glue tiles directly onto this substrate. Cem Mini is also suitable for use on flat roofs, where waterproofing can be applied directly. This lightweight insulating screed weighs 3 times less than a traditional screed floor, but 3 times more than the Strong tileable insulation screed version.
Customer enquiries

Discover whether cement-based leveling and primer are needed for your bathroom. Learn more about direct tiling and waterproof floors. More info here!