The Staenis leveling grid

Placement video
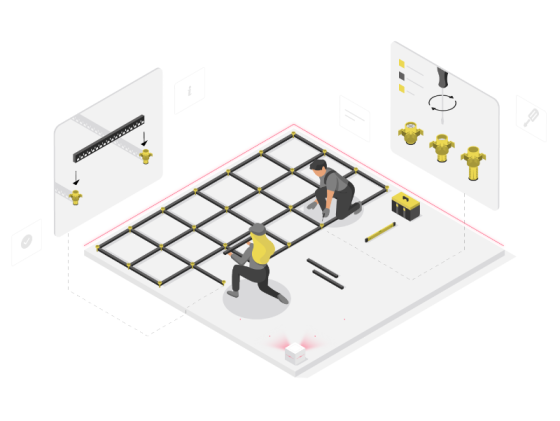
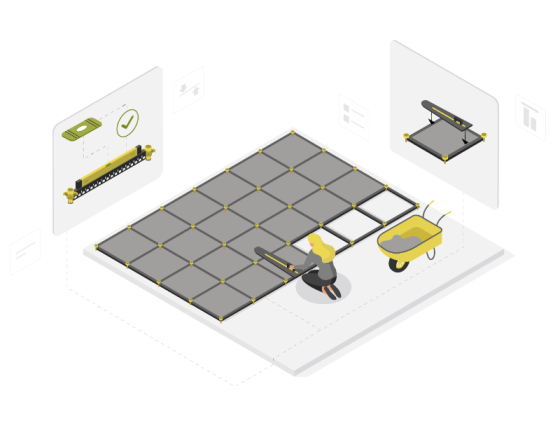
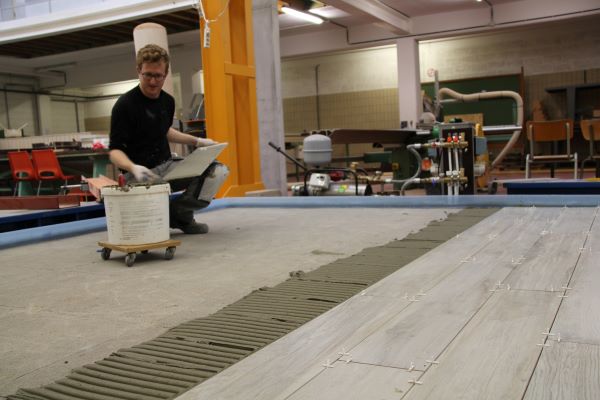
How to install the Staenis grid in your room
Low Fill: This low filling level can only be applied when using screed as a filler. Due to the lack of legs at the connection to the walls, you have to support the battens on the walls with screed.
Standard filling: This standard filling level can be used with screed, drainage mortar and tileable insulating screed. Consumption is slightly higher, but makes for easier installation.
High filling: This high filling level is applied when OSB is installed on the Staenis floor structure. This way you have beams to which you can screw and you have support in the corners.
Specifications
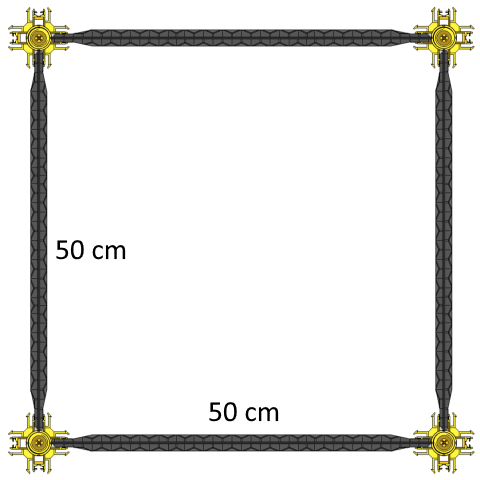
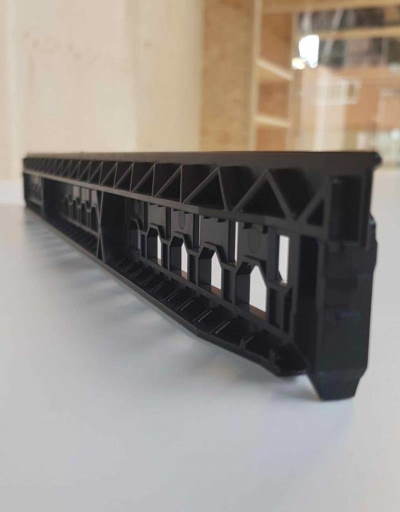
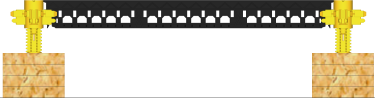
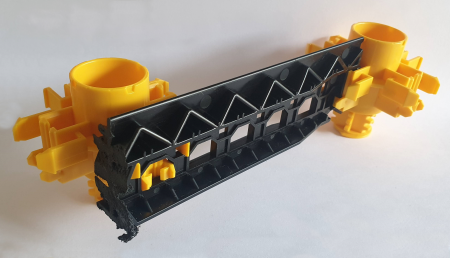
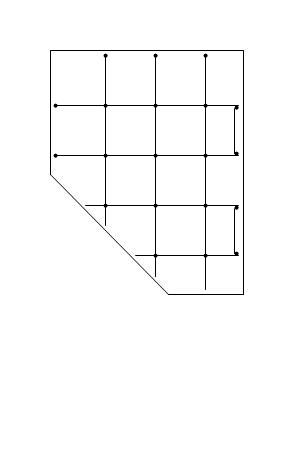
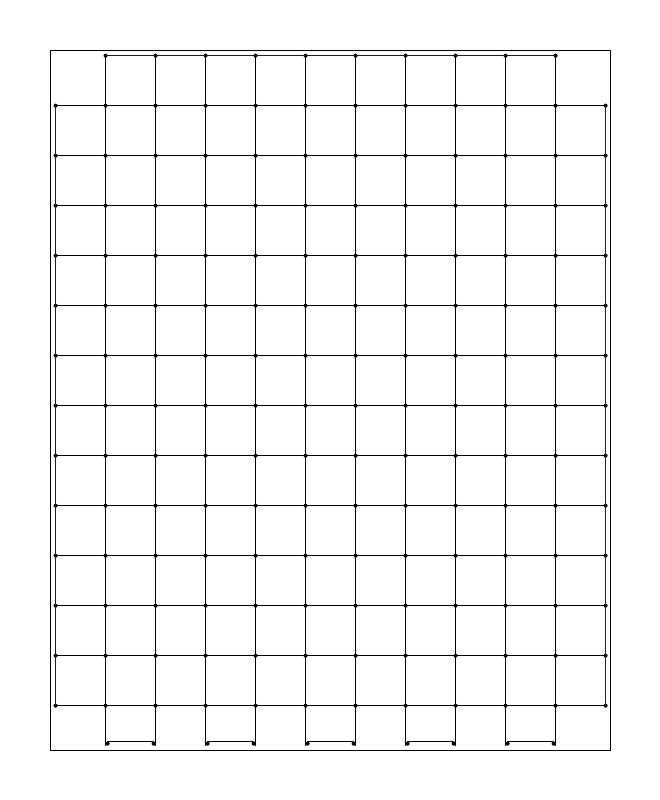
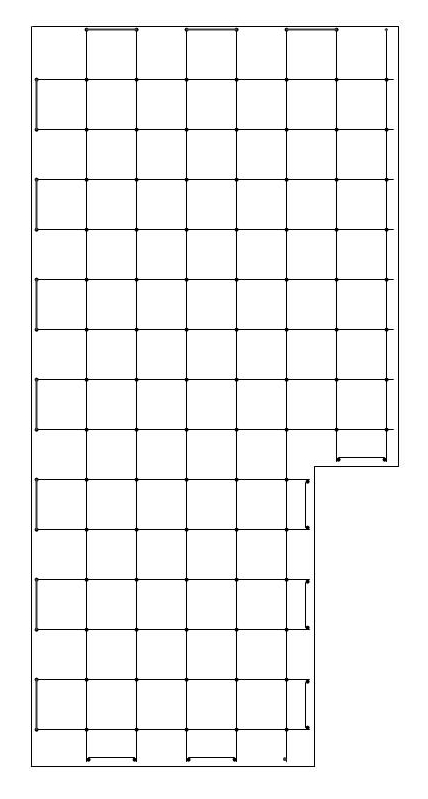
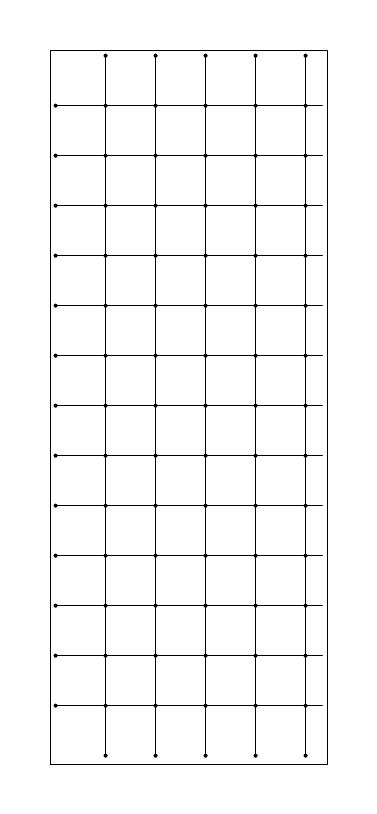
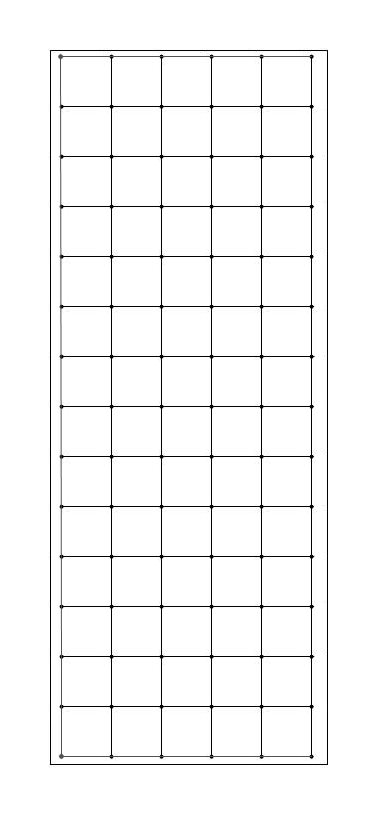
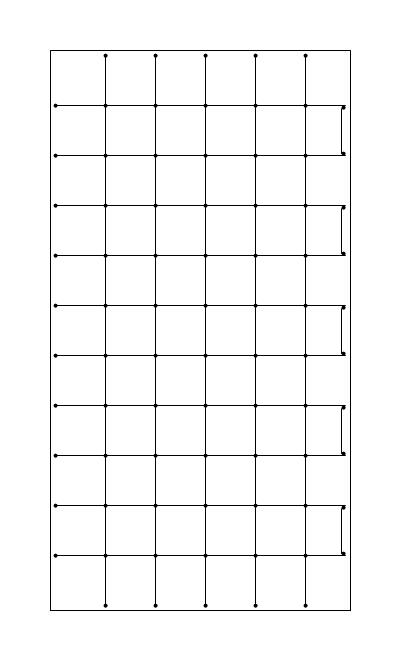
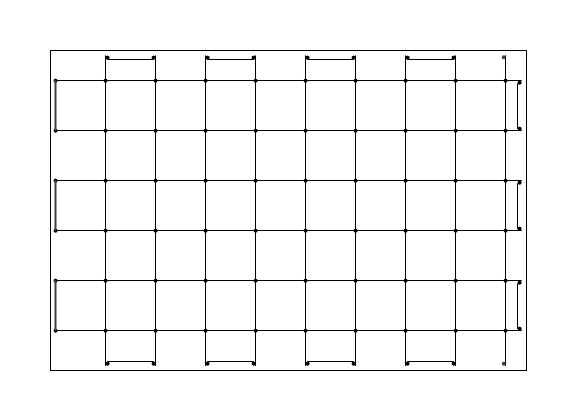
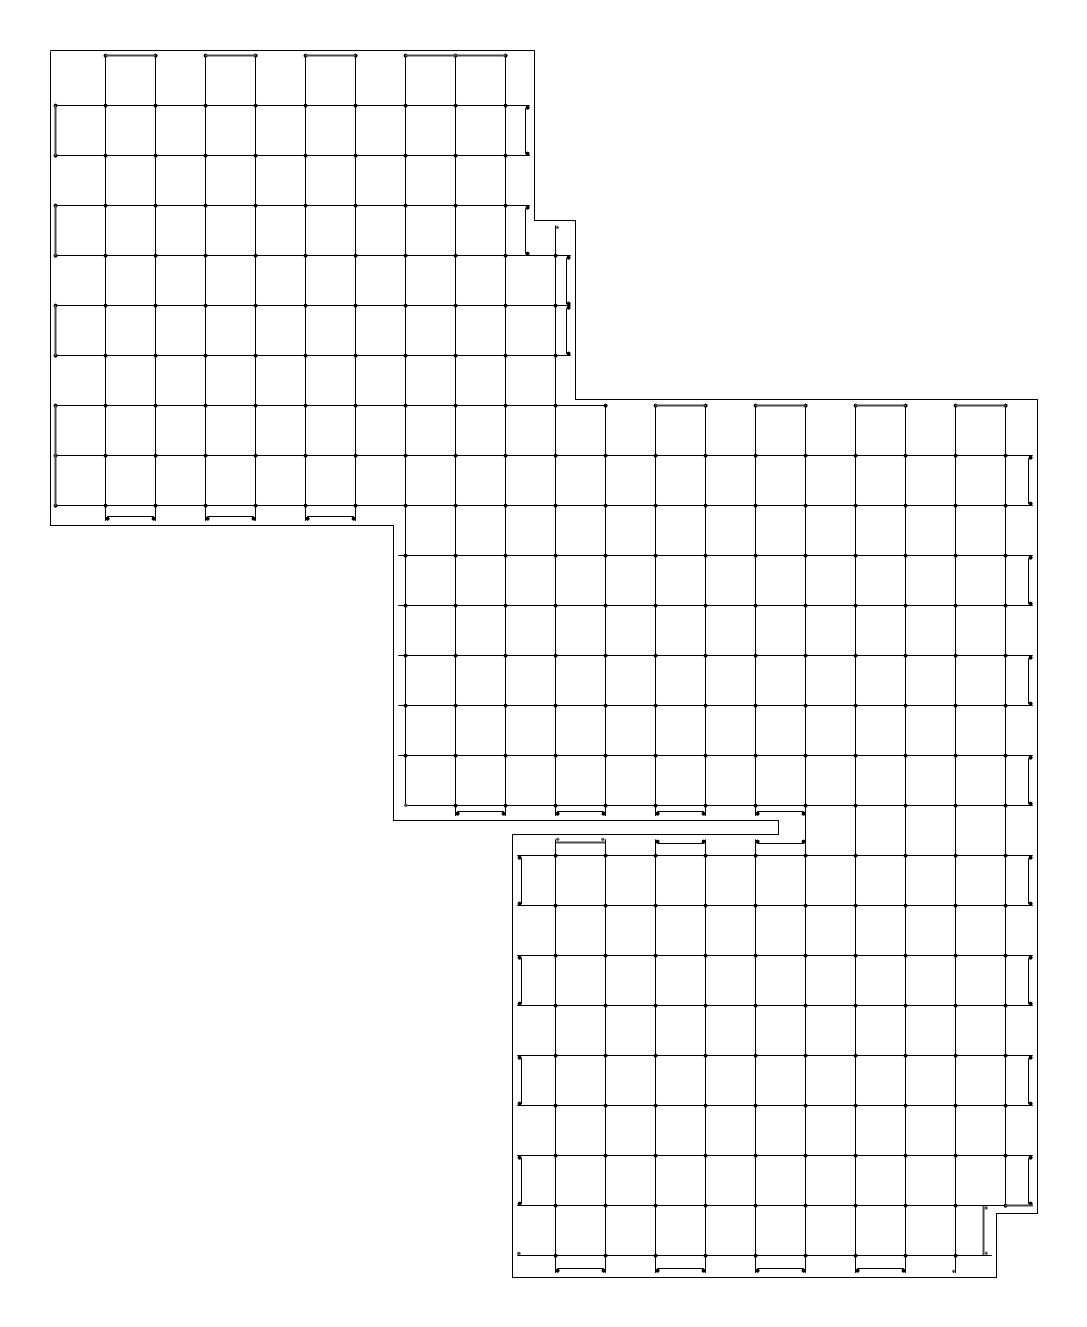
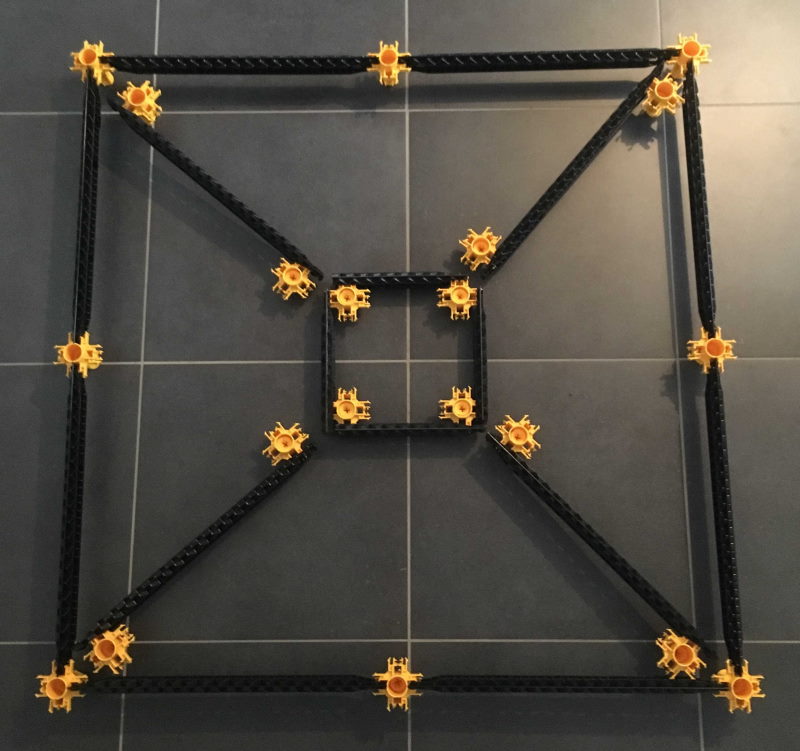
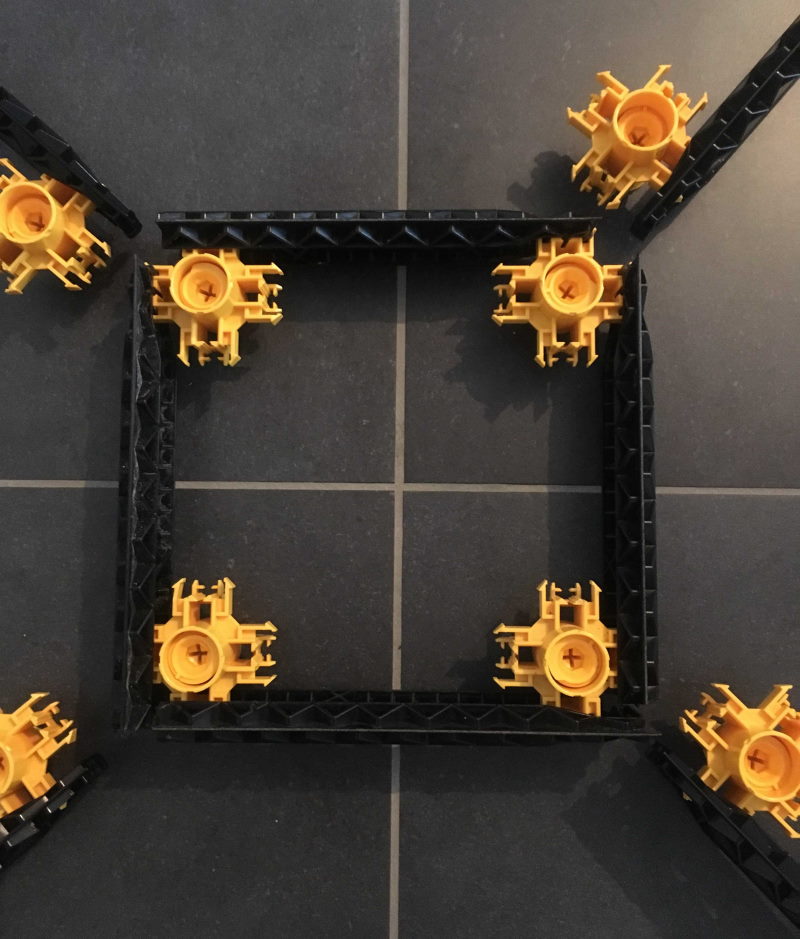
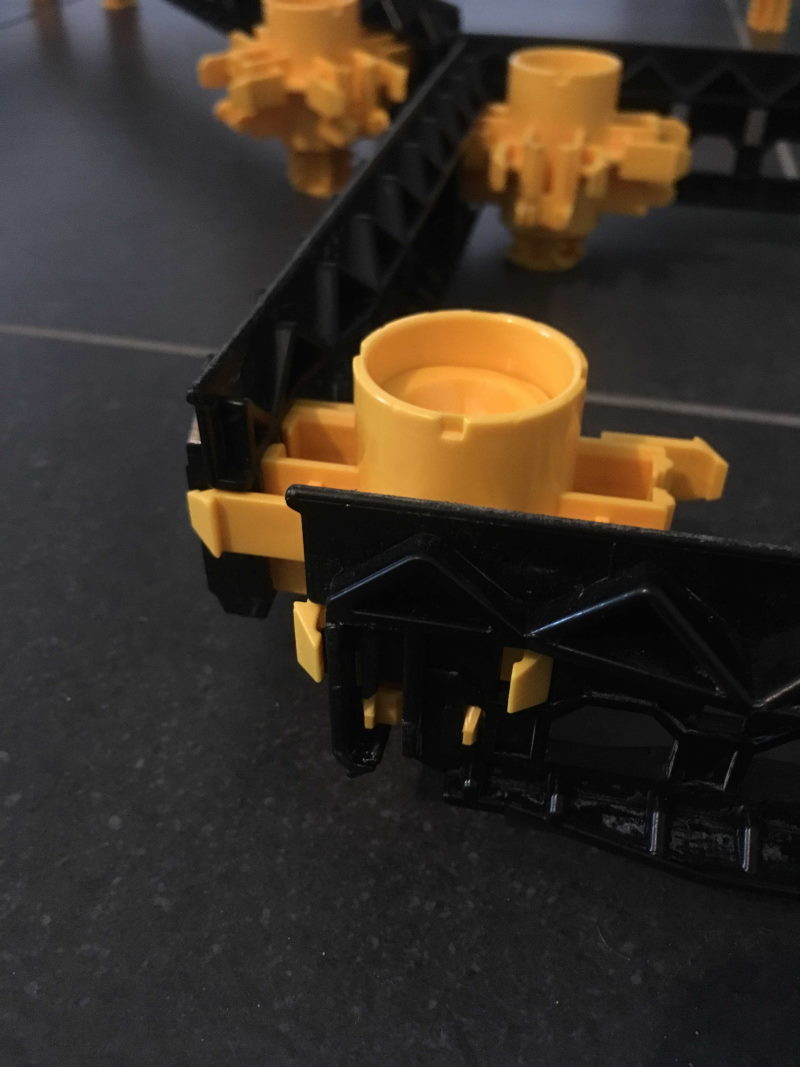
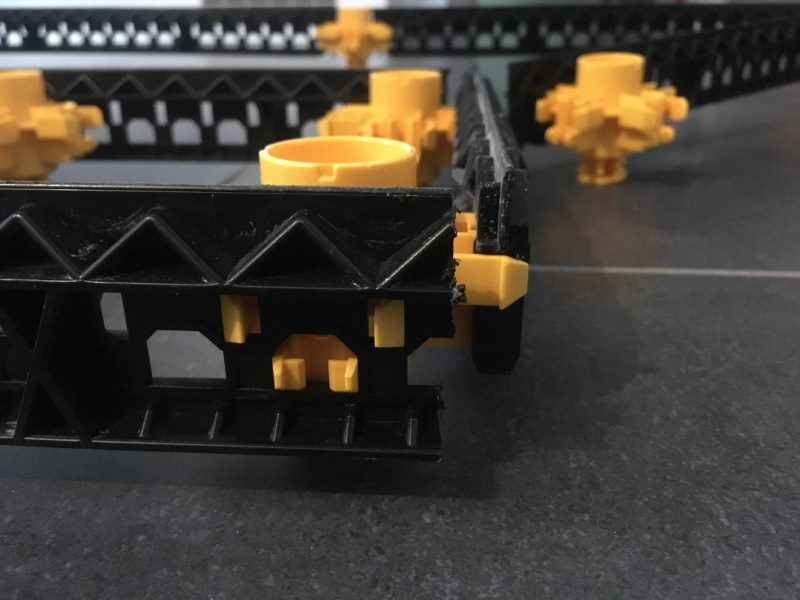
Modular reinforcement grid of 50 x 50 cm, consisting of bars and legs.
Place the Staenis grid, adjust its height and finish your floor structure row by row.
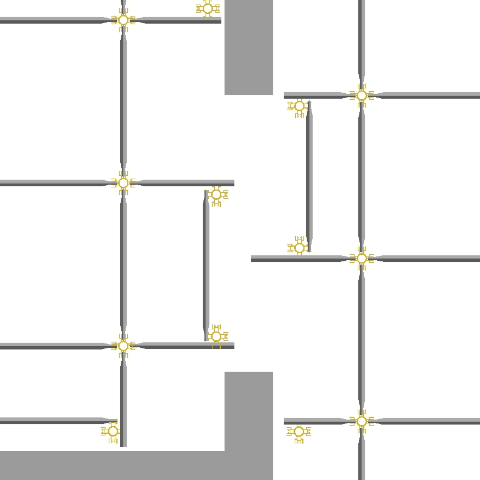
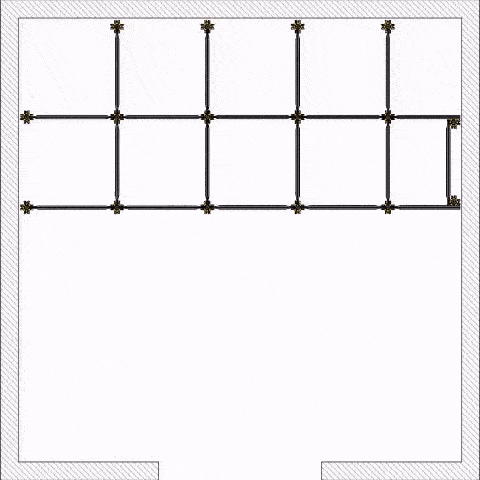
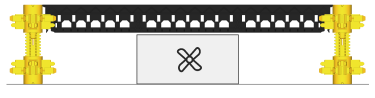
You can easily shorten the grid for apertures of less than 110 cm or for connections to walls.
Easy as 1,2,3
1. Place
A modular grid system, consisting of slats and height-adjustable legs, which are super-easy to level.
2. Fill in

Choose between screed, insulating screed, drainage mortar or dry fillers. This way you can immediately tile it or screw on an OSB sheet first.
3. Flatten
When damming and levelling, you can always follow the height of the Staenis grid without any effort.
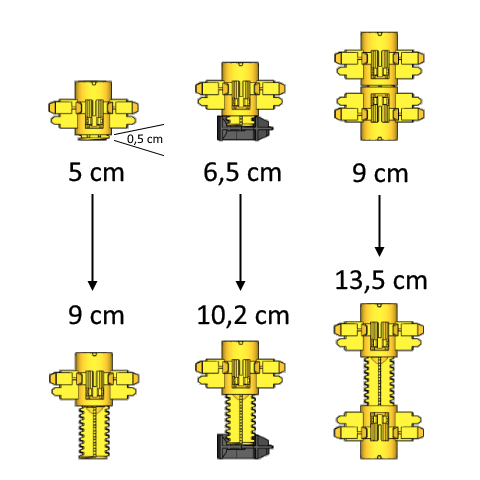
Height adjustable from 4.5-5 cm to 13.5 cm.

The bar is 4.5 cm high and can be cut out to a height of 1.5 cm.
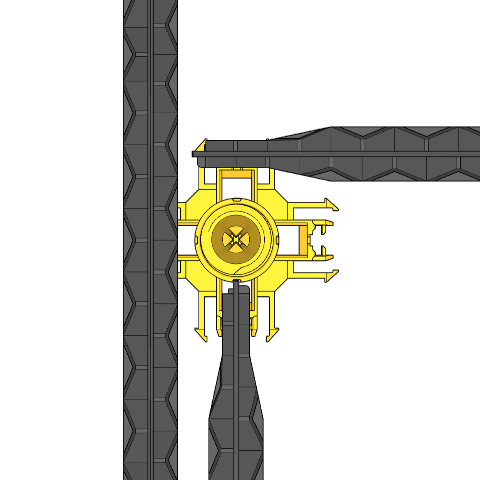
The Staenis grid has 3 types of click systems, which makes it modular.
Frequently Asked Questions
The average number of pieces depends on the filler chosen:
With screed, stabilised screed, insulating screed, drainage mortar and load-bearing dry fillers, you need 8 battens and 5 legs per square metre.
With non-load-bearing fillers such as glass wool, cork granules or even without filler, you should count 8 battens and 12 feet.
We always recommend that you round up when ordering, so that you are certainly not short of it while installing your floor structure.
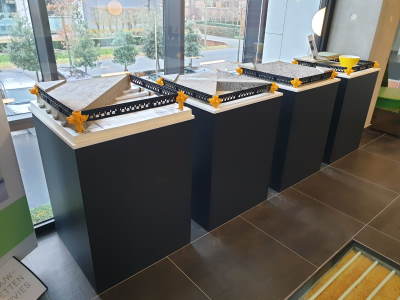
This is perfectly possible. You can always view the Staenis grid during opening hours at the Sack DIY (Only in Aarschot, Roeselare, Temse, Maldegem) showrooms.
Note: you cannot obtain additional information about the system here, but you can view and touch the different floor structures.


The batten is 4.5 cm high and can be cut locally to a height of 1.5 cm to accommodate passing utilities.
If desired, you can reinforce the cut slat with some mortar.
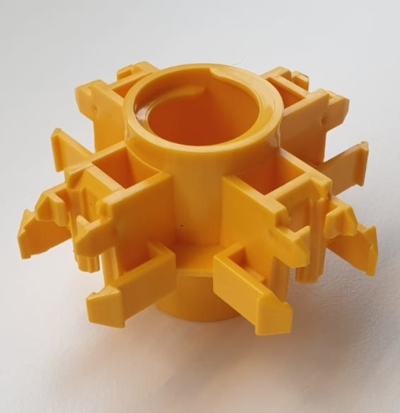
The leg is 4.5 cm high. This is the minimum height required for the smooth placement of the Staenis grid.
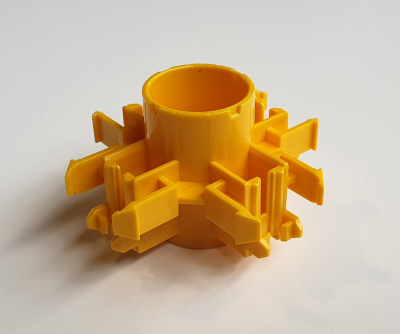
The adjusting screw is 5 cm high. This part can also be ground another 5 mm to adjust the leg from 4.5 to 5 cm.

The extension leg is just the same as the leg, but turned around. This way you can adjust the Staenis grid higher.
If you still want to level out a height that is higher than 13 cm, you can solve this by placing leftover insulation boards or leftover tiles under the legs. Make sure that they form a stable and pressure-resistant surface.
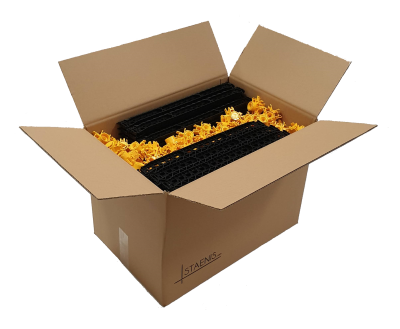
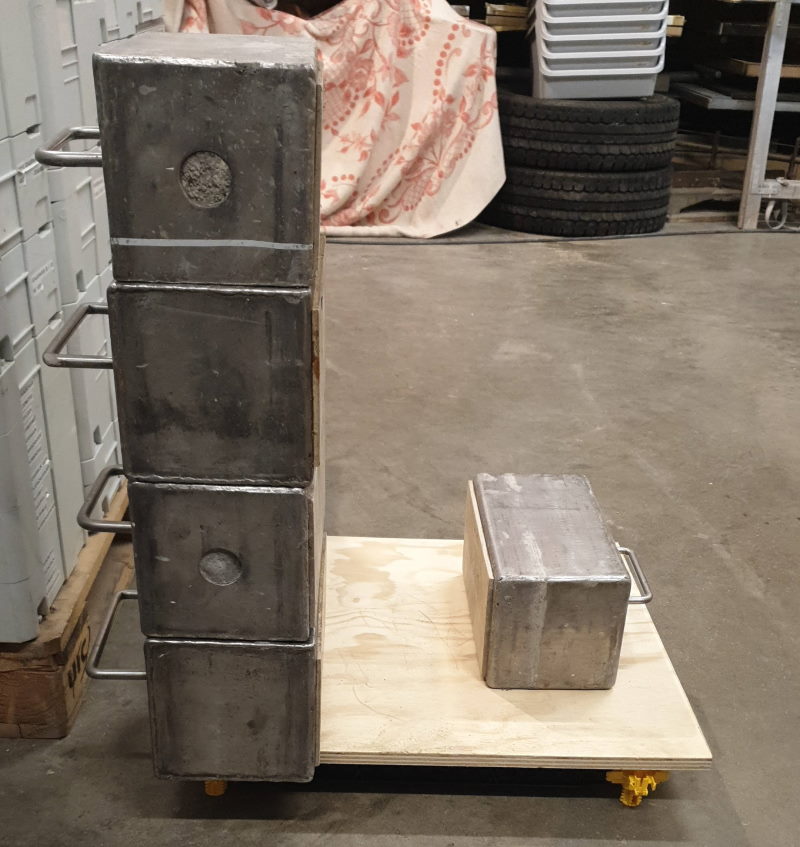
A box of Staenis grids of 5 m² contains 40 battens and 25 adjustable legs. 60 x 40 x 5 cm (L x W x H)
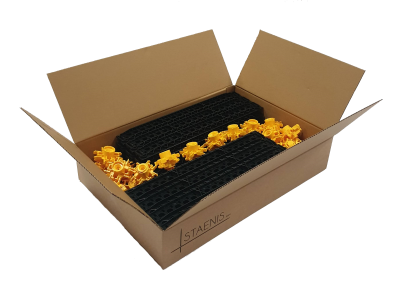
A 10 m² box of Staenis grids contains 80 battens and 50 adjustable legs. 60 x 40 x 10 cm (L x W x H)
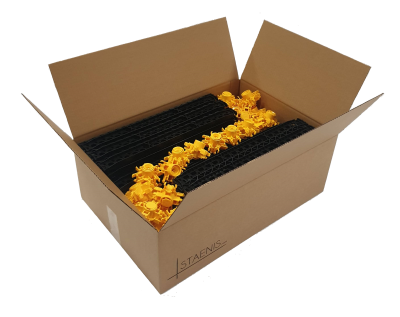
A box of Staenis grids of 20 m² contains 160 battens and 100 adjustable legs. 60 x 40 x 20 cm (L x W x H)
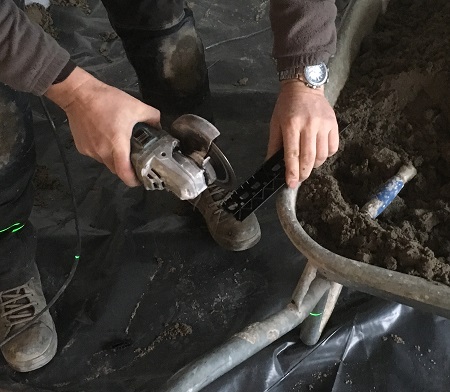
In fact, it is possible to shorten a batten at any distance to fit the walls. This with a hacksaw or grinding wheel. Once the bar is shortened, you can click a Staenis leg on the side of the Staenis batten.
The Staenis grid also serves as reinforcement in the screed. The size of 50 x 50 cm was tested, on behalf of Staenis, by Ghent University and Buildwise and have indicated that they show the best results.
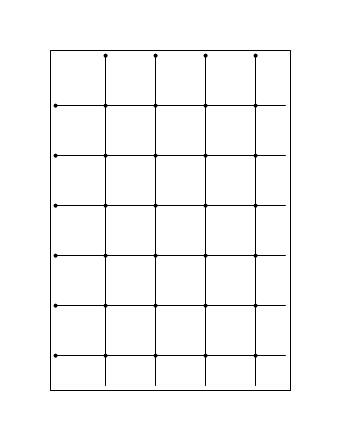
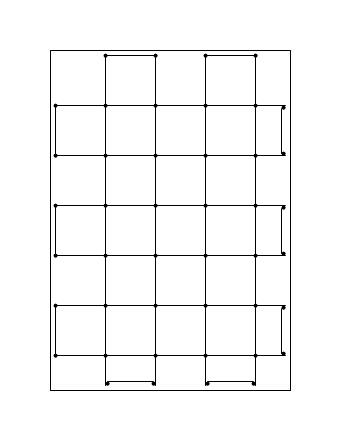
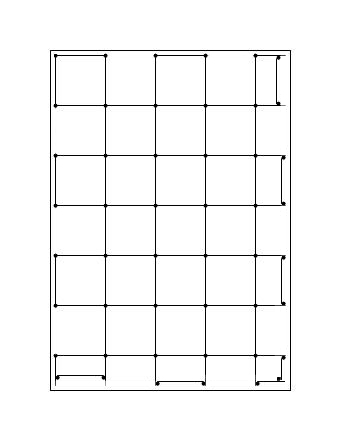
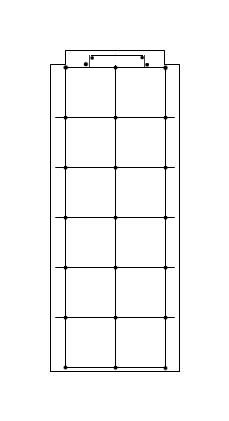
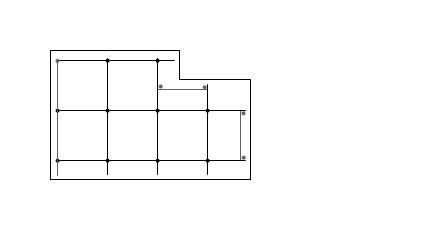
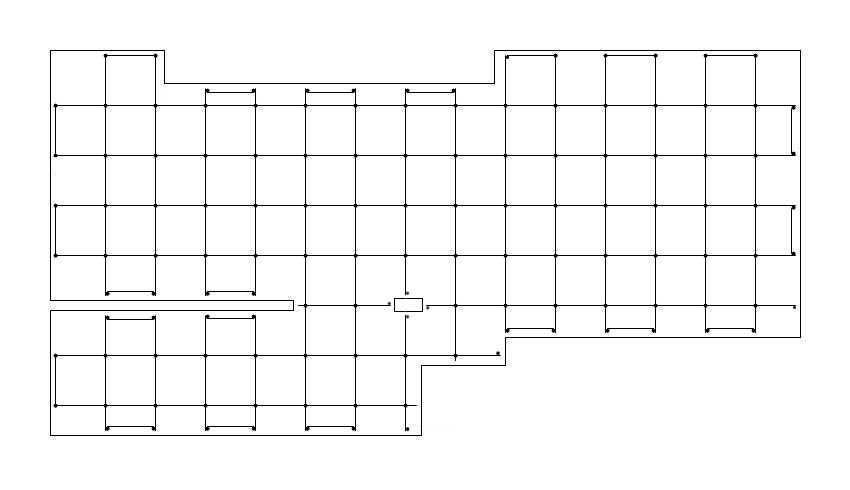
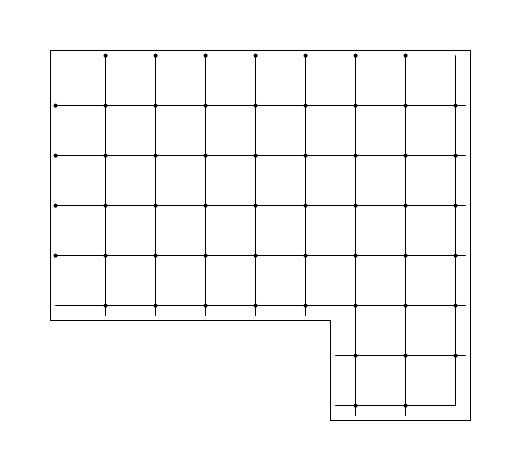
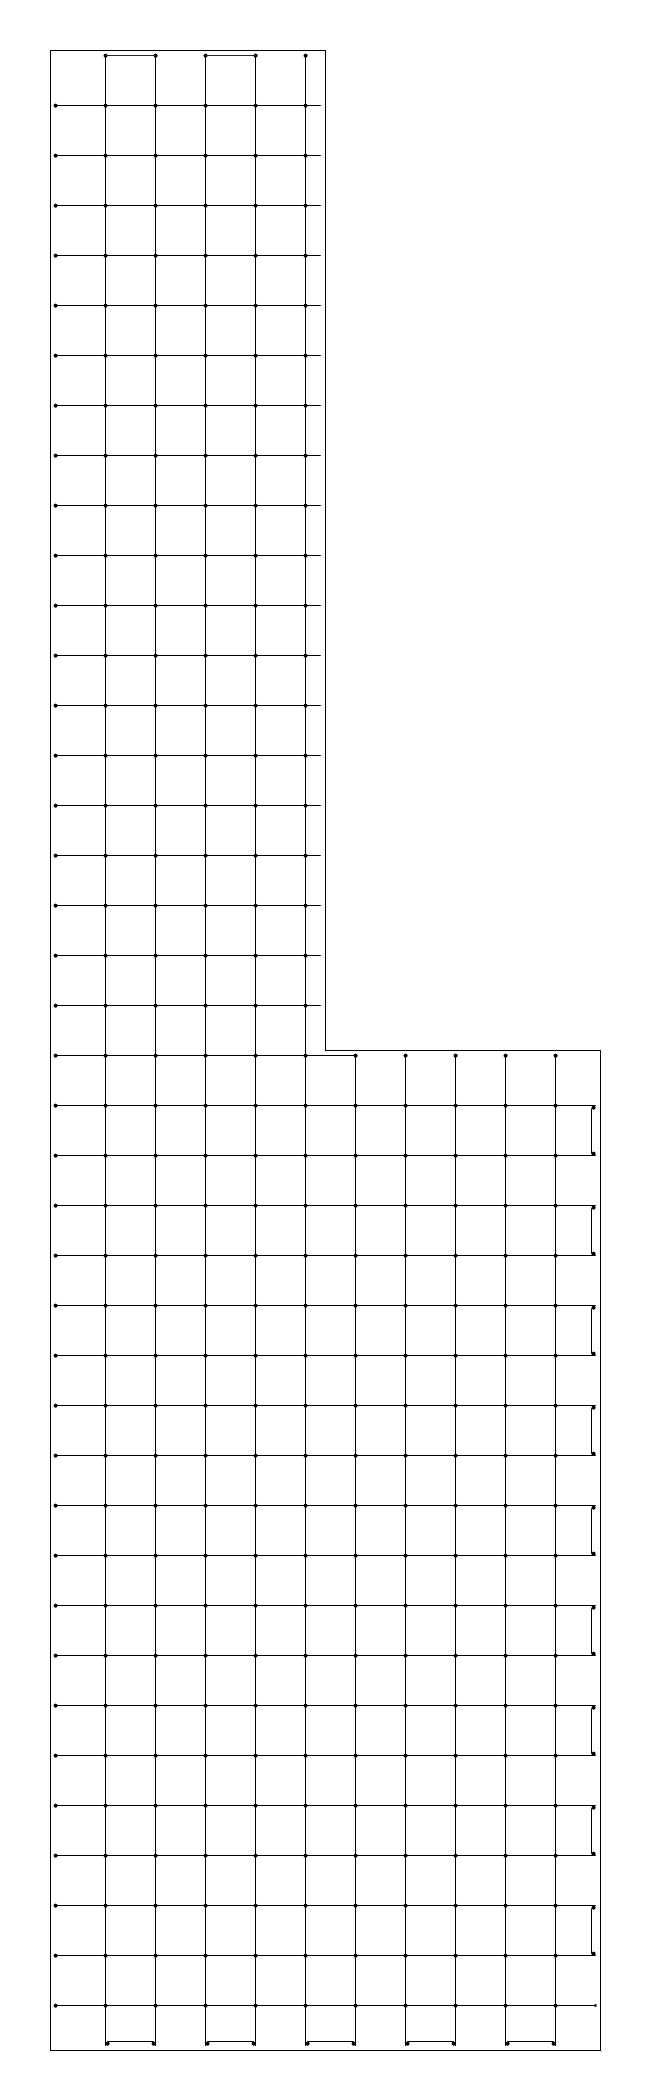
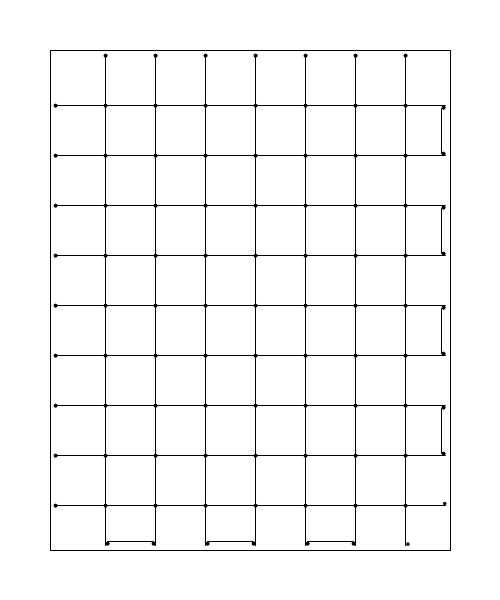
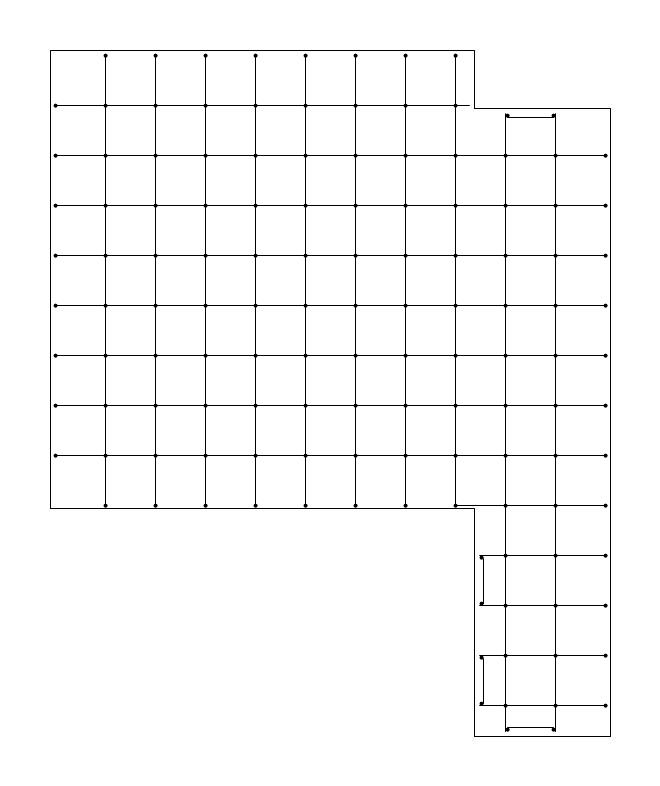
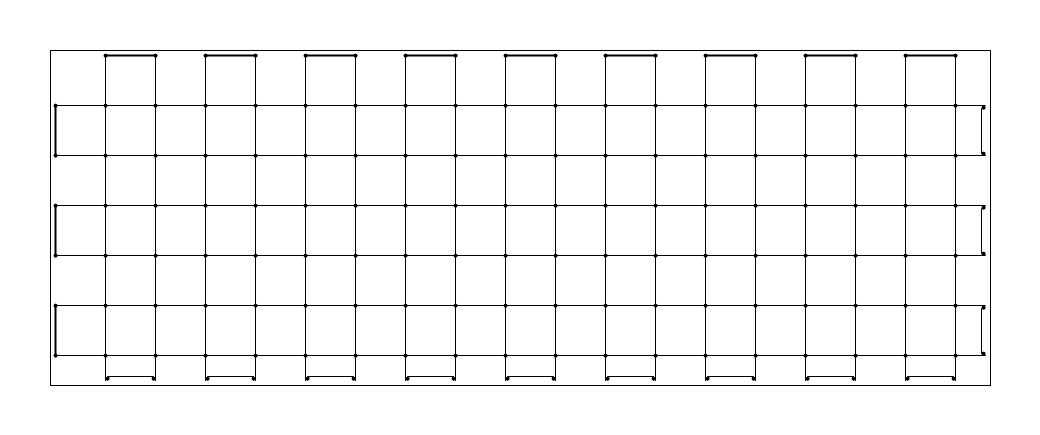
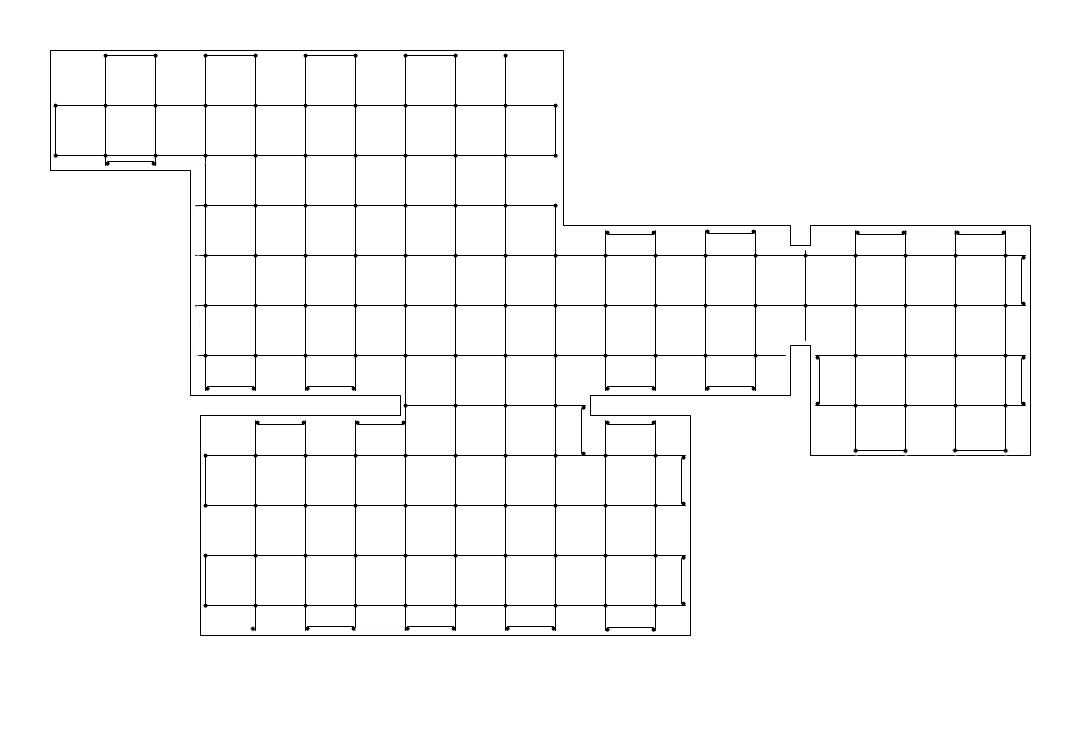
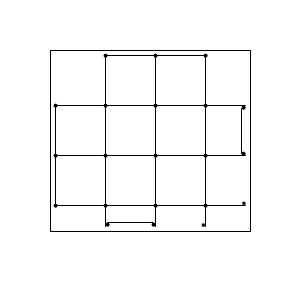
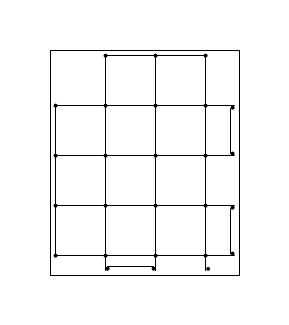
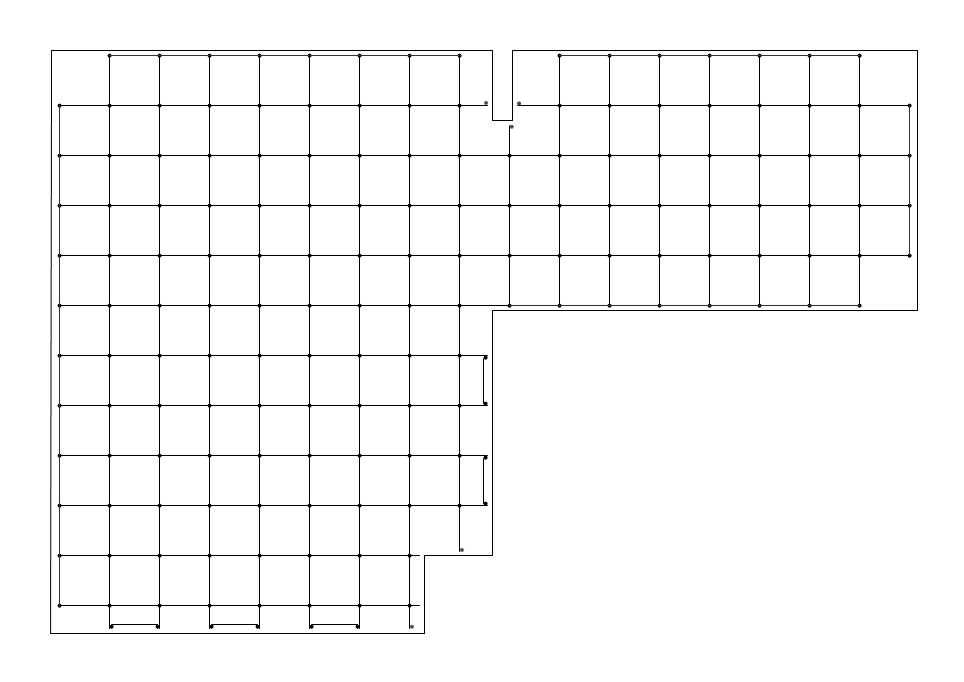
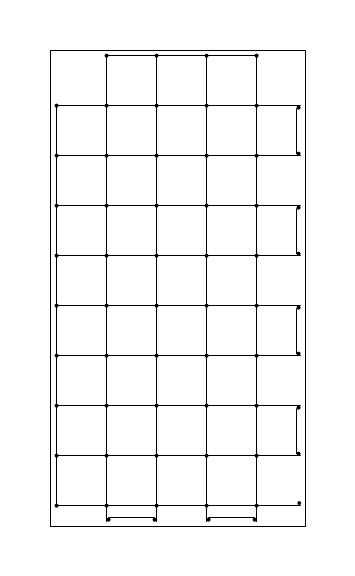
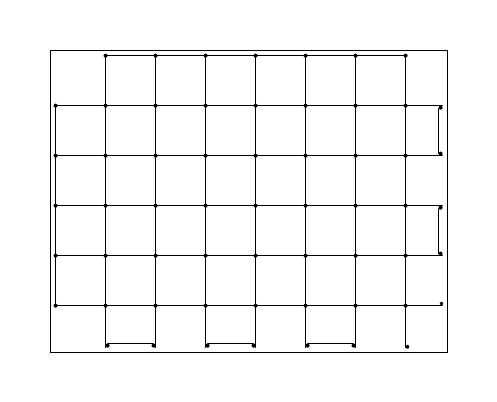
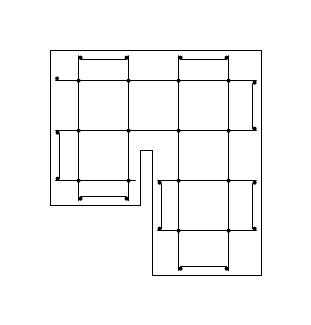
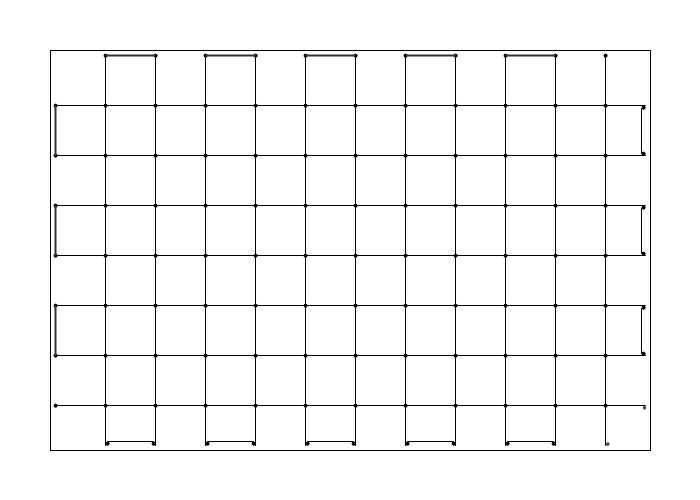
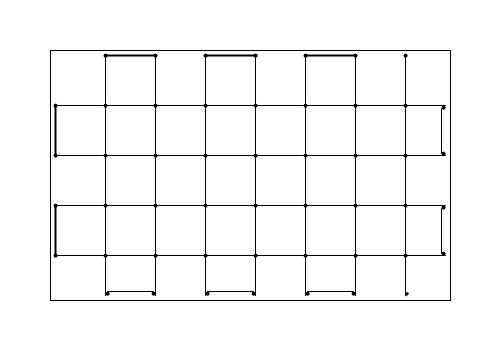
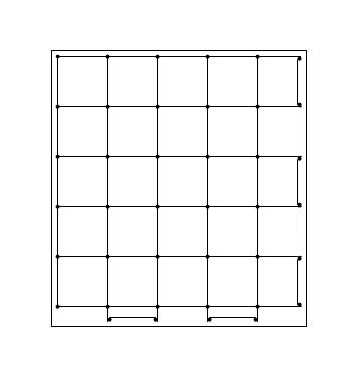
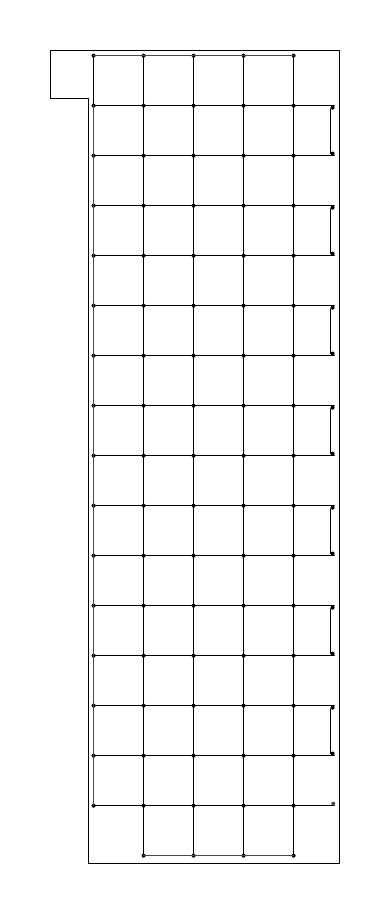
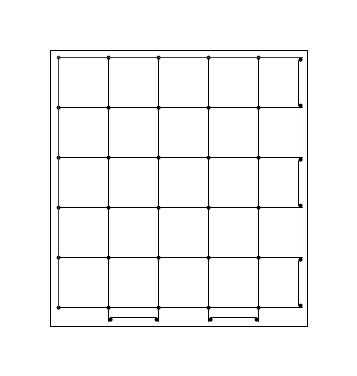
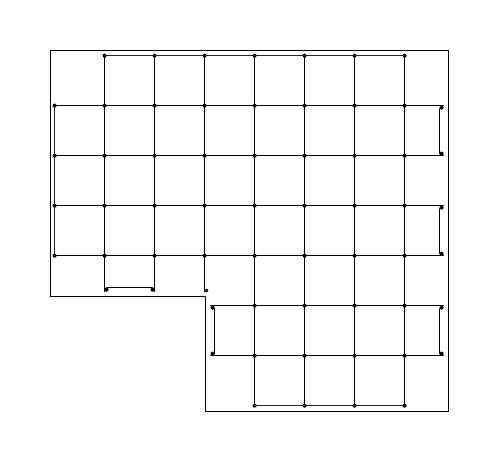
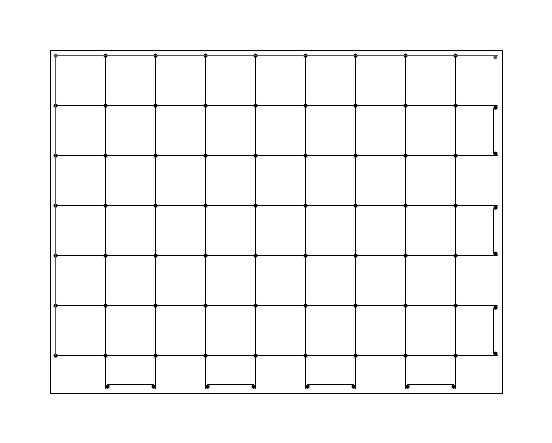
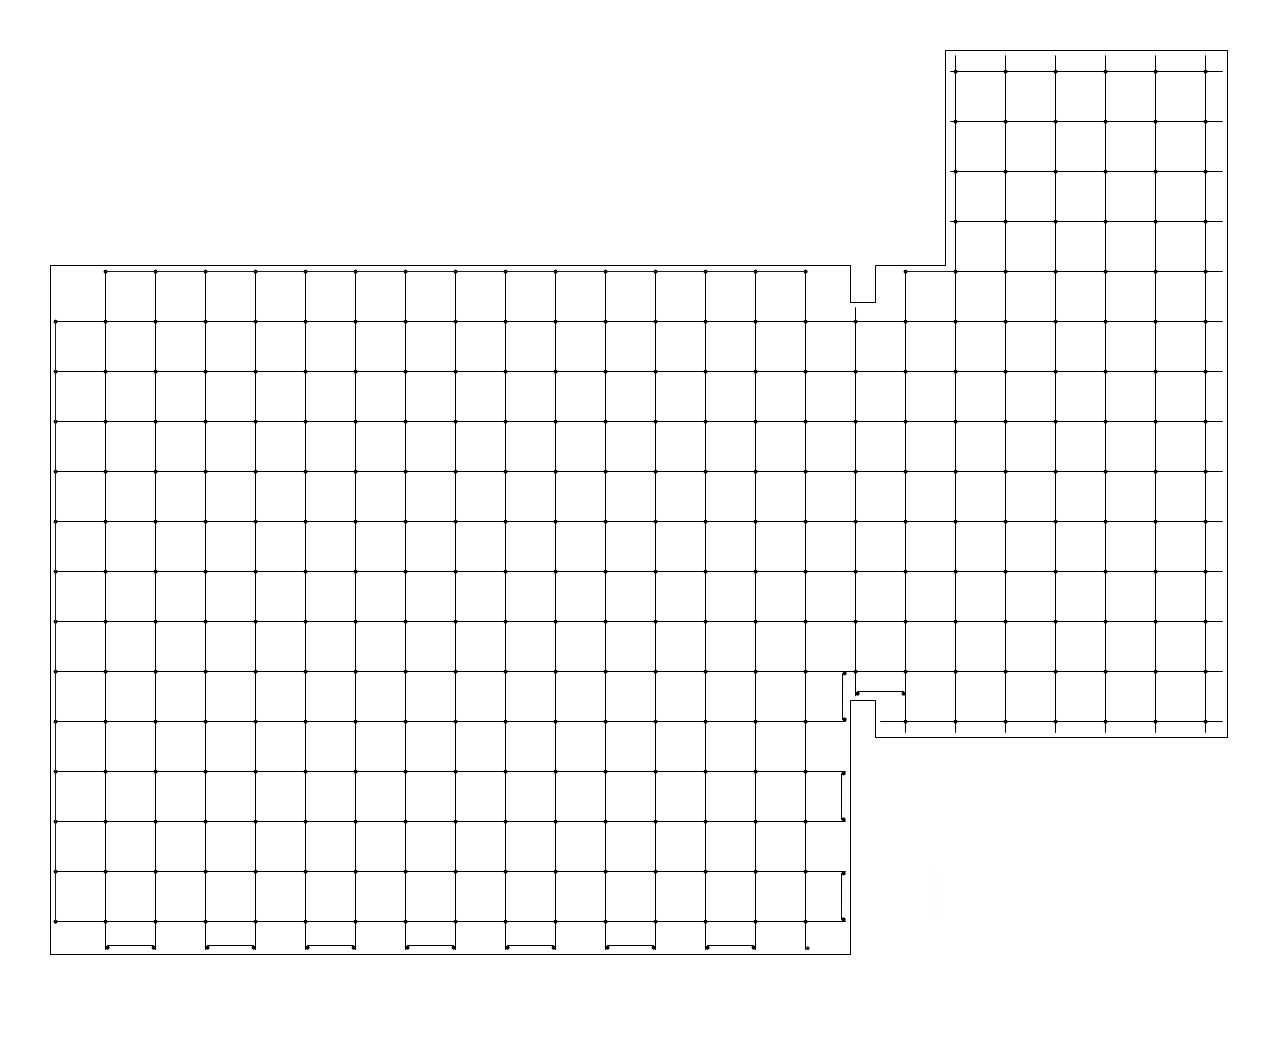
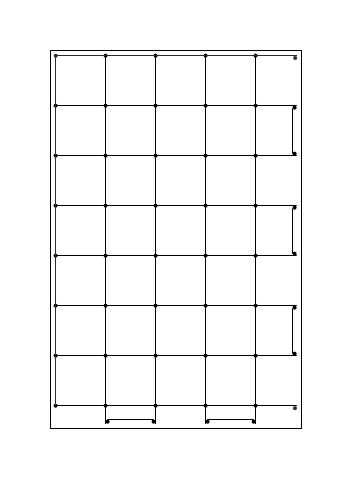
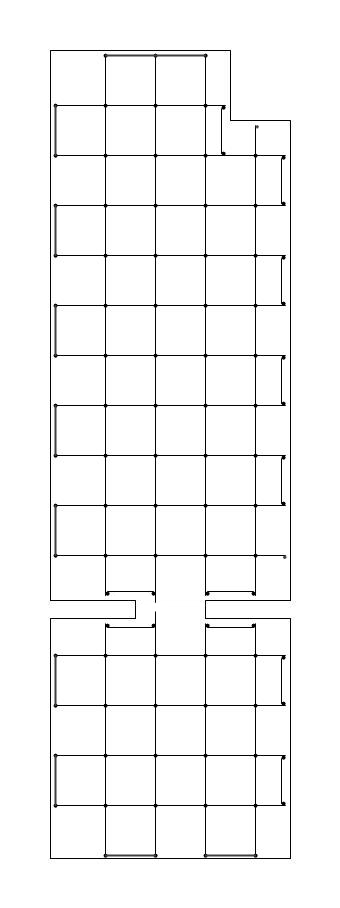
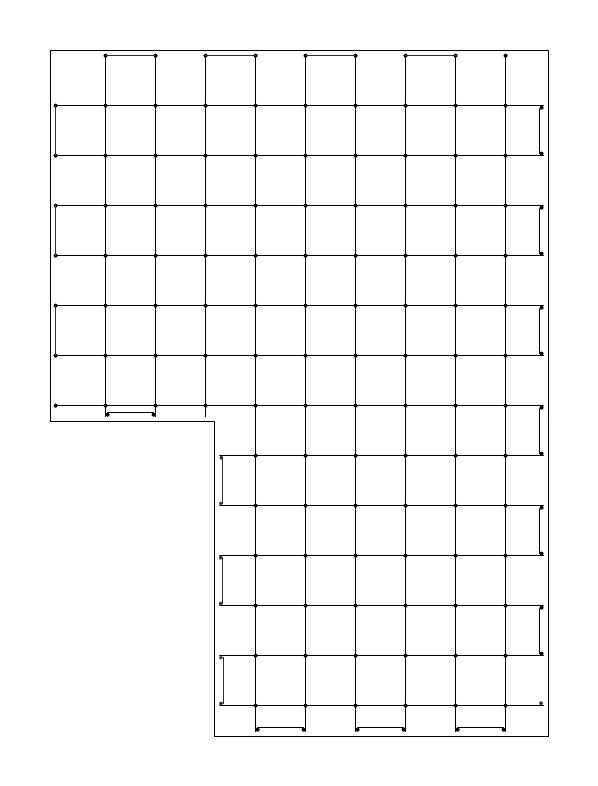
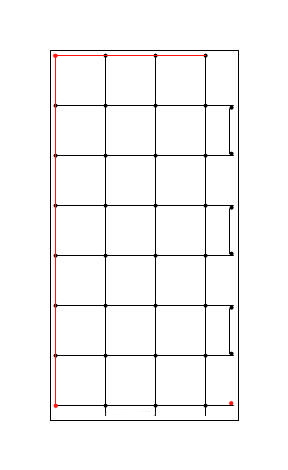
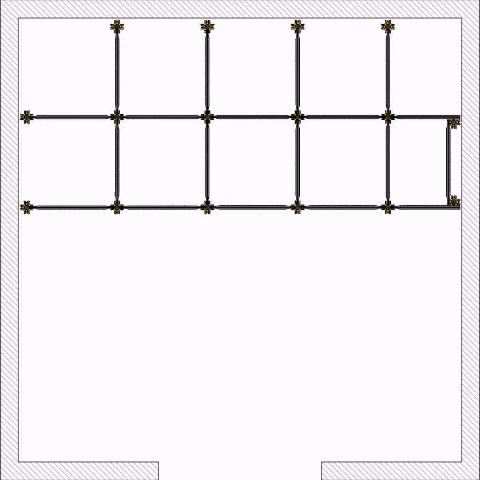
Below you can find about 35 laying plans of the Staenis grid.
Feel free to open a photo in a new tab to enlarge the photo.
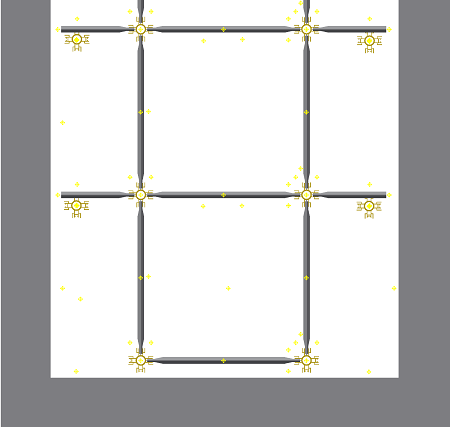
Place the Staenis grate at the correct height and location in the shower. Make sure it is firm and ready for further processing.
For a 90 cm wide shower, place a 50x50 cm cubicle in the center of the shower. Use half slats of 20 cm to create the connection with the walls.
Use screed on the legs to fix the grid. This ensures stability before applying the complete screed.
Provide a downward slope of 1.5 to 2%, depending on the roughness of the tile surface.
After curing, you should apply waterproofing in the form of a cloth or spreadable paste. For example, you can use Schluter Kerdi-TS/200 on the side of the shower tray for 100% safe waterproofing.
The Staenis grid has been extensively tested at the University of Ghent, in conjunction Buildwise. If you would like to view these test results, please send us an e-mail and we will send it to you.
The system has been extensively tested at Ghent University and checked by Buildwise. As a result, we can, on the basis of tests, demonstrate that a floor construction with the Staenis batten excels in quality and belongs to the top of the highest quality floor constructions. Which is necessary for contemporary floor structures with thick insulation packages and special floor finishes.


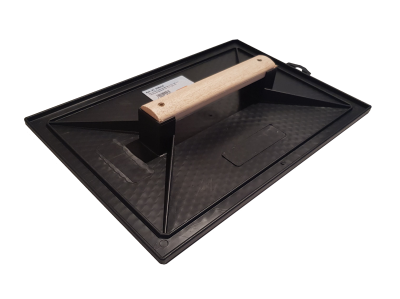
Yes, that is perfectly possible. Through our Staenis webshop you can purchase a sanding board and screeding iron (laying trowel) that are necessary for installing your floor structure.
Yes, insulation screed and aerated concrete granules can be shipped, but count on paying a few hundred euros in shipping costs. Feel free to ask us for a custom quote.
To avoid this problem, we recommend that you build up the Staenis grid, row by row. This way you avoid not being able to pass with your wheelbarrow and you also limit the risk of falling over the grid.
- Place a row of Staenis grids.
- Rotate the Staenis grid to the correct height.
- Fill the Staenis grid with the filler.
- Flatten the screed on the top of the grid.
- Repeat until the entire space is finished.
- Place all Staenis grids in the room.
- Rotate all Staenis grids to the correct height.
- Fill the Staenis grid with the filler.
- Flatten the screed on the top of the grid.
- Repeat until the entire space is finished.
You can also turn off the entire grille and adjust it to the desired height. Then you remove a row of slats so that you can pass through them with your wheelbarrow.
Load capacity per upright leg: 100 kg
Load capacity with 5 Staenis legs (for load-bearing fillers): 500 kg/m²
Load capacity with 13 Staenis legs (for non load-bearing fillers): 1300 kg/m²
In addition to the load-bearing capacity of the Staenis grid, you also need to add the load-bearing capacity of the filler.
- wheelbarrows of 50 cm x 50 cm
- Batten: 47 (L) x 2 (W) x 4.5 (H) cm - PP (polypropylene)
- Leg: 7.5 (L) x 7.5 (W) x 4.5 (H) cm - PP (polypropylene / ABS)
- Adjusting screw: H: 5 (H) cm ⌀ 2.5 cm - ABS
- Grid remains permanently present in the floor
-
Battens can be shortened
- Each grid can be tailor-made for any room
-
Different installation methods possible:
- Grids can be built row by row
- Grids can be placed in advance
- A batten can also be cut locally to allow utilities (electricity, plumbing, etc.) to pass and to maintain the 4.5 height.
- For easy installation of a screed/sand cement screed, insulating screed or insulating concrete, drainage mortar, dry fillers such as levelling granules or aerated concrete, etc. with a minimum height of 4.5 cm and a maximum height of 9 cm. (9 to +13 cm also possible by turning a 2nd leg upside down under the 1st leg or by placing screed, wood or insulation under the foot)
- Can be placed indoors on load-bearing substrates, such as: concrete slabs, prefab elements, insulation plates and sprayed PUR insulation, reinforced wooden substrate.
- Can be placed outdoors on open ground or as an ideal drainage solution for a concrete slab.
In any case, you first start with placing the walls. Afterwards you can place and finish the floor structure per room.
The reason for this is to be able to acoustically separate the rooms from each other. For example, if you place the floor first and the walls above it, the sound from one room can easily transfer to the next room.
A second reason for this is that we cannot possibly estimate from what the walls will be made (wood, metal studs,...) and how much this would weigh on the floor.
That is why we always recommend placing the walls first, and then placing the floors in the created spaces. This is also done as standard with screed floor constructions.
If necessary, place edge insulation between the floor structure and the wall to score even better on the acoustic level.